
To master Portuguese Pastéis de Nata, focus on making the perfect flaky or crisp pastry shell using proper lamination techniques and quality ingredients. Craft a silky custard with fresh eggs, vanilla, and gentle heat to avoid cracks. Control your oven temperature to caramelize the sugar topping without burning. Perfect timing and presentation make a big difference. If you’re curious about all the secrets behind this iconic dessert, keep exploring—you’ll discover more tips and tricks.
Key Takeaways
- Use high-quality ingredients like fresh eggs, milk, and vanilla for a silky custard and authentic flavor.
- Perfect flaky pastry shells require proper lamination, chilling, and even rolling techniques.
- Control heat carefully during caramelization and baking to achieve the signature golden, crispy crust without burning.
- Properly cool the custard to prevent cracks and darkening, ensuring a smooth, creamy texture.
- Incorporate traditional presentation styles and subtle flavor enhancements like cinnamon or powdered sugar for authenticity.

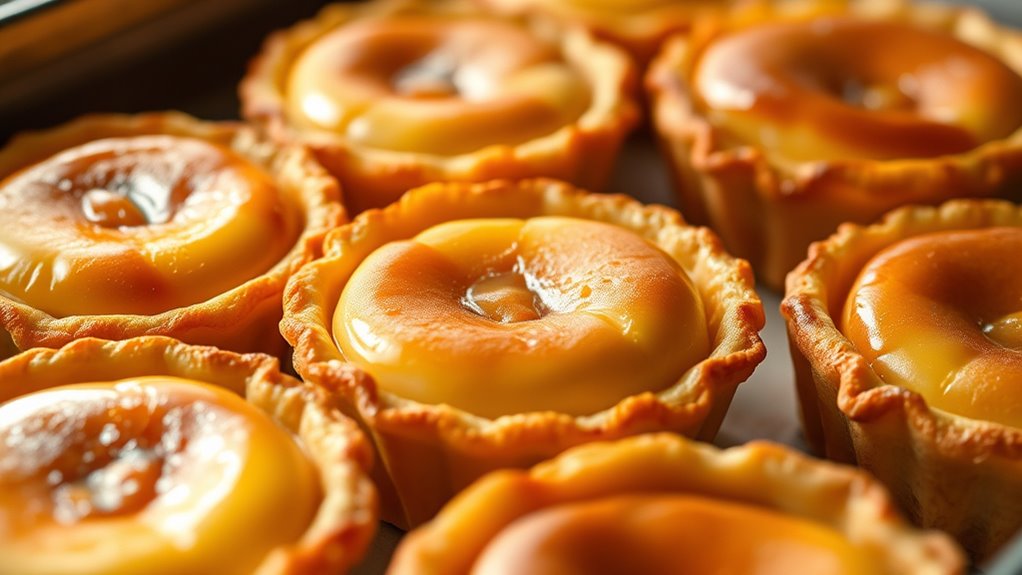
Portuguese Custard Tarts. Handmade. Pastel da Nata. Flaky Pastry with Creamy Custard Filling – Authentically Made in Portugal. Simply Heat and Eat.
Authentic Taste of Portugal – Handmade in Portugal using a time-honored recipe, these custard tarts offer the classic…
As an affiliate, we earn on qualifying purchases.
As an affiliate, we earn on qualifying purchases.
The History Behind Portugal’s Iconic Dessert
The history behind Portugal’s iconic pastel de nata is rich and fascinating, dating back centuries to the convent kitchens of Lisbon. You might be surprised to learn that these custard tarts were originally creations of nuns who sought to make use of leftover egg yolks, as egg whites were used for laundry and starching. They perfected this sweet treat in the 18th century, and it quickly became popular among locals and visitors alike. Over time, the recipe spread beyond convent walls, evolving into a beloved national delicacy. Today, pastel de nata symbolizes Portuguese culinary tradition, embodying centuries of history, ingenuity, and cultural pride. Its enduring popularity highlights how simple ingredients can create a timeless dessert cherished worldwide. Additionally, the tradition of continuous learning and innovation has helped keep this classic recipe relevant and beloved across generations. Furthermore, the culinary techniques used in making these tarts have been passed down through generations, ensuring the preservation of authentic flavors. Notably, the use of traditional oven baking methods contributes significantly to achieving the perfect caramelized top. Incorporating authentic ingredients and respecting traditional methods remain essential for maintaining its cultural significance.

The Art of Lamination III: Mastering Bicolour and Cross – Laminated Viennoiserie
As an affiliate, we earn on qualifying purchases.
As an affiliate, we earn on qualifying purchases.
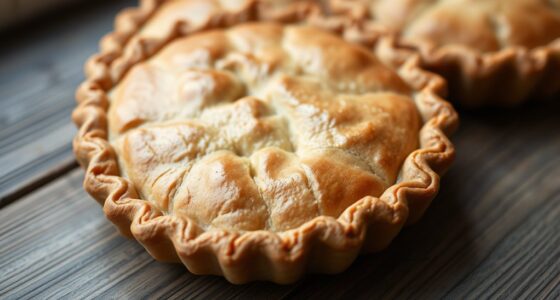
Selecting the Perfect Pastry Shell

Choosing the right pastry shell can make or break your pastéis de nata. Do you prefer a flaky, layered texture or a crisp, sturdy bite? Decide whether to use store-bought or homemade shells based on your time and taste preferences. For an authentic experience, consider incorporating vintage decor elements like antique baking tools or rustic presentation styles to elevate your pastry presentation. Additionally, selecting the appropriate wicks and waxes for any candle-related elements in your presentation can add a charming, handcrafted touch.
Flaky vs. Crisp Texture
When selecting the perfect pastry shell for Portuguese Pastéis de Nata, understanding the difference between flaky and crisp textures is essential. Flaky pastry has multiple, delicate layers that gently peel apart when bitten, offering a light and tender experience. It’s ideal if you prefer a softer, more tender shell that melts in your mouth. Crisp pastry, on the other hand, is firm and crunchy with a sturdy bite, providing a satisfying snap when you take a bite. It holds up well to the rich custard filling without becoming soggy. Your choice depends on your preference: opt for flaky if you want a tender, layered shell, or go for crisp if you prefer a sturdy, crunchy bite that complements the creamy filling. Additionally, sound healing science suggests that the vibrations from certain textures can influence our perception of taste, making the sensory experience of your pastry even more delightful. Recognizing the texture differences can help you select the ideal pastry shell to match your desired eating experience. Moreover, understanding city culinary traditions can deepen your appreciation of authentic Portuguese pastries and their unique characteristics. Exploring the culinary history of the region can also provide insight into traditional baking techniques that influence texture. Techniques such as lamination are fundamental in creating flaky pastries with multiple layers.
Store-Bought or Homemade
Deciding between store-bought or homemade pastry shells depends on your time, skill level, and desired authenticity. If you’re short on time or new to baking, store-bought shells are a convenient choice. They save effort and produce consistent results, making it easy to enjoy authentic-tasting pastéis de nata without much fuss. However, if you’re aiming for the most genuine experience, making your own pastry from scratch allows you to control ingredients and achieve a flaky, crisp texture that rivals traditional Portuguese recipes. Homemade shells also give you the opportunity to customize thickness and flavor. Ultimately, both options can produce delicious pastéis de nata—your choice hinges on how much effort you’re willing to invest and how authentic you want your pastries to be.
Pasteis de Nata Portuguese Custard Tart Baking Kit, 12 Reusable Molds, Premium Mix with Instructions
COMPLETE KIT: Premium Portuguese custard tart baking set includes custard mix for 12 pastries and 12 professional-grade reusable…
As an affiliate, we earn on qualifying purchases.
As an affiliate, we earn on qualifying purchases.
Crafting the Classic Custard Filling
To craft the perfect custard filling for Pastéis de Nata, you need to focus on balancing richness and smoothness. Use fresh eggs and high-quality milk to create a silky texture. Stir in sugar gradually to guarantee even sweetness without graininess. Incorporate a touch of vanilla for depth, but avoid overpowering the custard’s natural flavor. Cooking is essential—slowly heat the mixture until it thickens, then strain to remove any lumps. Use the following table to understand key ingredients and their roles:
| Ingredient | Role |
|---|---|
| Egg Yolks | Provide richness and structure |
| Sugar | Sweetens and aids thickening |
| Milk/cream | Adds smoothness and body |
| Vanilla | Enhances flavor |
| Cornstarch | Optional, for extra thickness |
Additionally, monitoring the symptoms of breast cancer can lead to early detection and better outcomes for those affected.

TempPro TP02S Digital Food Thermometer for Cooking Bread Baking Sourdough Liquids, Meat Thermometer Digital with Super Long Probe for Kitchen Candy Making Gift for Dad Husband (Previously ThermoPro)
Fast and Accurate Reading: Kitchen thermometer for cooking features a 1 second readout speed and high accuracy of…
As an affiliate, we earn on qualifying purchases.
As an affiliate, we earn on qualifying purchases.
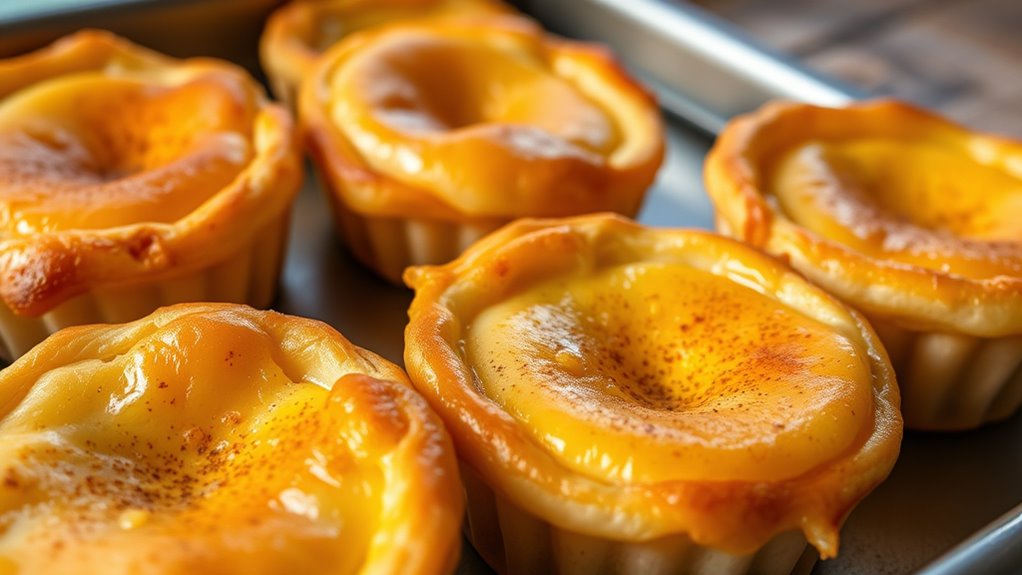
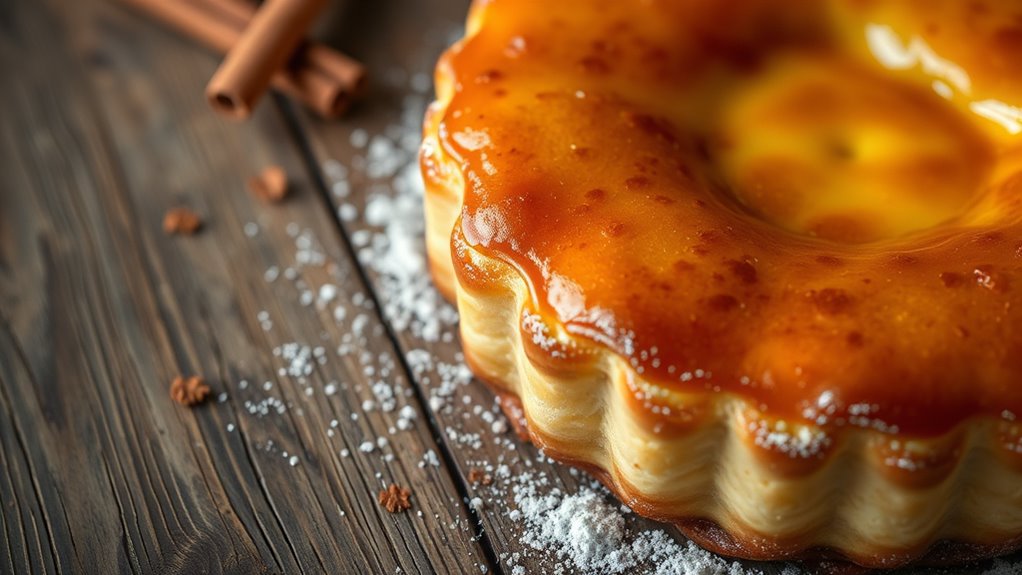
The Art of Caramelizing the Top
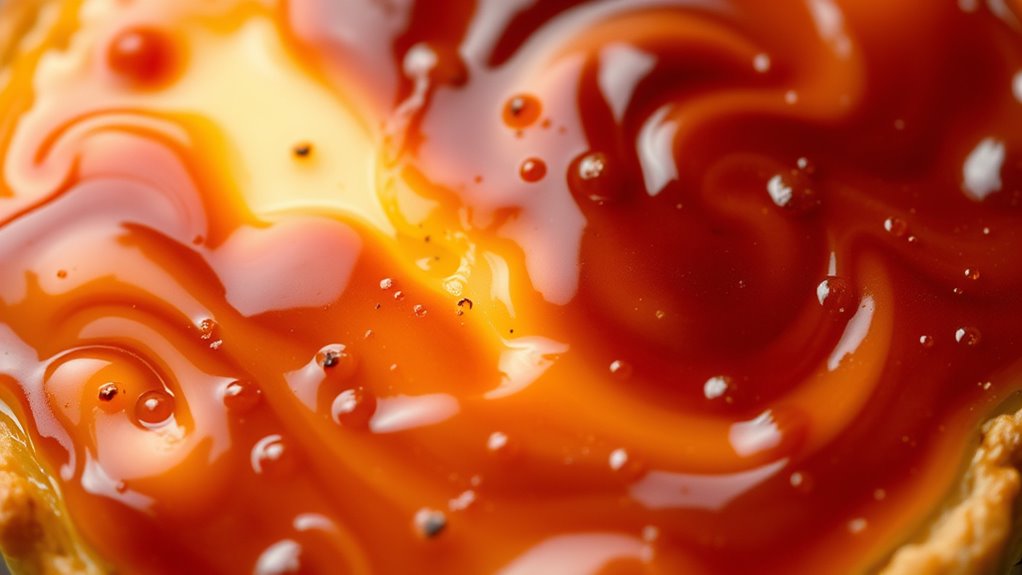
To get that perfect caramelized top, you need to focus on achieving ideal browning without burning the sugar. Timing and temperature are key—remove the tart at just the right moment to prevent overcooking. Using the proper sugar mixture guarantees a smooth, glossy finish that enhances both flavor and appearance. Additionally, understanding the best anime movies can inspire a sense of artistry and precision similar to perfecting pastry techniques. Paying attention to temperature control during baking ensures the sugar caramelizes evenly and achieves that desirable golden hue. Proper gear shifting techniques while baking can help maintain oven temperature stability, especially if you need to adjust heat settings during the process. For added consistency, choosing the right precious metals for investment can also reflect meticulous planning and attention to detail. Incorporating professional equipment can further help maintain consistent results and elevate your pastry craft.
Achieving Perfect Browning
Mastering the art of caramelizing the top of your Pastéis de Nata guarantees they achieve that irresistible golden-brown hue. To do this, you need to focus on high heat exposure at the final stage. Keep a close eye on your oven’s broiler or grill; they provide direct, intense heat that creates that perfect caramelized top. Don’t open the oven too early—wait until the custard is nearly set—then quickly switch to broil. Watch carefully, as the sugar will brown rapidly, and overdoing it can lead to burnt spots. The goal is even, rich caramelization without charring. Once you see a deep, golden color with slightly crisp edges, remove your Nata immediately. Proper heat control is essential to achieving the ideal caramelized finish without burning. Additionally, understanding your oven’s heat distribution can help prevent uneven browning and ensure consistent results. Using a thermometer to monitor oven temperature can further enhance your control over the browning process.
Timing and Temperature
Timing and temperature are essential when caramelizing the top of your Pastéis de Nata, as the right combination guarantees a perfectly golden finish without burning. You need to watch closely as the sugar starts to bubble and turn amber. Too high a temperature and you’ll risk burning the sugar before it caramelizes evenly. Too low, and the top won’t develop that appealing, glossy crust. To help visualize, consider these steps:
- Preheat your oven to 250°C (482°F) and watch the sugar’s color.
- Place the tart under the broiler for 1-2 minutes, observing the bubbling and golden hue.
- Remove promptly once the top is evenly caramelized.
- Let it cool briefly to set the caramel, avoiding overcooking.
Precision here makes all the difference.
Using Proper Sugar Mixture
Achieving the perfect caramelized top on your Pastéis de Nata depends heavily on using the right sugar mixture. You want a balance of sugar and water that allows for even caramelization without burning. Start with a precise ratio—usually, equal parts sugar and water. Dissolve the sugar completely over medium heat, avoiding agitation to prevent crystallization. Once the mixture turns a golden amber, remove it from heat immediately. This step is essential because overcooking leads to a bitter taste, while undercooking results in a dull appearance. When you drizzle or brush this hot syrup onto the pastry, it will caramelize beautifully, creating that signature glossy, slightly burnt top. Mastering this sugar mixture ensures your Pastéis de Nata achieve the ideal texture and flavor. Additionally, understanding the sugar caramelization process can help you fine-tune the timing and temperature for perfect results every time.
The Importance of Temperature and Timing
The temperature and timing during baking are essential to creating authentic Portuguese pastéis de nata with their signature flaky crust and creamy filling. If you bake too hot or too long, the custard can crack or curdle, and the crust may burn. Conversely, too low a temperature or insufficient baking time can leave the pastry soggy or undercooked. To get it just right, imagine:
- The oven heating up quickly, turning the custard a beautiful golden-brown.
- The pastry edges puffing up and crisping at the perfect moment.
- The filling bubbling gently without overflowing.
- The aroma of caramelized sugar filling the room, signaling readiness.
- Monitoring the baking process closely ensures each element is perfectly cooked, delivering that authentic, melt-in-your-mouth experience.
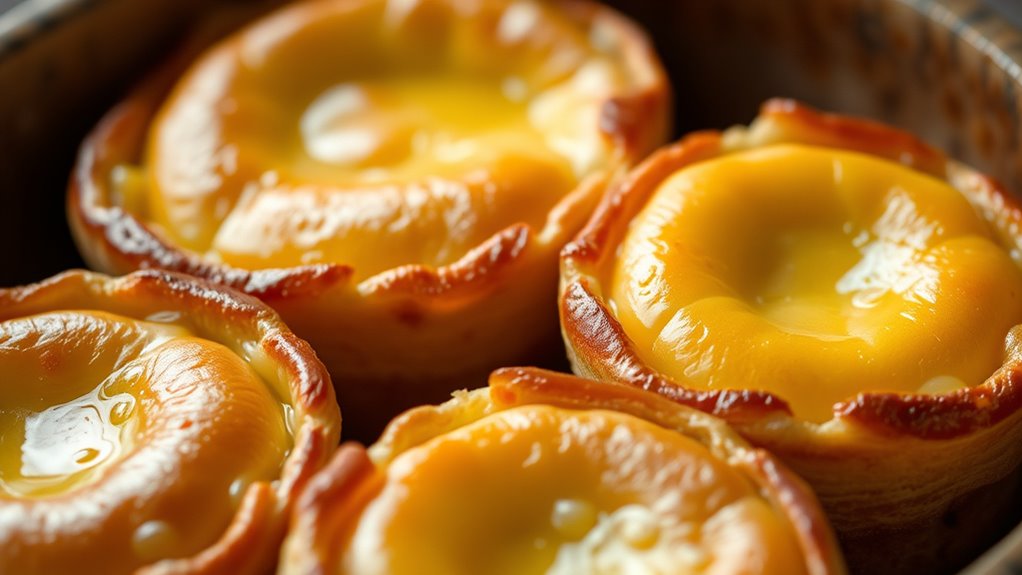
Secrets to Achieving a Flaky Crust
To get that perfect flaky crust, you need to master proper dough chilling techniques so the layers stay distinct. Thin, even layers are vital, so take your time rolling and folding the dough carefully. Finally, baking at the right temperature guarantees the crust crisps up without burning. Incorporating automation technologies in the process can also help achieve consistent results. Additionally, maintaining proper temperature control during baking ensures each pastry develops that ideal flaky texture. Using precise exfoliation methods can further enhance the dough’s surface, creating a more delicate and crisp crust. Being aware of regional variations in techniques can also help refine your approach to perfecting the pastry.
Proper Dough Chilling Techniques
Chilling your dough properly is essential for creating a flaky, tender crust for Portuguese Pastéis de Nata. Proper chilling relaxes the gluten, firms the fat, and makes rolling easier. To achieve this, follow these steps:
- Wrap the dough tightly in plastic, sealing out air.
- Place it on a flat surface in the fridge, ideally for at least 1-2 hours.
- Keep the dough cold but not frozen—around 40°F (4°C).
- Avoid overworking the dough during chilling, as it can develop gluten and become tough.
Imagine the dough firm and cool to the touch, ready to be rolled out effortlessly, ensuring a crisp, flaky crust once baked. Proper chilling makes a noticeable difference in your pastry’s texture.
Achieving Thin, Even Layers
Once your dough is properly chilled, the key to a flaky, tender crust lies in achieving thin, even layers. Roll the dough gently on a lightly floured surface, applying consistent pressure to avoid thick spots. Turn the dough frequently to maintain an even thickness and prevent sticking. Use a rolling pin with adjustable guides or measure the thickness with a ruler to guarantee uniformity. If the dough resists, let it rest briefly to relax the gluten, making it easier to roll out smoothly. Layering is vital; fold the dough over itself multiple times, chilling between folds if needed, to develop flaky layers. With patience and careful rolling, you’ll create a crust that’s perfectly thin, crisp, and evenly layered.
Correct Baking Temperature
Achieving the perfect flaky crust hinges on baking at the right temperature, as heat activates the butter and helps create those crisp, layered textures. If it’s too low, the pastry becomes pale and soft; too high, and it can burn before cooking through. Aim for a temperature around 220°C (430°F) for ideal results. Visualize:
- The oven door swings open, releasing a warm, buttery aroma.
- The crust rises and turns a deep golden brown, with layers crisping to perfection.
- Tiny bubbles form on the surface, hinting at the flaky layers inside.
- The edges crackle softly as you slide the tray out, ready for that signature crisp bite.
Getting the temperature right ensures your Pastéis de Nata achieve that irresistible flaky, golden crust every time.
Variations and Flavor Enhancements

Many variations and flavor enhancements can elevate traditional pastéis de nata, allowing you to customize these delicious treats to your taste. For a richer custard, try adding a splash of vanilla extract or a hint of lemon zest. Swapping regular sugar for honey or caramel syrup can introduce new sweetness layers. To add complexity, incorporate a pinch of cinnamon or nutmeg into the filling. For a fruity twist, top the pastries with fresh berries or a drizzle of fruit compote. Some bakers experiment with different crusts, such as using puff pastry or adding a hint of almond flour. These tweaks give a unique spin on the classic while maintaining its core appeal. Feel free to mix and match flavors to create a version that’s perfectly suited to your palate.
Common Mistakes and How to Avoid Them
One common mistake when making pastéis de nata is overbaking the custard, which causes it to crack or become rubbery. To avoid this, keep a close eye on the oven and remove the pastries just as the custard sets but before it darkens or cracks. Here are some other mistakes to watch out for:
- Rushing the cooling process, which leads to soggy pastry shells.
- Using too much filling, causing overflowing and uneven textures.
- Not preheating the oven properly, resulting in uneven baking.
- Ignoring the pastry’s temperature, which affects its crispness and flavor.
Authentic vs. Modern Twists
While traditional pastéis de nata have a simple, flaky pastry shell filled with a rich, custardy center, modern twists often incorporate creative flavors and techniques to appeal to contemporary tastes. You might find versions infused with chocolate, vanilla, or fruit, or topped with caramelized sugar or exotic spices. Some bakers experiment with alternative crusts, like graham cracker or puff pastry, to add texture or flavor. These innovations make the pastry more versatile, catering to evolving preferences while maintaining the essence of the classic. However, it’s essential to recognize that these modern versions diverge from tradition. If you’re aiming for authenticity, stick to the classic recipe. But if you’re open to new experiences, exploring these twists can introduce exciting new layers of flavor.
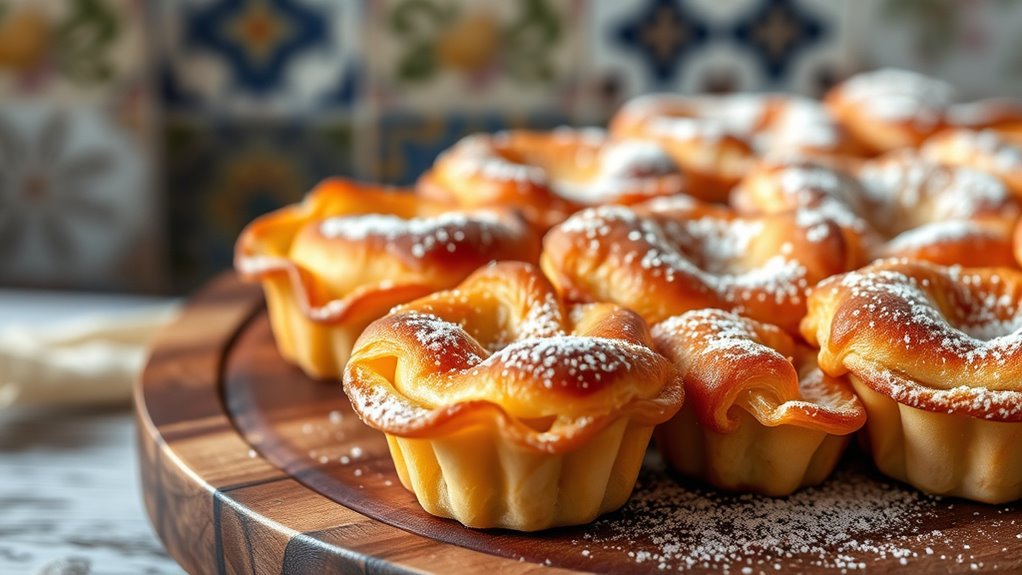
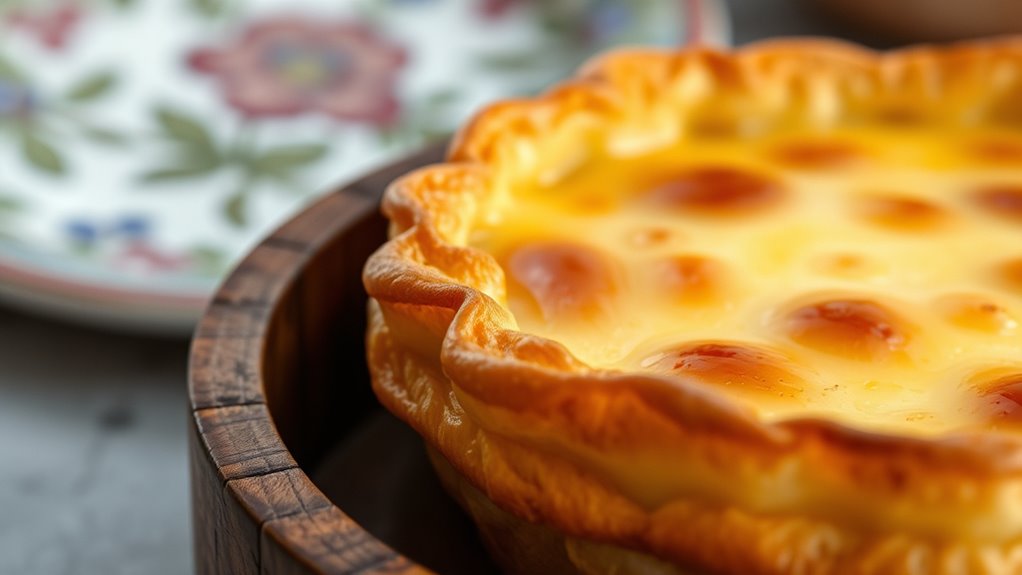
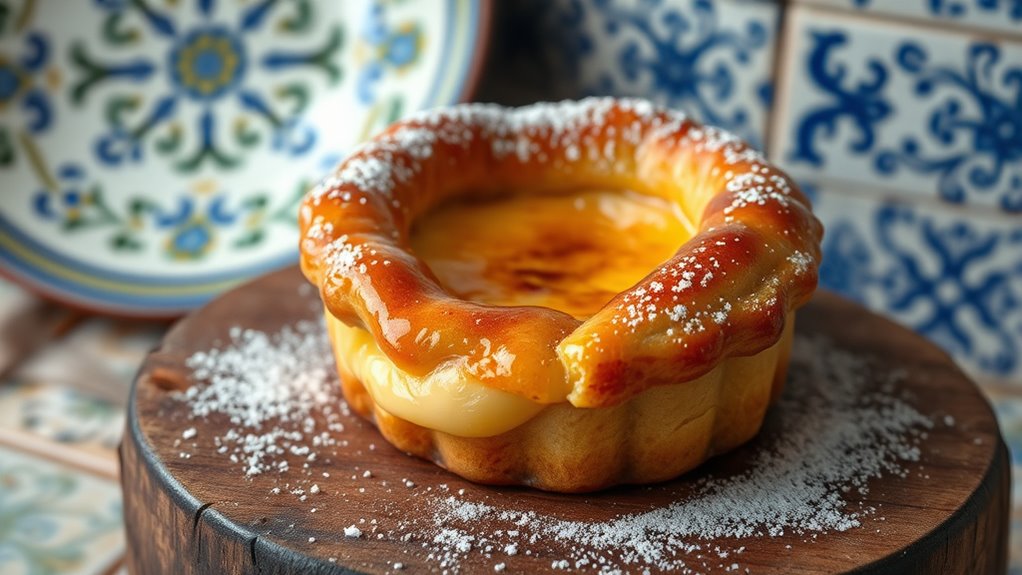
Tips for Serving and Presenting Pastéis De Nata
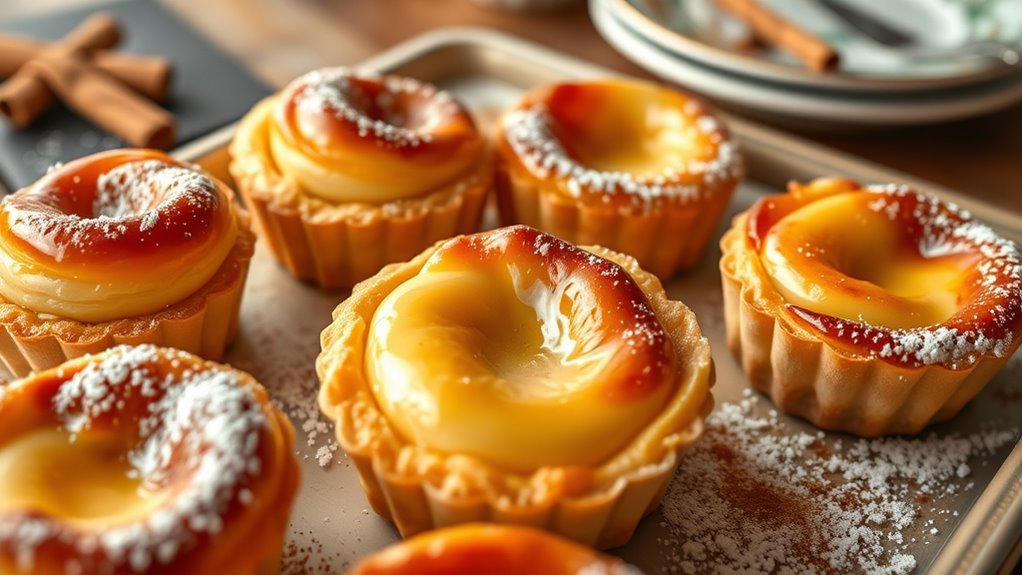
To serve pastéis de nata at their best, focus on presentation that highlights their golden, caramelized tops and flaky layers. Aim for a clean, appealing display that invites curiosity. Place each tart on a small plate or napkin, allowing the crispy crust to shine. For added visual appeal, sprinkle a touch of cinnamon or powdered sugar just before serving. Here are some tips to elevate your presentation:
- Use a wooden or ceramic tray to create a rustic charm.
- Serve with a small dollop of whipped cream or fresh berries for color contrast.
- Present them slightly warm to enhance their aroma and texture.
- Arrange them in a neat row or circle to draw attention and create symmetry.
These simple steps ensure your pastéis de nata look as delicious as they taste.
Frequently Asked Questions
Can I Make Pastéis De Nata Vegan or Gluten-Free?
Yes, you can make pastéis de nata vegan or gluten-free. For a vegan version, substitute butter with plant-based margarine and use dairy-free cream or coconut milk. To make them gluten-free, replace traditional pastry with a gluten-free crust made from almond or rice flour. You might need to tweak the baking process slightly, but with the right ingredients, you’ll enjoy delicious, allergy-friendly versions of this classic treat.
What Are Some Lesser-Known Regional Variations of Pastéis De Nata?
Did you know Portugal has over 250 regional pastry varieties? When exploring lesser-known pastéis de nata variations, you might encounter versions with unique fillings like almond, ricotta, or even fruit preserves. In regions like Alentejo or Madeira, bakers add local flavors that make these treats distinct. So, next time you indulge, try a regional twist—these hidden gems showcase Portugal’s rich, diverse pastry heritage beyond the classic custard tart.
How Do I Prevent the Custard From Cracking During Baking?
To prevent the custard from cracking during baking, you should avoid overbaking it. Bake at a moderate temperature and keep an eye on the custard to verify it’s just set, not overcooked. Also, gently tap the tart to check for a slight jiggle, indicating it’s ready. Using a water bath can help regulate temperature and maintain moisture, reducing the risk of cracks.
Are There Specific Tools Recommended for Achieving the Perfect Caramelized Top?
Oh, the secret to that perfectly caramelized top—just a blowtorch, right? Actually, a culinary torch is your best friend here. It allows you to precisely control the caramelization without overcooking the custard. You’ll want to hold it steady, move in small circles, and watch that sugar turn a beautiful golden brown. It’s like a mini fireworks show for your pastry—without the noise.
How Long Do Pastéis De Nata Stay Fresh Before They Spoil?
You wonder how long your pastéis de nata stay fresh before spoiling. Typically, you should enjoy them within 2-3 days if kept at room temperature, covered lightly to prevent drying out. For longer freshness, store them in an airtight container in the refrigerator, where they’ll last up to a week. Reheat them briefly before serving to restore their crispy crust and creamy filling.
Conclusion
Now that you hold the secrets to making perfect pastéis de nata, you’re not just baking—you’re recreating a piece of Portugal’s soul. With each flaky shell and silky custard, you bridge centuries of tradition and your own culinary artistry. So, why not turn your kitchen into a pastry shop? After all, isn’t every bite a reminder that some of the sweetest stories are baked right into these iconic treats?