You can whip up a delightful no-bake chocolate cake using crushed cookies and toasted hazelnuts for an irresistible treat. Start by mixing your crushed biscuits and hazelnuts with melted chocolate and Nutella for a rich base. Press it into a cake tin, chill for a few hours, then top with glossy chocolate ganache and garnish with hazelnuts or chocolate shavings. This cake balances crunchy and creamy textures that'll impress anyone. There's much more to explore about this decadent dessert!
History

The no-bake chocolate cake has a fascinating history rooted in various Mediterranean and European traditions that emphasize simplicity. This dessert gained traction in the 20th century as home cooks like you sought quicker alternatives to traditional oven-baked cakes, especially during warmer months or in cozy kitchens.
The concept of using cookies as a base emerged from crushed biscuit recipes in the early 1900s, making it accessible and convenient. Hazelnuts, cherished for their rich flavor and health benefits, have long been paired with chocolate, particularly in Italy and France.
Today, the no-bake hazelnut chocolate fridge cake is celebrated for its versatility, inviting you to experiment with different ingredients while honoring its rich heritage.
Recipe
The beauty of this no-bake chocolate cake lies in its simplicity and versatility. You can easily tailor the recipe to your taste by swapping out the nuts or adding in different flavorings like vanilla or espresso.
Plus, the final touch of a glossy chocolate ganache elevates the cake, making it not only delicious but also visually stunning. Let's dive into the ingredients and get started on creating this irresistible dessert.
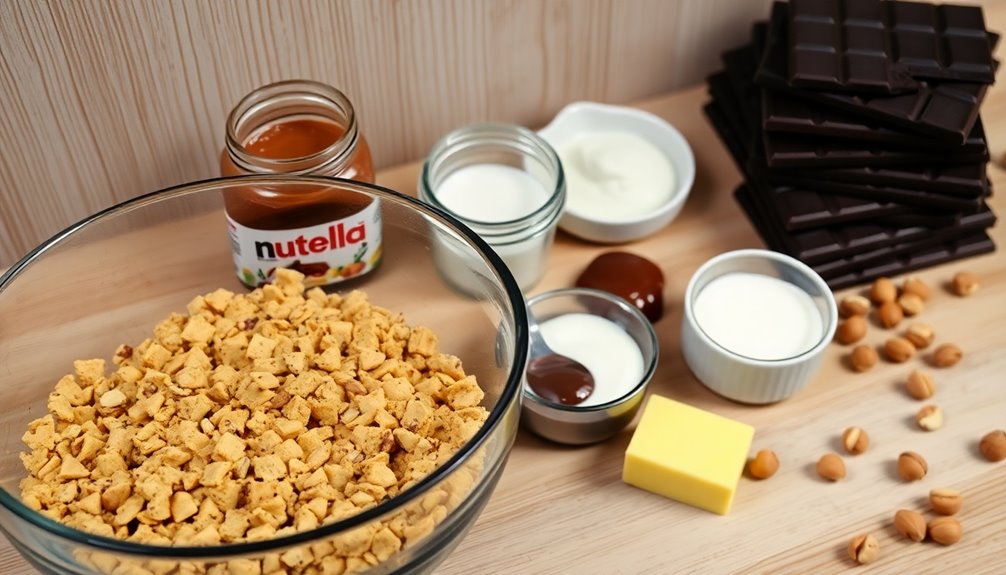
Ingredients:
- 200g crushed digestive biscuits
- 100g chopped toasted hazelnuts
- 100g unsalted butter, melted
- 200g Nutella
- 200ml heavy cream
- 300g dark chocolate (for ganache)
- Additional Nutella (for ganache)
- Extra chopped hazelnuts and crumbled cookies (for garnish)
Instructions:
In a large mixing bowl, combine the crushed digestive biscuits and chopped hazelnuts.
In a separate bowl, melt the butter, Nutella, and heavy cream together until smooth.
Pour this chocolate mixture over the biscuit and hazelnut mixture, stirring until everything is well-coated.
Press the mixture firmly into an 8-inch cake tin lined with foil, ensuring it's evenly distributed.
Chill the cake in the refrigerator for 1-2 hours until it sets firmly.
To prepare the ganache, heat the heavy cream and mix it with melted dark chocolate and additional Nutella until glossy.
Once the cake has set, pour the ganache over the top and refrigerate again until ready to serve.
Extra Tips:
For the best texture, ensure that your biscuits are finely crushed, as this will help the cake hold together better.
You can also experiment with different types of chocolate, such as milk or white chocolate, for a unique flavor profile.
If you're looking to add a hint of flavor, consider incorporating a splash of vanilla extract or a teaspoon of instant coffee granules into the chocolate mixture.
Lastly, make sure to keep the cake chilled until serving, as it tastes best when served cold! Additionally, adding chia seeds can provide essential nutrients that support overall wellness in your diet.
Cooking Steps
To start making your no-bake chocolate cake, you'll crush the cookies and hazelnuts to create a flavorful base.
Then, mix them with the melted chocolate for a rich, sticky dough.
Once combined, you'll chill the mixture in the fridge to set before shaping and serving your delicious creation. Additionally, consider serving it with a scoop of sugar-free vanilla ice cream for a delightful contrast in flavors and textures.
Step 1. Crush Hazelnuts and Cookies

Start by crushing 12-13 oz of plain tea cookies or digestive biscuits until you get a crumbly texture that's perfect for mixing.
Next, toast 100 g (4 oz) of hazelnuts in the oven at 350°F (180°C) for about 10-15 minutes.
Once they cool, use a paper towel to remove the skins and chop the roasted hazelnuts into smaller pieces.
In a bowl, combine the crushed cookies and chopped hazelnuts, mixing them thoroughly for an even distribution.
Ensure the mixture is sticky enough to hold together when pressed into the cake pan. If it isn't, adjust the ratios slightly.
This mixture will provide a crunchy base for your chocolate mixture, setting the stage for a delicious no-bake cake. Additionally, using quality grass-fed butter in your chocolate mixture can enhance the flavor and nutritional profile of the cake.
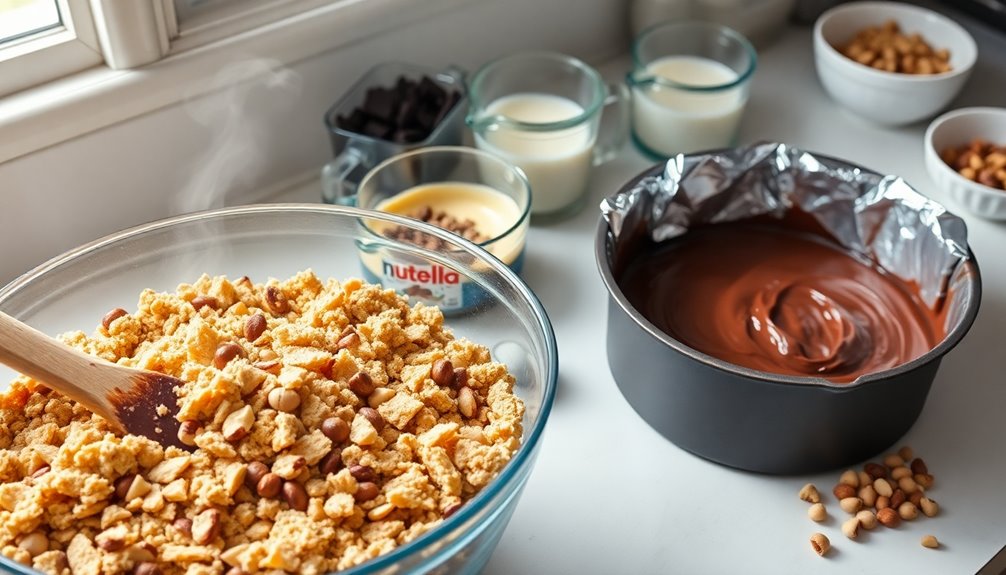
Step 2. Mix With Melted Chocolate
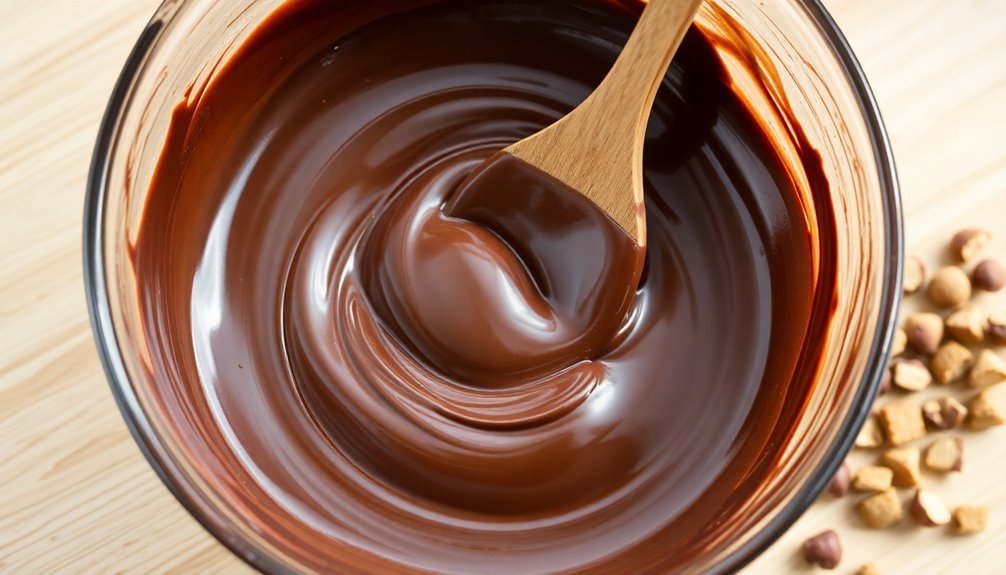
With your crunchy base of crushed cookies and hazelnuts ready, it's time to mix in the melted chocolate.
Start by melting 115 g of chocolate, along with 4 tablespoons of Nutella and 115 g of butter, using a microwave or double boiler. Stir every 30 seconds until smooth.
In a separate bowl, combine your cookie and hazelnut mixture.
Once the chocolate ganache is fully melted, pour it over the cookie mixture. Gently stir to ensure everything's well-coated, forming a sticky dough. Additionally, the use of butter in cooking not only enhances flavor but also aids in achieving the right texture in baked goods.
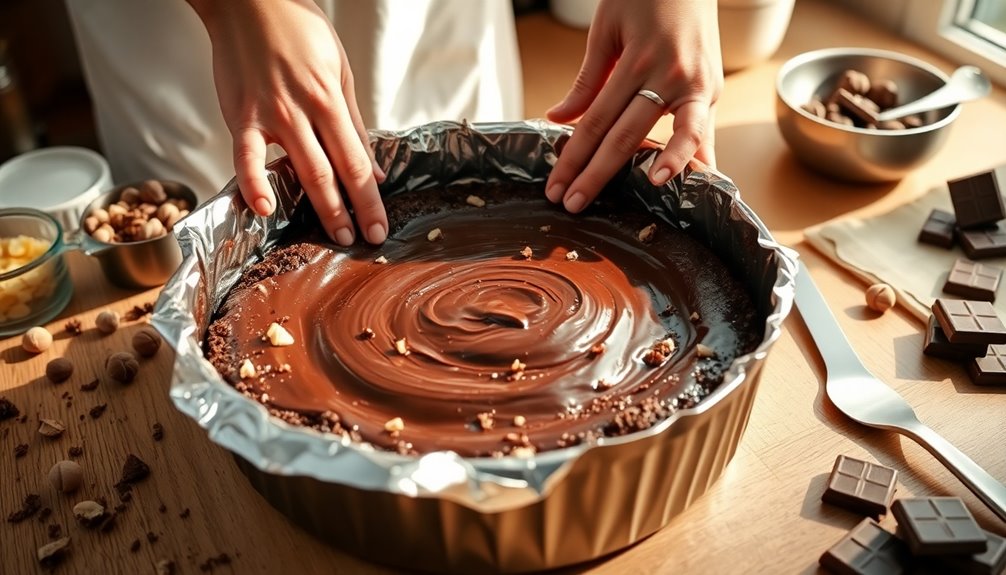
Finally, press this chocolate-coated mixture firmly into an 8-inch pan lined with foil and greased with butter. Make sure it's even for proper setting, and get ready for the next step!
Step 3. Chill Mixture in Fridge

Now that you've pressed the chocolate-coated mixture into the prepared cake tin, it's time to let it chill in the fridge.
This step is crucial for ensuring your no-bake chocolate cake sets properly. Place the tin in the refrigerator and chill the mixture for 1-2 hours. This allows the cake to firm up, making it easy to slice later.
Make sure the mixture is evenly distributed in the tin so every bite has the delightful crunch of chopped hazelnuts. If it's not fully set after the initial chilling time, don't hesitate to leave it longer.
A little extra time in the fridge can make all the difference in achieving the perfect texture for this easy-to-make dessert! Additionally, serving it alongside a protein-rich start can create a balanced meal experience.
Step 4. Form Into Desired Shape
To form your no-bake chocolate cake into the desired shape, carefully remove it from the fridge after the chilling period.
Start by gently lifting the cake out of the lined 8-inch cake tin using the parchment paper. The mixture should hold together well, thanks to the crushed cookies and chopped hazelnuts.
If you want to enhance its look, consider shaping the edges or smoothing the top with a spatula. You can also add decorative elements, like extra chopped hazelnuts or a drizzle of melted chocolate. Dirt Cups are a fun way to incorporate layers in desserts, which can inspire your cake design.
Just remember, the key is to maintain the cake's integrity while achieving your preferred design. Once you're satisfied with the shape, it's all set for the next step!
Step 5. Slice and Serve Chilled
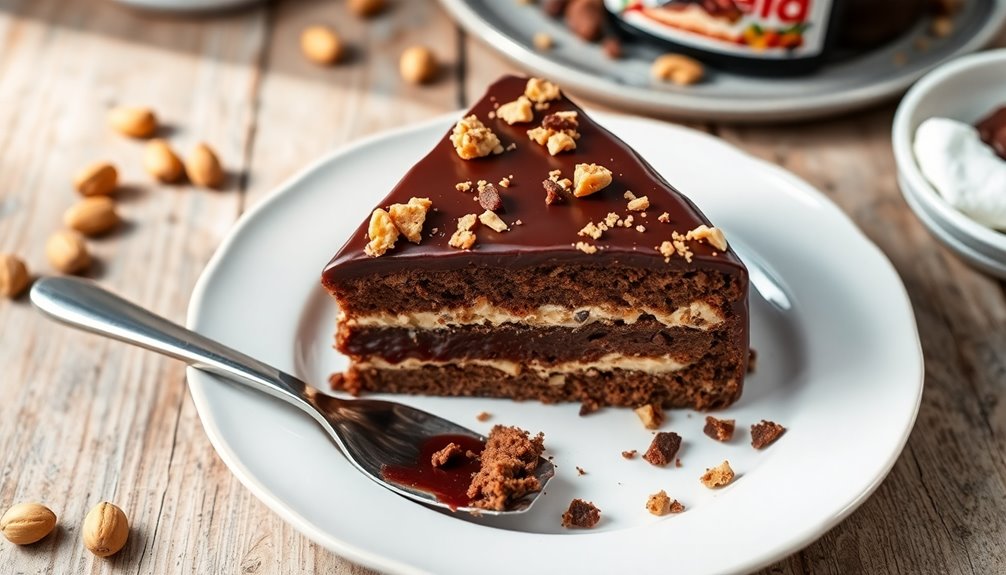
After shaping your no-bake chocolate cake, it's time to slice and serve it chilled. First, let the cake set in the refrigerator for at least 2 hours.
Once set, carefully lift it out of the pan using the foil. Using a sharp knife, slice the cake into even pieces, making sure to cut through the chocolate ganache and cookie layers cleanly.
For the best presentation, chill the cake for an extra hour after glazing to help the ganache firm up and maintain its glossy finish. Serve each slice chilled to fully appreciate its rich texture and flavors.
To elevate your presentation, garnish with a sprinkle of chopped hazelnuts or additional chocolate shavings for that delightful crunch. Additionally, consider pairing your dessert with a glass of milk to enhance the newborn feeding options experience for the little ones. Enjoy!
Final Thoughts
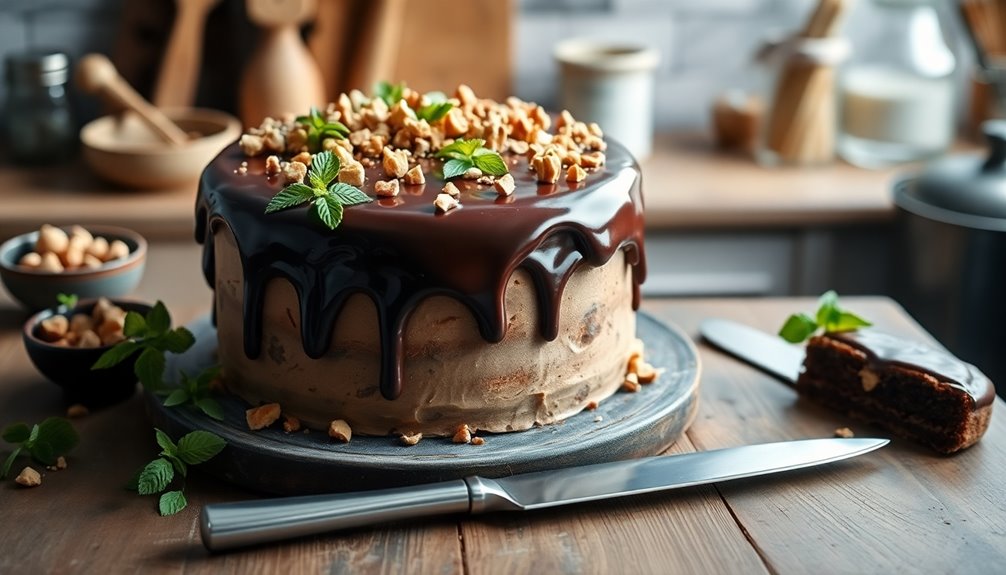
While you might be tempted to stick with traditional baked desserts, the no-bake chocolate hazelnut cake offers a delightful alternative that's both easy to prepare and impressively delicious.
With minimal effort, you can whip up this decadent treat using crushed cookies and toasted hazelnuts, creating a perfect balance of crunchy and creamy textures.
Don't forget the crucial step of refrigeration; allowing the cake to chill for at least 2 hours ensures it sets properly and achieves that desired firmness.
Topping it off with a glossy chocolate ganache elevates the dish, adding an extra layer of rich flavor and visual appeal.
Plus, this versatile recipe lets you customize ingredients to suit your personal tastes and dietary needs. A no-bake meal option is a fantastic way to enjoy delicious desserts without the hassle of baking.
Enjoy a slice of indulgence!
Frequently Asked Questions
Can I Substitute Cookies With Gluten-Free Options?
Absolutely, you can substitute cookies with gluten-free options!
Look for gluten-free cookies that have a similar texture and flavor to traditional ones. Almond flour, oat flour, or rice flour cookies work great.
Just make sure to check the ingredients for any hidden gluten sources.
When you use these alternatives, you'll maintain the deliciousness while accommodating your dietary needs.
Enjoy experimenting with different flavors and textures in your recipe!
How Long Does the No Bake Chocolate Cake Last?
Your no-bake chocolate cake can last in the fridge for about 3 to 5 days if stored properly in an airtight container.
If you want to keep it longer, consider freezing it, where it can last up to a month. Just make sure to wrap it well to avoid freezer burn.
When you're ready to enjoy it again, let it thaw in the fridge overnight for the best texture and flavor.
Can I Freeze the No Bake Chocolate Cake?
Imagine a treasure trove of desserts, waiting for you to unlock their delight.
Yes, you can freeze the no bake chocolate cake! Wrap it tightly in plastic wrap or aluminum foil to keep those flavors intact.
When you're ready to indulge, just let it thaw in the fridge for a few hours.
This way, you'll have a sweet surprise at your fingertips whenever the craving strikes, keeping your taste buds dancing!
What Is the Best Chocolate to Use?
When it comes to choosing the best chocolate, you can't go wrong with high-quality dark chocolate.
Look for chocolate that contains at least 60% cocoa solids; it'll give you a rich flavor without being overly sweet.
If you prefer a creamier texture, semi-sweet chocolate chips work well too.
For a unique twist, consider using milk chocolate or even a mix of different types to create the perfect balance for your dessert.
Are There Any Nut-Free Alternatives for This Recipe?
If you're looking for nut-free alternatives, there are plenty of options you can consider.
Try using seeds like sunflower or pumpkin seeds, which can provide a similar texture. You could also substitute crushed cookies or biscuit crumbs for the nut element.
For added flavor, consider incorporating coconut or using a nut-free chocolate spread. Just make sure to check labels to ensure there are no hidden nut ingredients in your choices.
Conclusion
As you take that first blissful bite of your no-bake chocolate cake, the rich, velvety chocolate melts on your tongue, mingling with the crunch of hazelnuts and the sweetness of crushed cookies. Each mouthful transports you to a cozy kitchen, where the aroma of chocolate lingers in the air. This delightful creation, effortlessly crafted without an oven, proves that indulgence can be both simple and extraordinary, leaving you craving just one more heavenly slice.