Pumpkin muffins are a delicious blend of rich pumpkin flavors and warm spices, perfect for breakfast or a snack. With roots in early American cooking, these treats have evolved to include mix-ins like chocolate chips and nuts for extra flavor. They're easy to make, requiring just 10 minutes of prep time. Stored properly, they stay fresh for a week. Whether you enjoy them warm or cool, there's much more to discover about their history and preparation techniques.
History
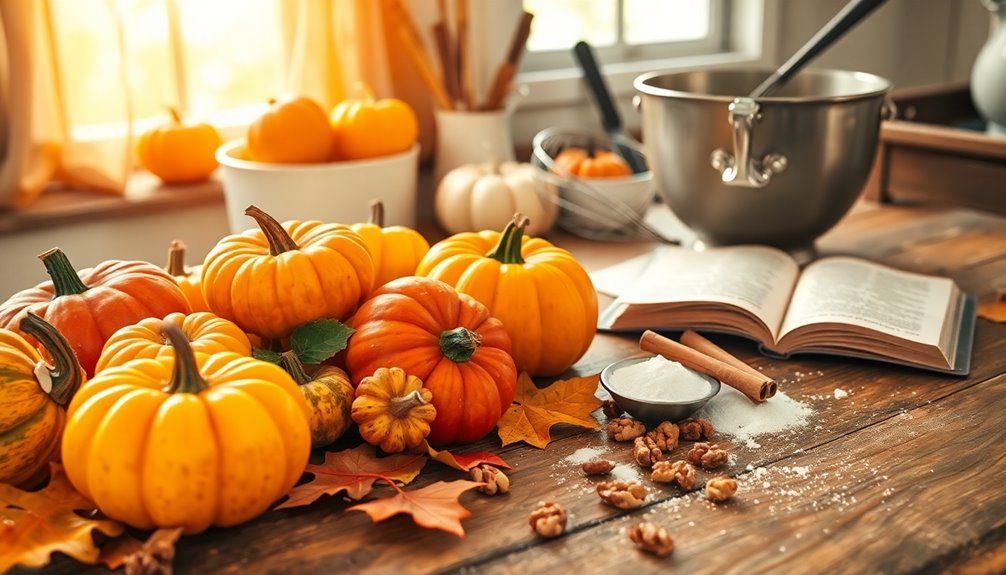
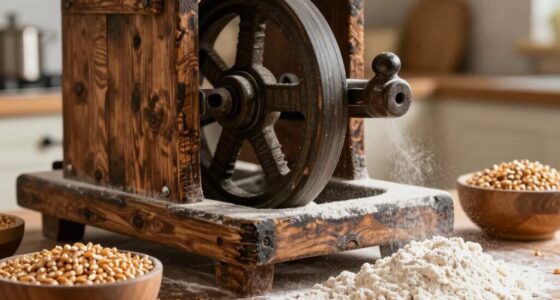
When you explore the history of pumpkin muffins, you'll find that their roots stretch back to early American cooking, shaped by Native American traditions that celebrated the use of pumpkins in various dishes. Pumpkin was often a key ingredient in nutritious breakfast options, showcasing its versatility in both savory and sweet recipes. As home baking gained traction in the 19th century, the combination of pumpkin and baked goods became increasingly popular, especially with the introduction of baking powder. Additionally, the rise of alimony types in American society mirrored the changes in family dynamics during the same period, as baked goods often became part of communal gatherings that offered support during difficult times. The incorporation of pumpkin in these recipes can also be linked to the interest rates that influenced agricultural production and availability of ingredients.
The early 20th century saw the first published pumpkin muffin recipe, reflecting a growing interest in seasonal ingredients. These muffins became a staple during the fall, aligning with Thanksgiving celebrations. Over the years, the versatility of pumpkin muffins led to numerous adaptations, incorporating spices, chocolate, and nuts, catering to a variety of tastes and dietary preferences. The rise of health consciousness has also influenced the use of alternative ingredients in muffin recipes, promoting a shift towards healthier baking practices.
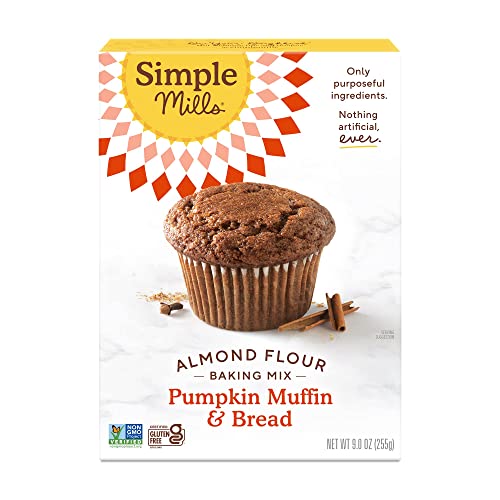
Simple Mills Almond Flour Baking Mix, Pumpkin Muffin & Bread Mix – Gluten Free, Plant Based, Paleo Friendly, 9 Ounce (Pack of 1)
- Product Quantity: 9-ounce box of baking mix
- Main Ingredients: Almond flour and real pumpkin
- Dietary Friendly: Gluten free, plant based, paleo
As an affiliate, we earn on qualifying purchases.
As an affiliate, we earn on qualifying purchases.
Recipe
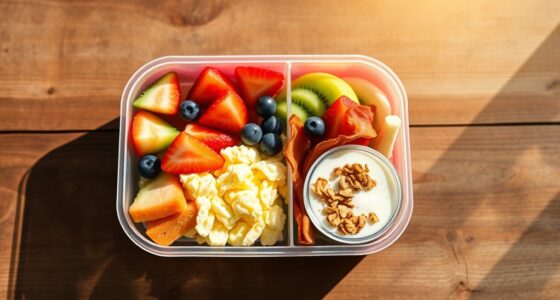
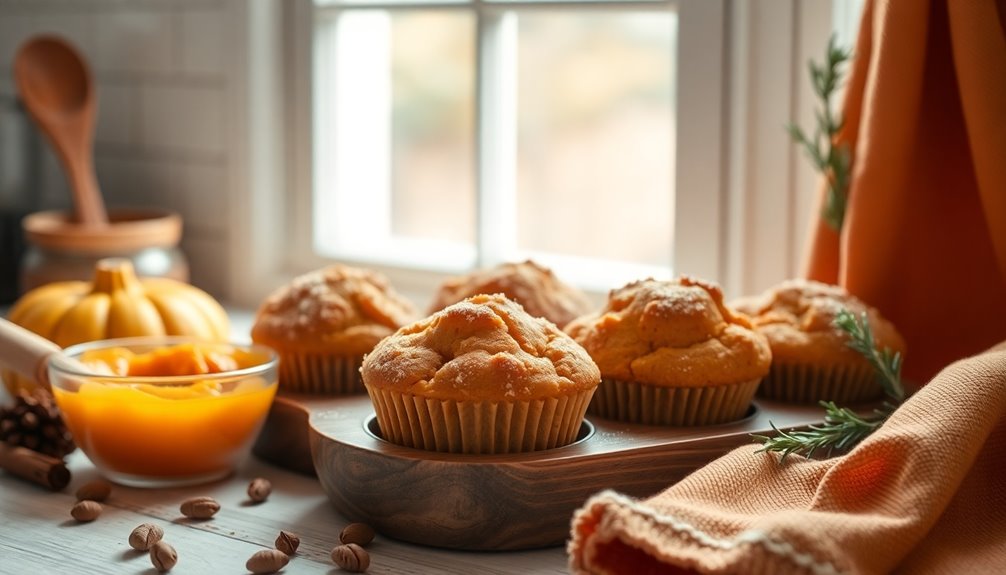
Pumpkin muffins are the perfect autumn treat that combines the rich, warm flavors of pumpkin and spices with a moist, tender crumb. They're easy to make and are sure to be a hit whether enjoyed for breakfast, as a snack, or as a delightful dessert. These muffins can also be paired with a Turkey Bean and Tomato Zoodle Bowl for a well-rounded meal. Additionally, be mindful that some toppings, like chocolate chips, can contribute to a higher sugar content in your muffins.
With the simple blend of key ingredients, you can whip up a batch in no time, filling your kitchen with a heavenly aroma that embodies the essence of fall. This versatile recipe allows for creativity, enabling you to customize your muffins with a variety of mix-ins like chocolate chips, nuts, or dried fruit. Global culinary delights can inspire your own creative twists on this classic recipe. Additionally, incorporating high-quality equipment can elevate your baking experience and the final product.
Whether you prefer a classic pumpkin muffin or want to experiment with different flavors, this recipe is forgiving and delicious.
Cooking Steps
To get started on your pumpkin muffins, you'll want to preheat your oven to 350°F.
As the oven warms up, mix your dry ingredients thoroughly in one bowl, then gradually add the wet ingredients in another. Adding fresh orange juice can enhance the flavor and moisture of your muffins.
Finally, fold in some chocolate chips for an extra treat before spooning the batter into muffin cups. Incorporating a budget plan can also help you manage the cost of ingredients effectively.
Step 1. Preheat Oven to 350°F
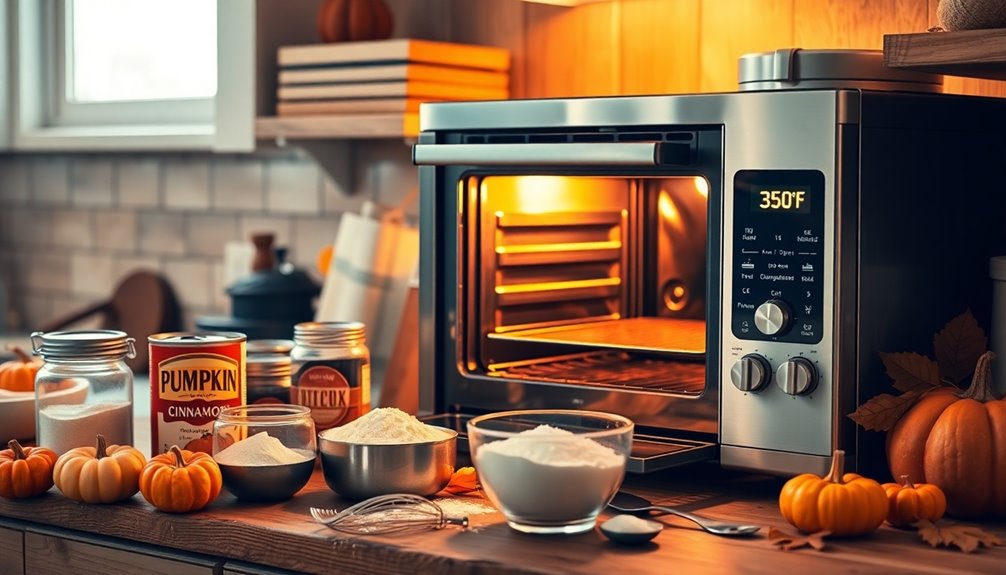
Preheating your oven to 350°F (175°C) is crucial for baking perfect pumpkin muffins. A preheated oven creates optimal baking conditions, ensuring your muffins rise beautifully and cook evenly.
Before you pop your muffins in, allow the oven to fully heat up, typically checking the preheating time of about 10-15 minutes. This step is essential for achieving that nice dome shape on top.
To verify the temperature, consider using an oven thermometer, as inconsistent heat can disrupt the baking process.
If you're using dark or non-stick muffin pans, remember to adjust the baking time, since they may require slightly less time than standard pans.
Following these steps will lead to delicious results!
Step 2. Mix Dry Ingredients Thoroughly
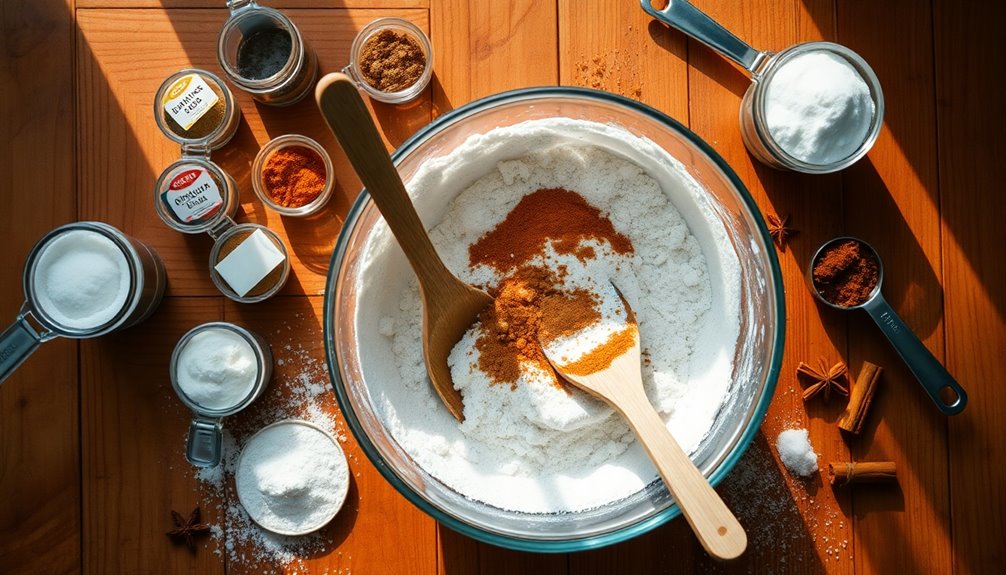
Start by measuring your dry ingredients accurately, as this step is vital for fluffy pumpkin muffins. Use the spoon and swoop method to avoid excess flour, which can lead to dense muffins.
In a large mixing bowl, combine all your dry ingredients, including flour, baking soda, and spices, ensuring they're evenly distributed. Whisk the mixture thoroughly to break up any clumps and to make sure the baking soda and spices are well incorporated.
If you're adding mix-ins like nuts or chocolate chips, incorporate them into the dry mixture now for even distribution.
Once you add the wet ingredients later, remember to gently fold the batter until just combined; over-mixing can lead to tough muffins, and we want delicious pumpkin muffins!
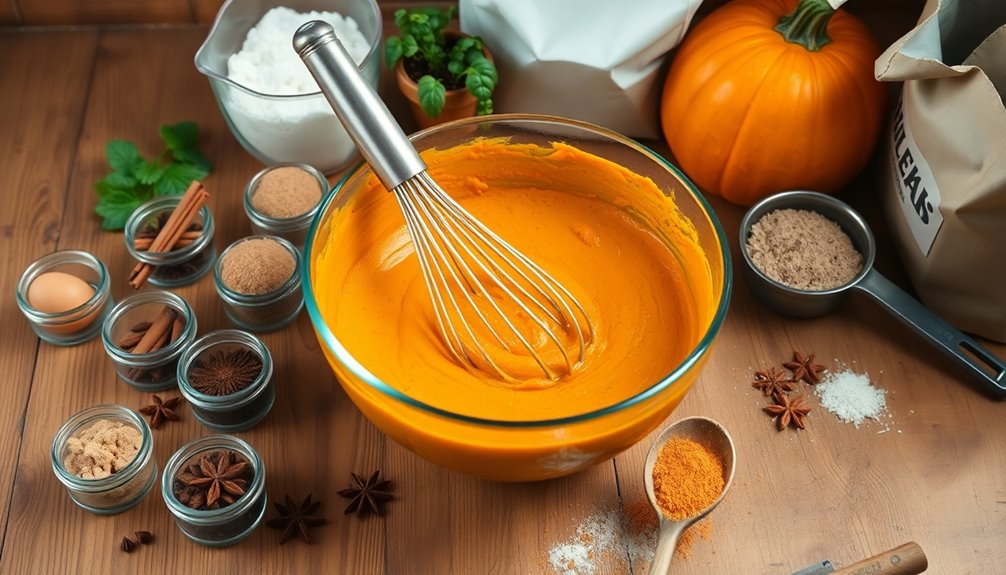
Step 3. Add Wet Ingredients Gradually

With your dry ingredients well mixed, it's time to add the wet ingredients gradually.
Start by whisking together the eggs, pumpkin puree, and any liquids like milk or oil in a separate bowl.
Then, gently pour this mixture into your dry ingredients.
Stir the wet ingredients into the dry mix until just combined—be careful not to overmix.
Overmixing can lead to dense muffins instead of the fluffy muffins you desire.
Your goal is to combine the ingredients until no visible flour remains, but don't work the batter too much, as this can affect the texture negatively.
This gradual incorporation ensures a smooth consistency and helps achieve the perfect pumpkin muffin every time.
Enjoy your baking!
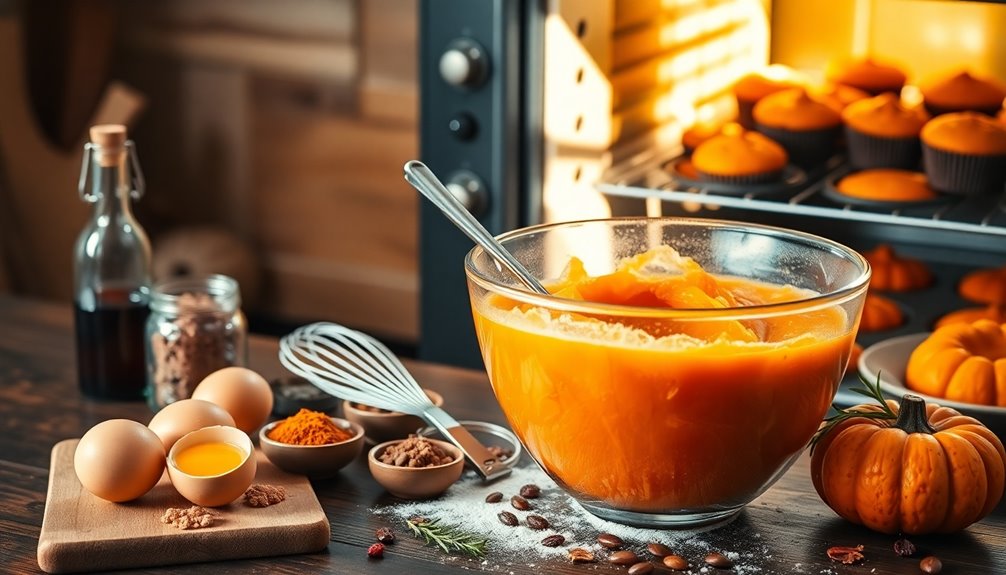
Step 4. Fold in Chocolate Chips

Gently fold in 1 cup of semi-sweet or dark chocolate chips into your pumpkin muffin batter once it's well combined.
Make sure no flour pockets remain in the mixture. Using a spatula, carefully incorporate the chocolate chips without over-mixing, ensuring you fold from the bottom of the bowl to distribute them evenly throughout the batter.
If you prefer, you can use mini chocolate chips for a delightful twist. These pumpkin muffins are easy to make and will be among the best muffins you've ever baked.
Once you've folded in the chocolate chips, fill each prepared muffin cup to the top for an optimal rise. Bake as directed, and when a toothpick inserted comes out clean, your muffins are ready!
Step 5. Spoon Batter Into Muffin Cups
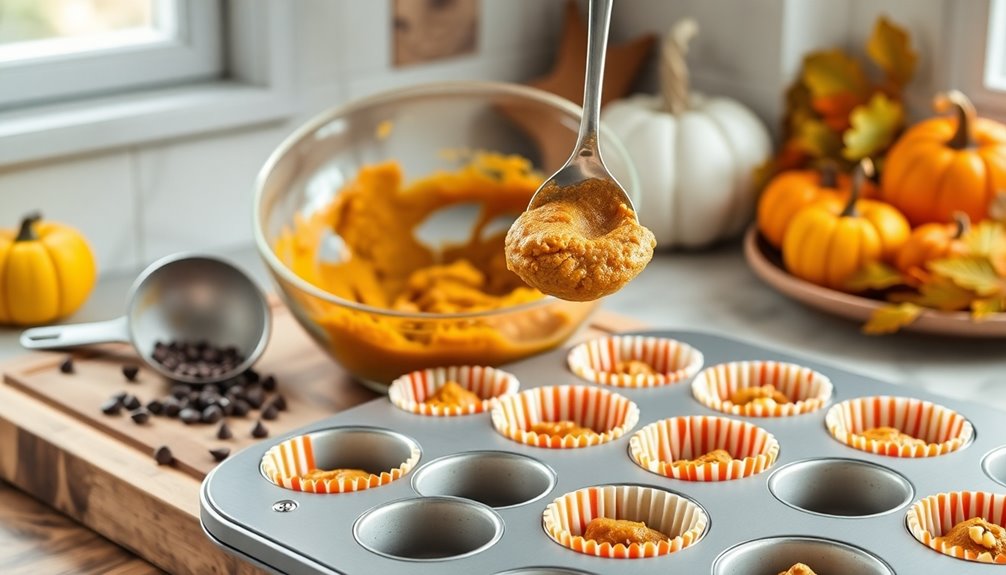
Scoop the pumpkin muffin batter into your prepared muffin cups, filling each one about 3/4 full. This allows the muffins to rise properly while baking.
Use a large spoon or ice cream scoop to portion the batter and ensure you evenly distribute it among the muffin cups for uniform baking and consistent size.
If you're using liners, gently tap the filled muffin tin on the counter to settle the batter and remove any air bubbles.
For added texture, sprinkle optional toppings like oats or sugar on top before baking.
Lastly, be sure to clean any excess batter from the edges of the muffin cups to prevent burning and ensure easy removal after they're done baking.
Final Thoughts
There's something special about pumpkin muffins that makes them a beloved choice for many.
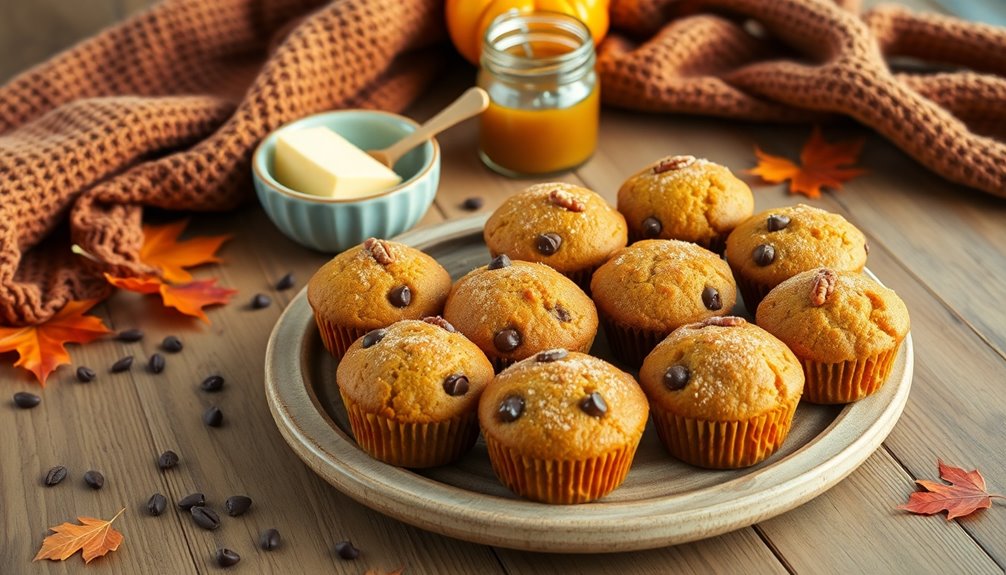
These easy pumpkin muffins, made with pumpkin puree and warming spices, offer a delightful pumpkin spice flavor that evokes the cozy essence of fall. You can customize your muffins with various add-ins, like chocolate chips or nuts, to suit your taste.
The moist muffins you create will be perfect for breakfast or snacks, and you can store them at room temperature for up to a week. Plus, with a basic muffin recipe that requires no mixer and takes just 10 minutes to prepare, there's no reason not to whip up a batch.
Enjoy the comfort and joy that healthy pumpkin muffins bring!
Frequently Asked Questions
Can Pumpkin Muffins Be Made Gluten-Free?
Absolutely, you can make gluten-free baked goods!
Simply substitute regular flour with gluten-free alternatives like almond flour, coconut flour, or a gluten-free all-purpose blend.
Make sure to check the packaging for any additional binders needed, like xanthan gum, which can help maintain the texture.
Adjust the liquid ingredients slightly if necessary, and you'll have a delicious gluten-free treat that everyone can enjoy.
It's a fun way to experiment in the kitchen!
How Should I Store Leftover Pumpkin Muffins?
To store leftover muffins, you've got a couple of great options.
First, let them cool completely before wrapping them tightly in plastic wrap or placing them in an airtight container. This'll keep them fresh for up to three days at room temperature.
If you want to keep them longer, freeze them! Just make sure to seal them well to prevent freezer burn.
When you're ready, thaw them at room temperature or pop them in the microwave.
Can I Freeze Pumpkin Muffins for Later Use?
Absolutely, you can freeze them for later use!
Imagine biting into a warm, freshly baked treat, even weeks after you made it.
To freeze, wrap each muffin in plastic wrap, then place them in an airtight container or freezer bag. This keeps them fresh and prevents freezer burn.
When you're ready to enjoy, just thaw them at room temperature or pop them in the microwave for a quick, delicious snack!
What Are Some Good Mix-Ins for Pumpkin Muffins?
When you're looking to enhance your muffins, think about adding mix-ins that complement their flavor.
Chopped nuts like walnuts or pecans add crunch, while chocolate chips bring sweetness. You could also stir in dried fruit, like raisins or cranberries, for a chewy texture.
Spices like cinnamon or nutmeg can deepen the flavor, too. Don't forget about shredded coconut for a tropical twist!
Mix and match to find your favorite combination!
How Do I Know When Pumpkin Muffins Are Done Baking?
Did you know that about 95% of baked goods are overcooked?
To know when your muffins are done, stick a toothpick into the center. If it comes out clean or with just a few crumbs, they're ready.
You can also gently press the tops; they should spring back. Keep an eye on the color too; they should be golden brown.
Trust your instincts, and you'll master the art of perfect muffins!