
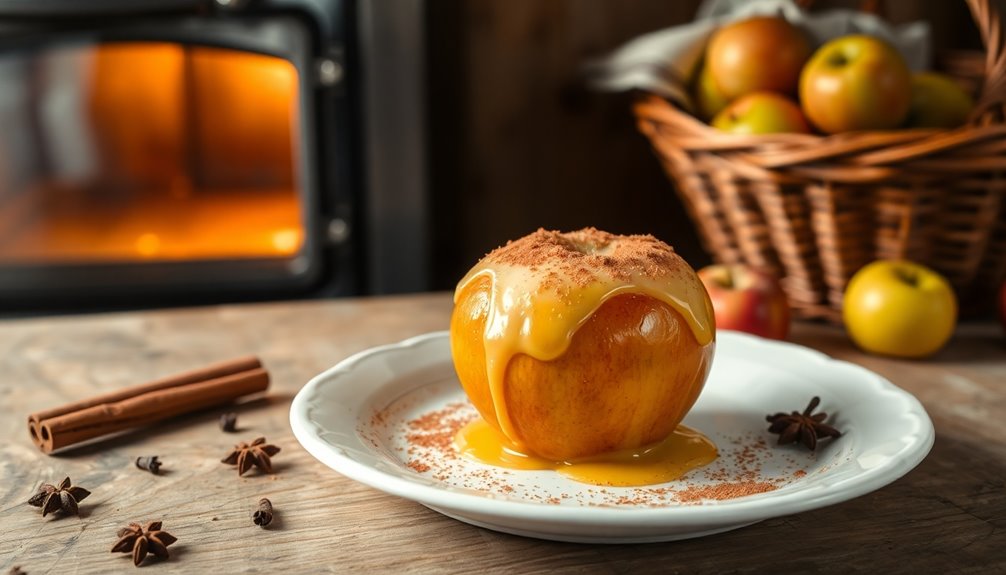
Baked apples with cheese and cinnamon are a perfect fall treat you can easily make at home. You'll enjoy the sweet apples combined with creamy cheese and a hint of warm cinnamon. Start by coring apples, filling them with a luscious cream cheese mixture, and baking until tender. This classic dish brings together cozy flavors that are great for sharing or enjoying alone. Stick around to explore the recipe details and tips for customizing this delightful dessert!
History
Baked apples with cheese have a rich history that dates back to medieval Europe, where the blend of sweet and savory flavors was all the rage.
By the 18th century, baked apples became a common dessert in American households, showcasing the influence of British cooking.
In the 18th century, baked apples emerged as a popular dessert in American homes, reflecting British culinary traditions.
You might find it interesting that in the Northeastern United States, the pairing of baked apples and cheddar cheese gained popularity due to local production of both ingredients.
This delightful dish is often tied to fall harvest celebrations, as apples are in season and cheese making thrives in autumn.
Over time, baked apples with cheese have evolved across various cultures, adapting regional ingredients and preferences, and highlighting the dish's versatility and enduring appeal.
Top picks for "appl cheese cinnamon"
Open Amazon search results for this keyword.
As an affiliate, we earn on qualifying purchases.
Recipe
Baked apples with cheese and cinnamon are a delightful fall treat that combines the sweetness of apples with the savory richness of cheese and the warm spice of cinnamon. This comforting dessert isn't only easy to prepare but also offers a wonderful way to enjoy seasonal flavors.
The process involves coring the apples and filling them with a creamy cheese mixture, which then bakes to perfection, creating an inviting aroma that fills your kitchen. Perfect for a cozy gathering or a family dinner, these baked apples can be customized to suit your taste.
Whether you prefer the tartness of Granny Smith apples or the sweetness of Honeycrisp, there's an apple variety that will complement the dish beautifully. Additionally, experimenting with different cheeses, such as goat cheese for a tangy twist or sharp cheddar for a bold flavor, can elevate this simple dessert into a gourmet experience.
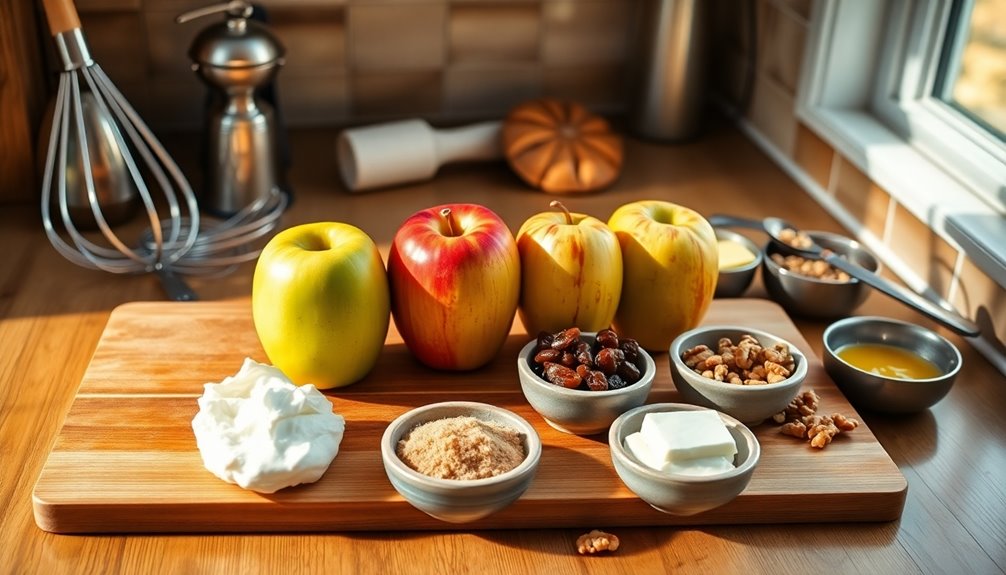
Ingredients:
- 4 medium apples (Granny Smith, Honeycrisp, or your choice)
- 1 cup cream cheese, softened
- 1/2 cup raisins
- 1/4 cup cinnamon sugar (or to taste)
- 1/2 cup chopped walnuts (optional)
- 1 tablespoon butter
- Additional cinnamon sugar for topping (optional)
Cooking Instructions:
Preheat your oven to 350°F (175°C). Begin by coring the apples, making sure to leave the bottoms intact to hold the filling.
In a bowl, mix the softened cream cheese with raisins and cinnamon sugar until well combined. Spoon the cheese mixture into each cored apple, packing it in gently. Place the filled apples in a baking dish, dot with butter, and sprinkle with walnuts if desired.
Bake for 30 to 40 minutes, or until the apples are tender and the cheese is bubbly.
Extra Tips:
For the best results, choose apples that are firm and ripe to ensure they hold their shape during baking. You can also experiment with adding a splash of vanilla extract or a drizzle of honey to the cheese mixture for extra flavor.
To make this dish even more decadent, consider serving the baked apples warm with a scoop of vanilla ice cream or a dollop of whipped cream. Enjoy your creation and the delightful aroma that will fill your home!
Cooking Steps
To get started, preheat your oven to 350°F.
Next, core the apples, making sure to leave enough at the bottom to hold the delicious cheese mixture you'll prepare.
Once you've stuffed the apples, you'll be ready to bake them to perfection!
Step 1. Preheat Oven to 350°F
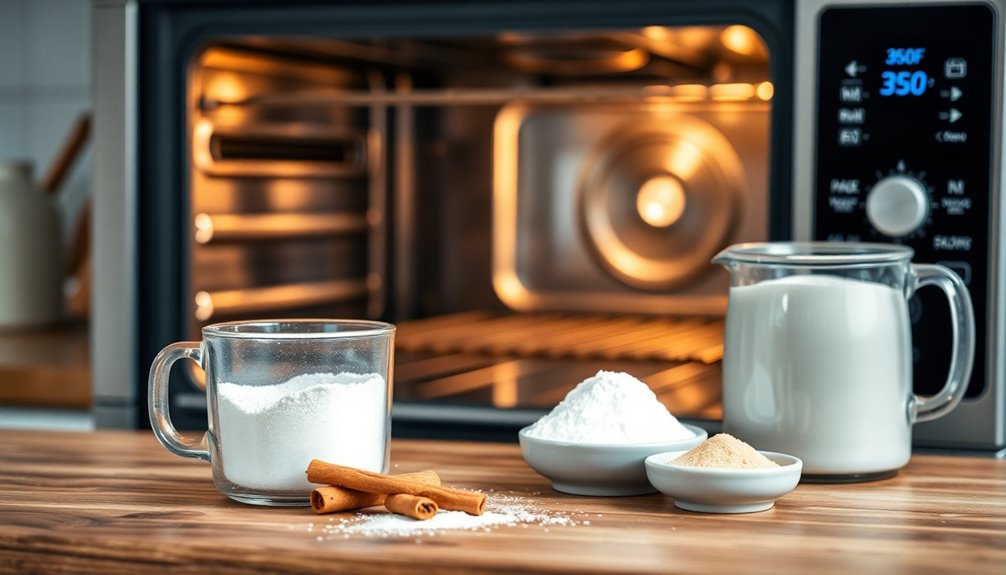
Getting your oven ready is essential for perfect baked apples. Start by preheating it to 350°F. This temperature ensures an even baking environment, helping your apples achieve that ideal tender texture.
Once the oven's ready, you can move on to preparing the apples by coring them and filling the centers with a delicious mixture of cheese, raisins, and spices. Flavorful appetizers can also serve as a delightful complement to your baked apples.
Place the filled apples in a baking dish and pop them in the preheated oven. Baking them for about 25 to 35 minutes will give you the desired tenderness.
For an extra touch, consider adding a slice of cheese on top just before they're done to create a creamy layer. Basting them occasionally with their own juices will enhance their sweetness, too!
Step 2. Core the Apples First

Core the apples first to create the perfect vessel for your delicious filling. Use an apple corer or a spoon to hollow out the center, removing the seeds and creating enough space for your filling.
Make sure to leave at least 1.5 inches of apple intact at the bottom; this prevents any filling from leaking out while baking. To help achieve a tender texture, score the skin with a sharp knife so steam can escape.
Choose firm baking apple varieties, like Granny Smith or Honeycrisp, as they'll hold up well during the baking process without turning mushy.
After coring, consider widening the hole at the top for easier filling and better melting of cheese during baking.
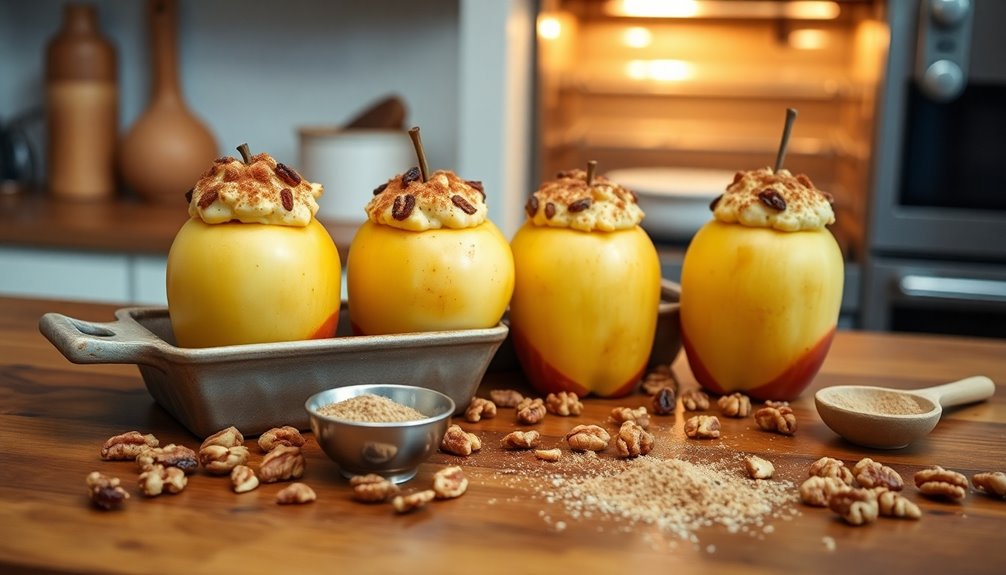
Step 3. Stuff With Cheese Mixture

With the apples cored and ready, it's time to prepare a delicious filling that will elevate your baked treat.
In a small bowl, mix your choice of cheese, like goat cheese or cheddar, with raisins and a sprinkle of cinnamon sugar. This combination creates a flavorful filling that pairs perfectly with the sweetness of the baked apples.
Carefully stuff the hollowed-out apple cavities with your cheese mixture, packing it gently to avoid overflow. For the best results, place the stuffed apples in a small dish or ramekin, which helps them maintain their shape and ensures even cooking.
With this cheesy filling, your apple with cinnamon will soon be a delightful dessert ready for the oven!
Step 4. Bake for 25 Minutes
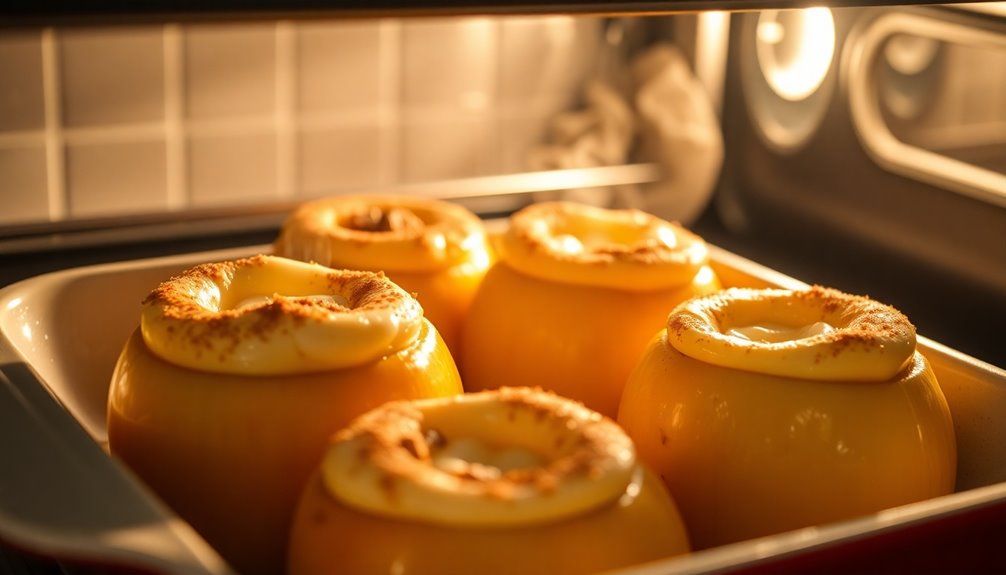
Now that your stuffed apples are ready, preheat the oven to 350°F to ensure even cooking.
Carefully place your cored and filled apples in a baking dish, making sure they're spaced evenly. It's time to bake for 25 minutes.
Keep an eye on them as they cook; different apple varieties may require slight adjustments to the baking time for optimal tenderness. You want them soft but still holding their shape.
After baking, let the apples cool for a few minutes. This cooling period helps enhance the flavors and ensures they're safe to eat.
Once they've cooled slightly, you'll be ready to enjoy the delicious combination of cheese, walnuts, and cinnamon in every bite!
Step 5. Add Honey Before Serving
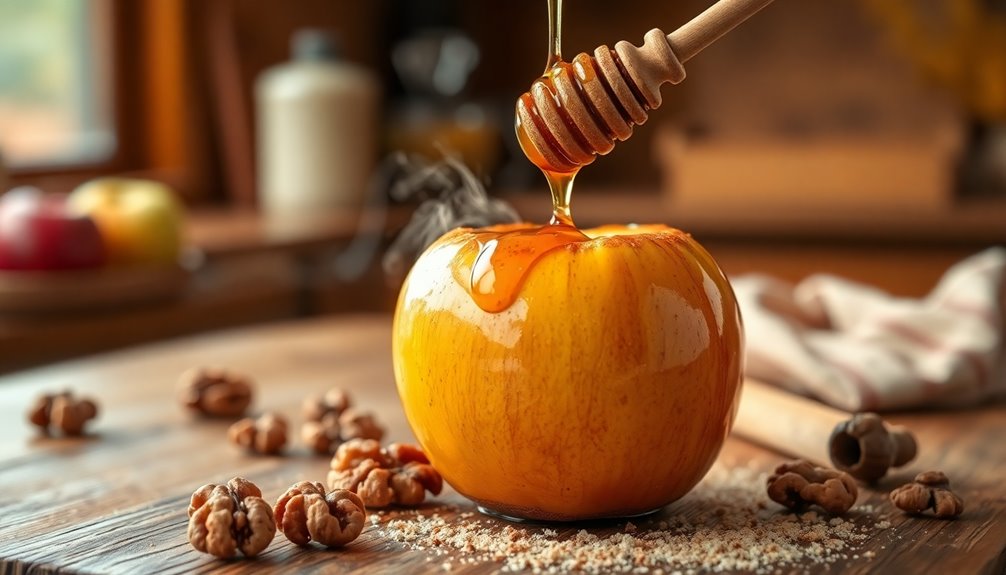
Before you serve your delicious baked apples, drizzling a bit of warm honey over them can truly elevate the dish. Use light amber honey, as its sweetness enhances the natural flavors of the apples while adding a rich contrast to the savory cheese.
Whether you've chosen cheddar or goat cheese, the honey balances their sharpness beautifully. For an extra layer of flavor, consider pairing the honey with a balsamic glaze, introducing a tangy note that complements the apples perfectly.
Warm the honey slightly for easier drizzling, allowing it to soak into the apple and meld with the melted cheese. To finish, a pinch of fleur de sel sprinkled on top will provide a delightful salty contrast to the sweetness. Enjoy!
Final Thoughts
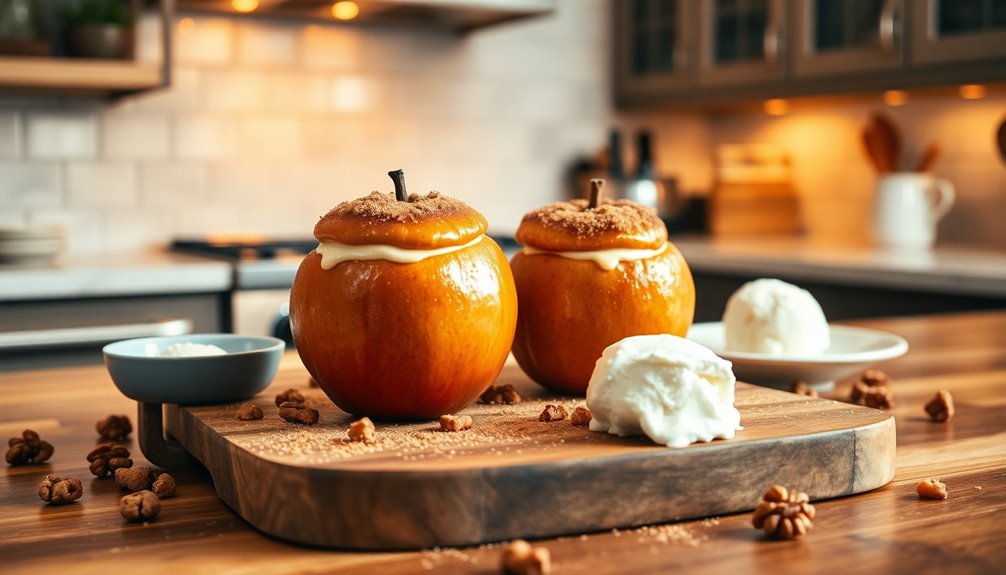
As you savor the delightful combination of baked apples with cheese and cinnamon, you'll appreciate how this dish beautifully balances sweetness and savory richness. The addition of bread pudding highlights the versatility of using fruit in warm desserts. Using firm apple varieties like Granny Smith or Honeycrisp ensures they hold their shape during baking, enhancing the experience. The sharpness of cheddar or the creaminess of goat cheese adds depth, making every bite satisfying. Additionally, the high fiber content in apples can contribute to feelings of fullness, making this dessert a satisfying option.
Remember to bake at 350°F for 25 to 40 minutes, allowing the apples to soften while the cheese melts perfectly. This dish isn't just delicious; it offers around 252 calories packed with nutrients from apples, cheese, and walnuts. Incorporating whole foods into your meals can significantly enhance their nutritional value. For the best experience, serve warm, and enjoy the comforting fusion of flavors that will leave you craving more.
Frequently Asked Questions
Can I Use Different Types of Cheese for This Recipe?
Absolutely, you can use different types of cheese for this recipe!
It's all about your personal taste. If you prefer something creamier, try cream cheese or mascarpone. For a sharper flavor, go with cheddar or blue cheese.
Just keep in mind how the cheese will melt and interact with the other ingredients.
Experimenting can lead to some delicious combinations, so don't hesitate to get creative and find what you love!
Are Baked Apples Healthy or High in Sugar?
When it comes to baked apples, they're like a sweet hug for your taste buds.
While apples themselves are naturally healthy, containing fiber and vitamins, the sugar content can vary depending on how you prepare them.
If you add extra sweeteners, they can become high in sugar.
To keep it healthier, consider using minimal added sugars or none at all, letting the natural sweetness of the apples shine through.
What Are Some Good Apple Varieties for Baking?
When you're choosing apples for baking, go for varieties that hold their shape and have a balance of sweetness and tartness.
Granny Smith apples are perfect for a tart flavor, while Honeycrisp adds a nice sweetness. Fuji and Braeburn are also great options, offering a firm texture and rich flavor.
Avoid soft varieties like Red Delicious, as they tend to break down too much during baking.
Enjoy experimenting with different combinations!
How Can I Store Leftover Baked Apples?
To store leftover baked apples, you'll want to cool them completely, then place them in an airtight container.
You can layer them with parchment paper to prevent sticking, then seal the container tightly.
If you're keeping them for more than a day, consider refrigerating them to preserve freshness.
You can also freeze them for longer storage, just remember to thaw them in the fridge before reheating.
Enjoy your delicious treats later!
Can I Make This Dish Ahead of Time?
Absolutely, you can make this dish ahead of time!
Just prepare it as usual, then store it in the refrigerator in an airtight container.
When you're ready to enjoy it, you can reheat it in the oven or microwave.
Keep in mind that the texture might change slightly, but the flavors will still be delicious.
This way, you'll have a tasty treat ready to go whenever you want it!