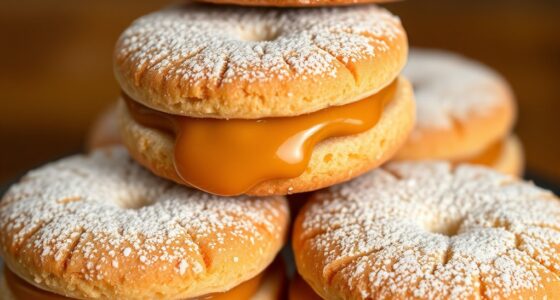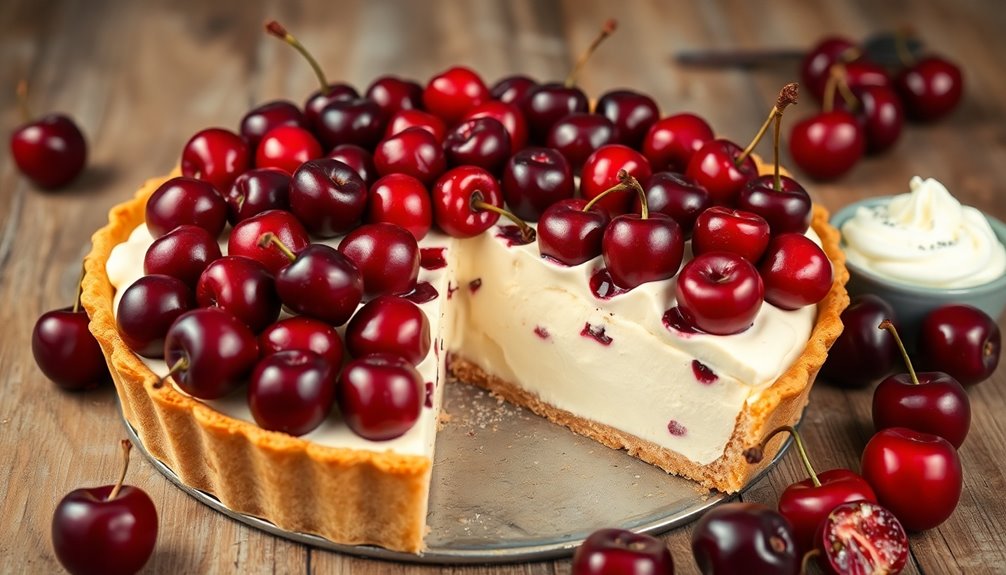

Cherry pie with vanilla cream is a delightful dessert that combines the tartness of fresh cherries with the rich, smooth texture of creamy vanilla filling. It's perfect for family gatherings or summer picnics. The flaky pie crust complements the vibrant cherry topping, making each bite a treat. This classic dessert not only satisfies your sweet cravings but also offers a beautiful balance of flavors. There's so much more to explore about this delicious combination!
History

Cherry pie has a rich history that stretches back to medieval England, where bakers experimented with various fruits in pastry crusts.
Over time, the cherry became a favorite, especially in regions like Michigan and Wisconsin, where tart cherries thrived. By the 19th century, the cherry pie filling gained popularity in the United States, often made with a simple pie crust recipe.
The cherry flourished in Michigan and Wisconsin, leading to the beloved cherry pie's rise in 19th-century America.
The classic pairing of cherry pie with creamy vanilla ice cream or cream emerged, making it a staple at summer picnics and holiday gatherings. In 1977, Michigan officially designated cherry pie as its state fruit pie, solidifying its place in local culinary traditions. Today, this delightful dessert evokes memories of home-cooked meals and cherished family moments. Exploring global flavors has also led to innovative variations of this classic dessert, showcasing different ingredients and techniques from around the world.
Recipe
Indulge in a delightful dessert that combines the rich flavors of vanilla cream with the tartness of cherries. The Cherry Vanilla Cream Pie is a perfect treat for any occasion, whether it's a family gathering or a casual get-together with friends. With its smooth and creamy filling complemented by a vibrant cherry topping, this pie is sure to impress your guests and satisfy your sweet tooth.
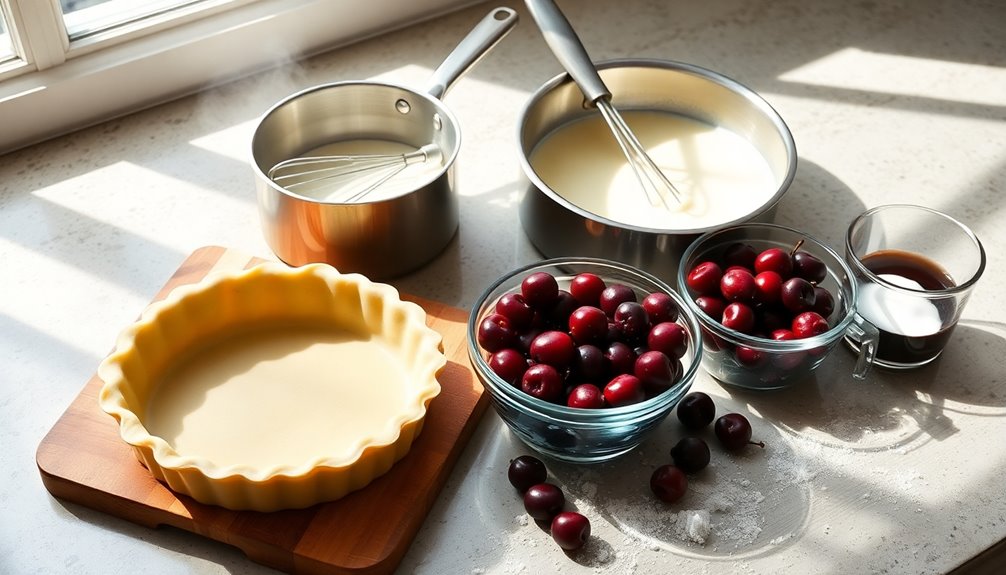
To start, gather your ingredients and prepare your pie shell, either store-bought or homemade. The vanilla cream filling is the heart of this recipe, providing a luscious base for the tart cherry topping. The key to achieving the perfect consistency lies in the careful cooking of the filling and the proper incorporation of the cherry topping. Once assembled, allow the pie to chill to enhance the flavors before serving.
Ingredients:
- 1 pre-baked pie shell
- 1 cup milk
- 1 cup half & half
- 3/4 cup sugar
- 1/4 cup cornstarch
- 1/4 teaspoon salt
- 3 egg yolks, tempered
- 2 cups tart cherries (fresh or frozen)
- 1/4 cup cherry juice
- 1/4 cup sugar (for cherry topping)
- 2 tablespoons cornstarch (for cherry topping)
- Optional: whipped cream (heavy cream, powdered sugar, vanilla extract)
Cooking Instructions:
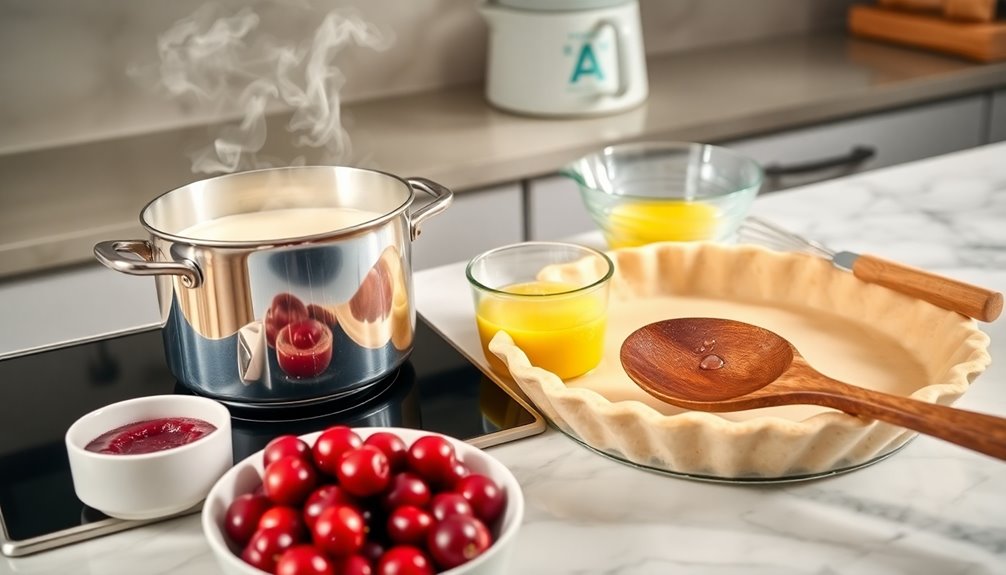
To prepare the Cherry Vanilla Cream Pie, begin by cooking the milk, half & half, sugar, cornstarch, and salt in a saucepan over medium heat until mixture comes to a boil, stirring frequently.
Once boiling, temper the egg yolks by slowly adding a bit of the hot mixture into the yolks, then whisking it back into the saucepan. Cook for an additional 2-3 minutes until thickened, then pour into the pre-baked pie shell and let it cool completely.
For the cherry topping, mix sugar and cornstarch with cherry juice in a saucepan, bring to a boil, and add the thawed cherries, stirring gently. Spread the cherry mixture over the cooled vanilla cream filling.
Optionally, whip heavy cream with powdered sugar and vanilla extract, then pipe it onto the pie before serving. Refrigerate for at least 4 hours or overnight for the best flavor.
Extra Tips:
For an extra touch of flavor, consider using fresh cherries when they're in season, as they can elevate the taste of your pie.
If you prefer a sweeter pie, you can adjust the sugar in the cherry topping according to your taste. Make sure to allow the pie to set in the refrigerator for the recommended time to ensure the filling is firm and the flavors meld together perfectly.
Leftovers can be stored in the refrigerator for up to 3 days, but it's best enjoyed fresh!
Cooking Steps
To start making your cherry pie, preheat your oven to 375°F.
Next, mix cream cheese and sugar until smooth, then gently fold in whipped cream for a light texture.
Once that's ready, add your cherry filling mixture and chill the pie before serving for the best flavor. Additionally, consider serving it with a side of red lentils for a nutritious boost to your meal.
Step 1. Preheat Oven to 375°F
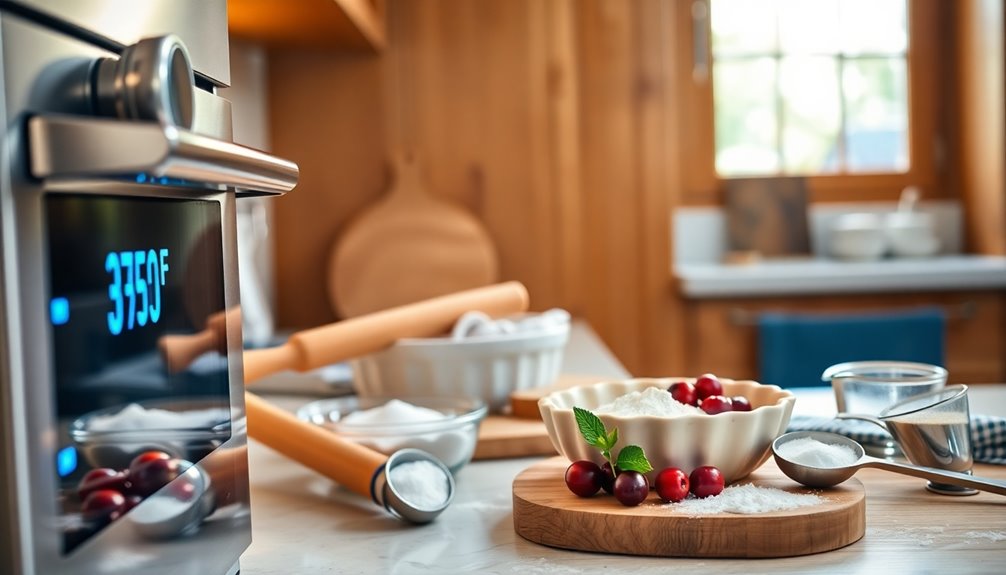
Before diving into the delicious process of making your cherry pie, you'll want to preheat your oven to 375°F. This step is crucial for achieving an even bake and the perfect texture for your pie crust.
If you're using a refrigerated or frozen pie crust, make sure it's thawed before placing it in the pie pan. Once your oven is preheated, it's time to bake your pie until the crust turns golden brown and the filling is set—this typically takes about 30 minutes.
To protect the edges from browning too quickly, use a pie crust shield or aluminum foil. After baking, let the pie cool completely before adding whipped cream, ensuring your fresh cherries and creamy filling set perfectly.
Step 2. Mix Cream Cheese and Sugar
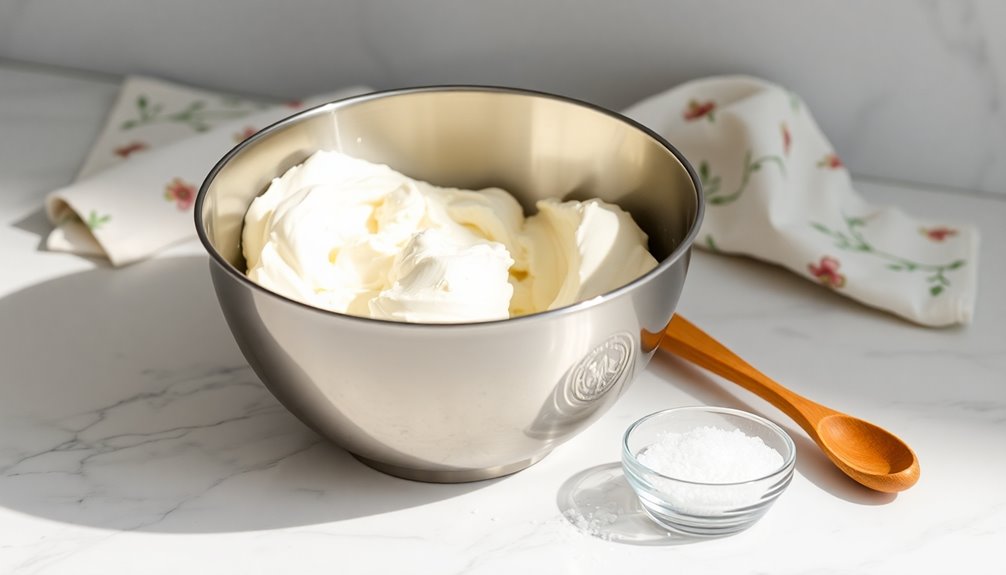
Start by softening the cream cheese at room temperature for about 30 minutes. This ensures it blends smoothly with the granulated sugar.
In a mixing bowl, combine the softened cream cheese with one cup of granulated sugar for every 8 ounces of cream cheese. Using an electric mixer on medium speed, beat the mixture for about 2-3 minutes until it's creamy and free of lumps.
Don't forget to scrape down the sides of the bowl with a spatula to incorporate all ingredients thoroughly. For an extra touch of flavor, consider adding a teaspoon of vanilla extract after the sugar is fully blended.
This delightful mixture will elevate your sweet treats, perfect for filling that pie crust.
Step 3. Fold in Whipped Cream Gently

Once you've mixed the cream cheese and sugar, it's time to gently fold in the whipped cream.
Start by adding a small amount of whipped cream to the vanilla cream mixture. This lightens it up, making it easier to incorporate the rest.
Using a rubber spatula, lift the cream from the bottom of the bowl and fold it over the top. Be careful—vigorous stirring will deflate the whipped cream, leading to a denser filling.
Aim for a marbled effect, which shows you've folded it in without losing volume. The final mixture should be fluffy and light, perfect for topping your cherry pie and enhancing its flavor and texture.
Now, let's get ready for the next step!
Step 4. Add Cherry Filling Mixture
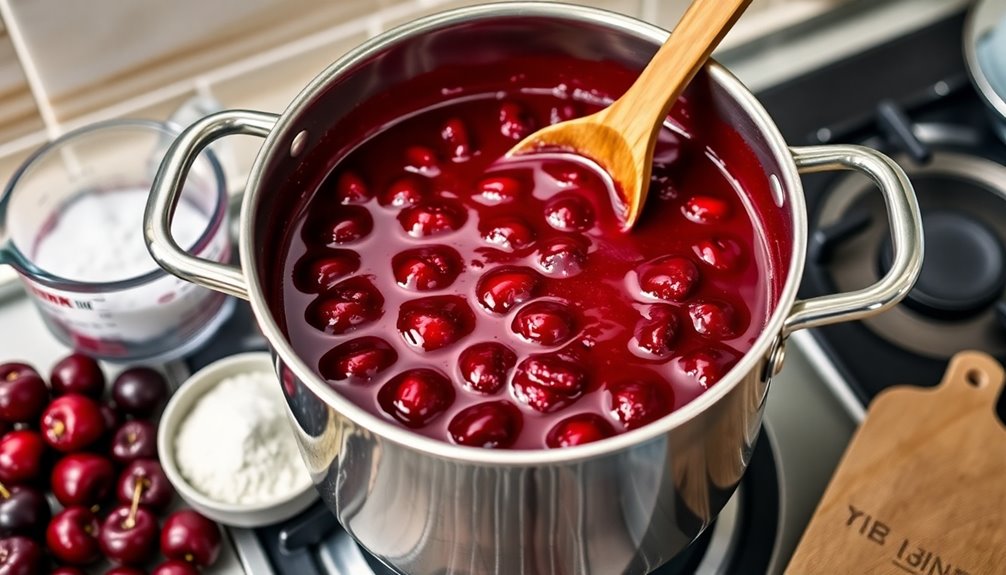
As you prepare the cherry filling, combine 1/4 cup granulated sugar and 2 tablespoons cornstarch in a saucepan, then stir in the reserved cherry juice from thawed cherries to help thicken the mixture.
Heat it over medium heat, stirring constantly until it reaches a boil. Once boiling, add 12 ounces of thawed and drained frozen red tart cherries or about 3 cups of fresh cherries.
Stir to incorporate everything evenly. Allow the cherry filling to cool slightly before spreading it evenly over the cooled vanilla cream filling in the pie crust.
For the best flavor and texture, refrigerate the assembled pie for at least 4 hours or overnight before serving.
Enjoy your delicious cherry pie!
Step 5. Chill Before Serving Pie

To ensure your cherry pie reaches its full potential, refrigerate it for at least 4 hours, or ideally overnight. This chilling period allows the flavors to meld beautifully and helps the cream filling set properly, ensuring it maintains a smooth texture when you slice into it.
For optimal enjoyment, serve the pie at room temperature, but always keep it refrigerated to preserve its freshness and prevent spoilage. Make sure to let the pie cool completely before placing it in the fridge to avoid condensation on the surface.
If you have any leftovers, you can store them in the refrigerator for up to 3 days, though it's best to enjoy them within the first couple of days for the freshest taste.
Final Thoughts
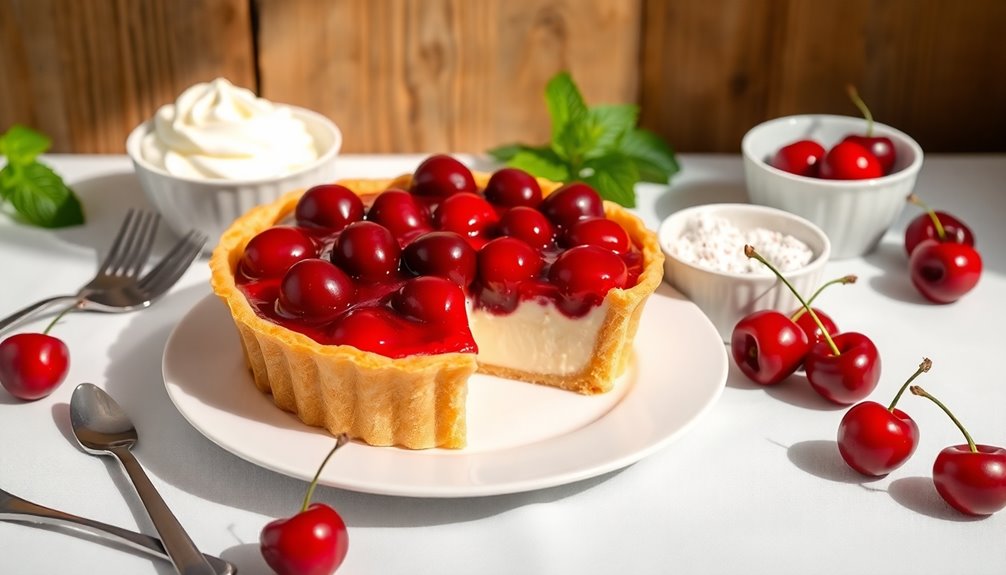
While indulging in a slice of cherry pie with vanilla cream, you can't help but appreciate the delightful balance of flavors. The tart cherries burst with sweetness, perfectly pairing with the smooth cream that's rich yet light.
Made with sugar, cornstarch, milk, and half & half, this vanilla cream elevates the pie to new heights. The flaky crust cradles the cherry filling, making each bite a treat.
If you choose to pipe whipped cream on top, it adds a lovely touch to the presentation and flavor. Don't forget to refrigerate the pie for at least four hours or overnight; this step allows the flavors to meld beautifully.
Serve it at room temperature for the best experience!
Frequently Asked Questions
What to Add to Cherry Pie Filling to Make It Taste Better?
To enhance cherry pie filling, think of a burst of flavors dancing together.
You can add a splash of vanilla extract for warmth and a tablespoon of lemon juice to brighten the cherry's tartness. Mixing in a teaspoon of almond extract introduces a lovely nutty note.
A pinch of cinnamon or nutmeg adds comforting spice, while using maple syrup instead of sugar brings a rich sweetness.
These additions will elevate your cherry pie to new heights!
What Is the Best Thickener for Cherry Pie Filling?
When you're looking for the best thickener for cherry pie filling, consider using cornstarch for a glossy finish and clear appearance.
You'll want about 1 tablespoon per cup of fruit for optimal consistency.
Tapioca starch is another great option, providing a smooth texture and holding up well during freezing.
If you prefer a more natural thickening agent, arrowroot powder works, though you might need a bit more than cornstarch.
Should You Prebake the Bottom Crust of a Cherry Pie?
Yes, you should prebake the bottom crust of a cherry pie. By doing so, you prevent a soggy crust caused by the fruit's moisture.
Prebake the crust at 425°F for 15-18 minutes using pie weights, then add a few extra minutes for a light browning.
This step lets excess moisture evaporate, ensuring your pie has a firm, flaky base that complements the juicy filling perfectly.
Don't skip this crucial step if you want excellent texture!
What Is Cherry Pie Filling Made Of?
Imagine a vibrant sunset, where tart cherries glisten like jewels, forming the heart of your pie filling.
You'll mix these cherries with sugar, balancing their natural tartness, while cornstarch thickens the blend, creating the perfect consistency.
A splash of vanilla or almond extract adds depth, like the final brushstroke on a masterpiece.
To brighten the flavor, a dash of lemon juice enhances the sweetness, making your cherry pie filling a harmonious symphony of taste.