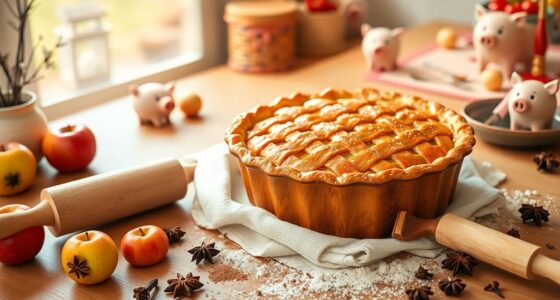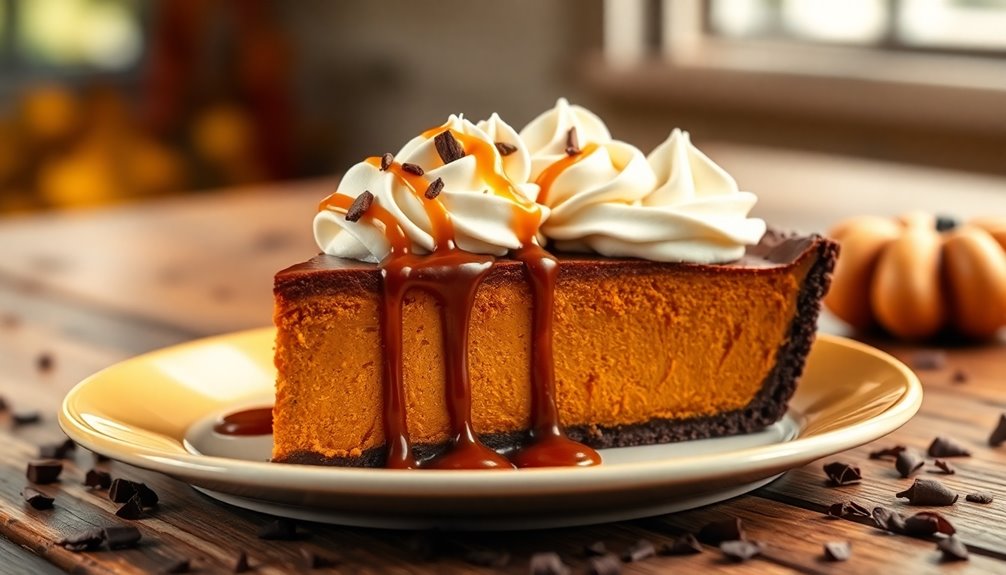
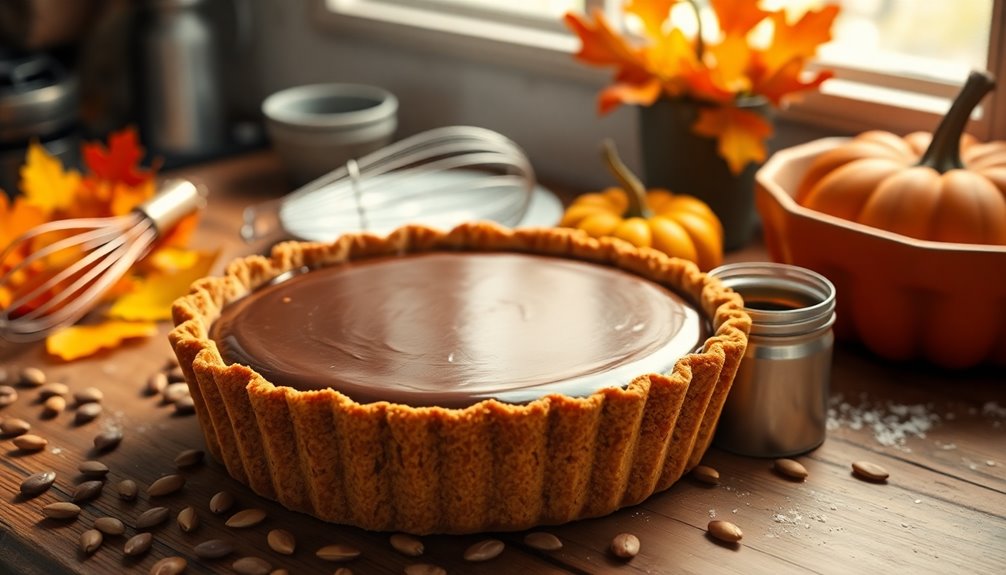
Chocolate pumpkin pie with a caramel crust combines rich chocolate and pumpkin flavors for a truly indulgent dessert. To make it, you'll prepare a chocolate wafer crust, chill it, then fill it with a smooth mixture of pumpkin puree, chocolate, and spices. After baking, this delicious pie is perfect when drizzled with salted caramel and topped with whipped cream. It's an eye-catching treat for any occasion. There's plenty more to learn about its history and serving tips.
History
When you explore the history of chocolate pumpkin pie, you'll find that the combination of these flavors gained popularity in the United States during the late 20th century, largely due to a rise in culinary experimentation.
Traditional pumpkin pie, with its roots in early American colonists using native pumpkins and spices, evolved from savory to sweet. In the 1980s, the introduction of chocolate into pie crusts, especially through chocolate wafer cookies, transformed classic recipes.
Additionally, caramel sauces, used since the 19th century, became a favorite topping, enhancing the pie's flavors and textures. This fusion of chocolate, pumpkin, and caramel reflects contemporary dessert trends, showcasing unique flavor combinations that emphasize indulgence in every bite.

International Snack Box, Unique Experience with Universal Exotic Candies and Treats from around the World, Gift-Ready Foreign Foods in Packages Inspired by European, Japanese and Korean Cultures
- Unique Global Snack Gift: Treasure chest of international treats
- Cultural Tasting Experience: Mini world tour with every bite
- Gift-Ready Packaging: Wrapped and ready for gifting
As an affiliate, we earn on qualifying purchases.
Recipe
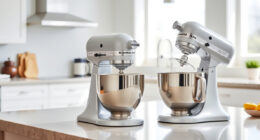
To get started, preheat your oven to 425°F. This initial high temperature will help set the crust while the filling bakes.
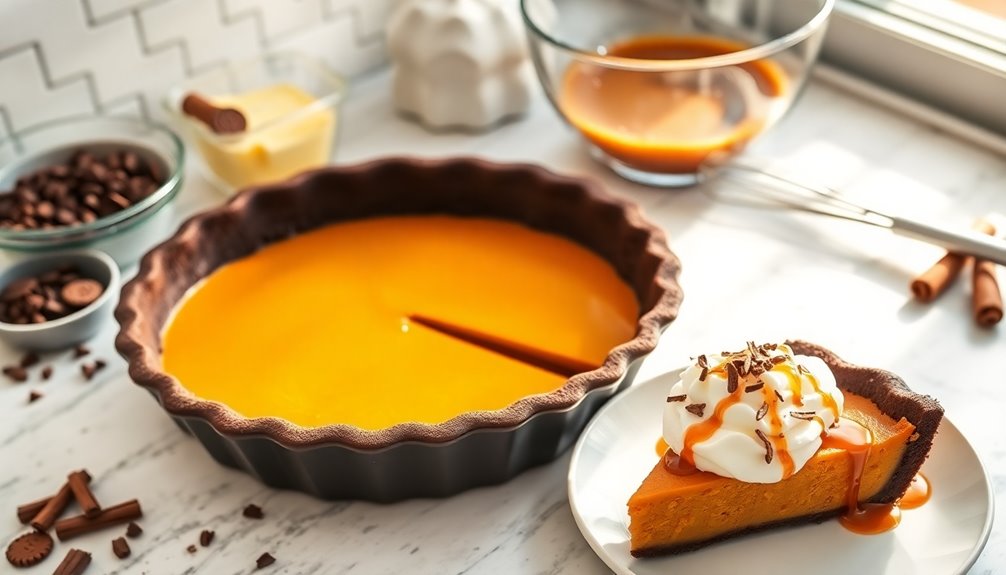
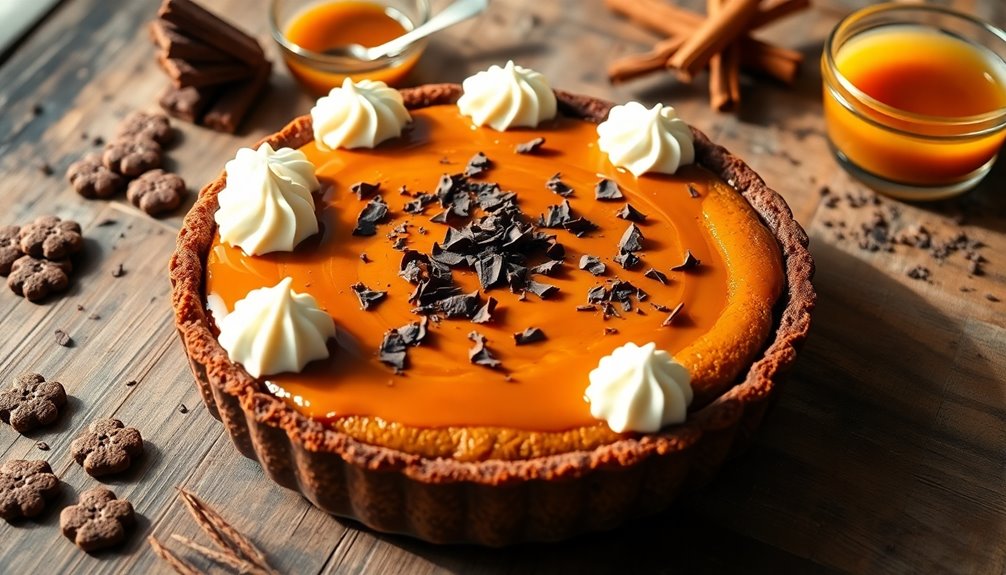
Once the pie is cooled and ready for serving, consider garnishing with chocolate shavings for an extra touch of elegance. This chocolate pumpkin pie isn't just a feast for the taste buds but also a visual treat that will have everyone asking for seconds.
Ingredients:
- 1 ½ cups crushed chocolate wafer cookies
- ½ cup unsalted butter, melted
- 1 can (15 oz) pumpkin puree
- 1 can (14 oz) sweetened condensed milk
- 2 large eggs
- 1 tsp vanilla extract
- 1 tsp ground cinnamon
- ½ tsp ground ginger
- ¼ tsp ground nutmeg
- ¼ tsp ground allspice
- ½ tsp salt
- Salted caramel sauce (for drizzling)
- Whipped cream (for topping)
- Chocolate shavings (optional garnish)
Instructions:
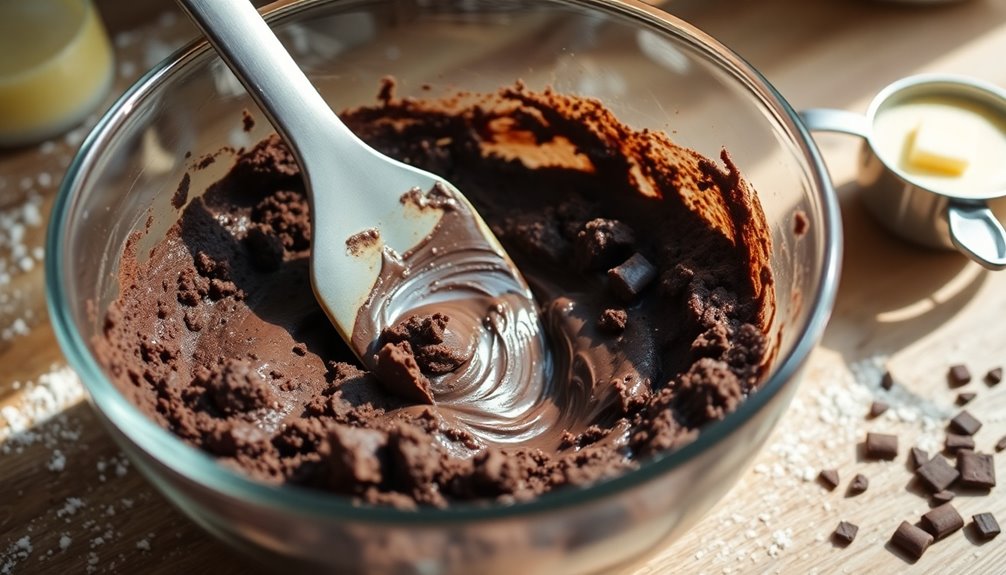
In a medium bowl, combine the crushed chocolate wafer cookies with the melted butter until fully mixed.
Press the mixture into the bottom and up the sides of a 9-inch pie dish to form the crust.
In a separate large mixing bowl, whisk together the pumpkin puree, sweetened condensed milk, eggs, vanilla extract, and spices until smooth and well combined.
Pour the filling into the prepared chocolate crust.
Bake the pie in the preheated oven at 425°F for 15 minutes, then reduce the temperature to 350°F and continue baking for an additional 35-40 minutes, or until the filling is set and a toothpick inserted comes out clean.
Allow the pie to cool completely for about 2 hours before serving.
Extra Tips:
For the best flavor, use pure pumpkin puree rather than pumpkin pie filling, as the latter contains added sugars and spices that can alter the taste of your pie.
If you prefer a sweeter pie, you can adjust the amount of sweetened condensed milk or add a bit of brown sugar to the filling.
To make the crust easier to handle, you can chill it in the refrigerator for about 30 minutes before adding the filling.
When topping with whipped cream, consider using a piping bag for a beautiful presentation, and don't forget to drizzle with salted caramel just before serving for that extra touch of indulgence!
Cooking Steps
To whip up your Chocolate Pumpkin Pie, start by preparing the chocolate crust and chilling it until firm.
Next, fill it with the pumpkin mixture and bake until everything is perfectly set and golden.
Finally, don't forget to drizzle some chocolate sauce on top for that extra touch of indulgence!
Step 1. Prepare the Caramel Crust
As you prepare the caramel crust, start by melting sugar and butter in a heavy-bottomed pan over low heat, stirring gently until the mixture transforms into a deep amber color.
Once you reach that perfect hue, carefully remove it from heat and stir in heavy cream, whisking until you create a smooth sauce.
Allow the caramel to cool slightly before pouring it into a pre-baked pie crust, ensuring an even layer across the bottom.
For added flavor, sprinkle a pinch of sea salt on top of the caramel layer.
Finally, chill the caramel-filled crust in the refrigerator for 20-25 minutes to firm up the caramel before adding any additional fillings.
This sets a delicious foundation for your pie!
Step 2. Chill Crust Before Filling
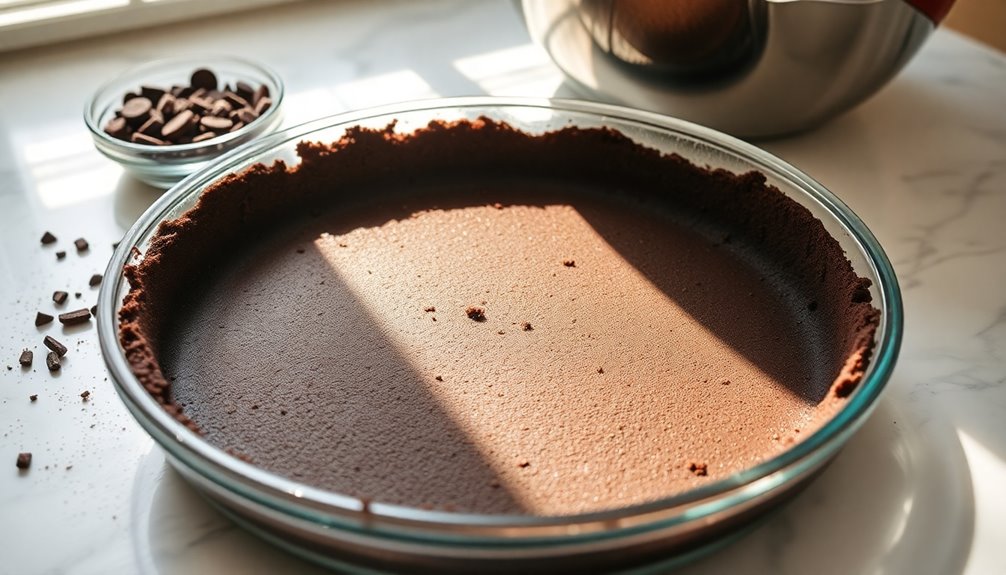
After chilling the caramel-filled crust, it's time to ensure it's perfectly ready for the pumpkin filling. To achieve the best results, you should chill the crust before filling.
Refrigerate the crust for at least 30 minutes to maintain its shape and prevent shrinkage. A chilled crust enhances the overall texture of your chocolate pumpkin pie, contributing to a flaky and crisp bite.
Make sure to cover the crust with plastic wrap or parchment paper while chilling to prevent it from drying out. This step is crucial for optimal texture and allows for even distribution of the pumpkin filling, ensuring every slice of your delicious pie is just as perfect as the last.
Enjoy your baking!
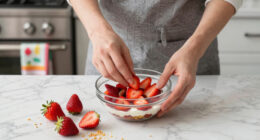
Step 3. Add Pumpkin Filling Mixture
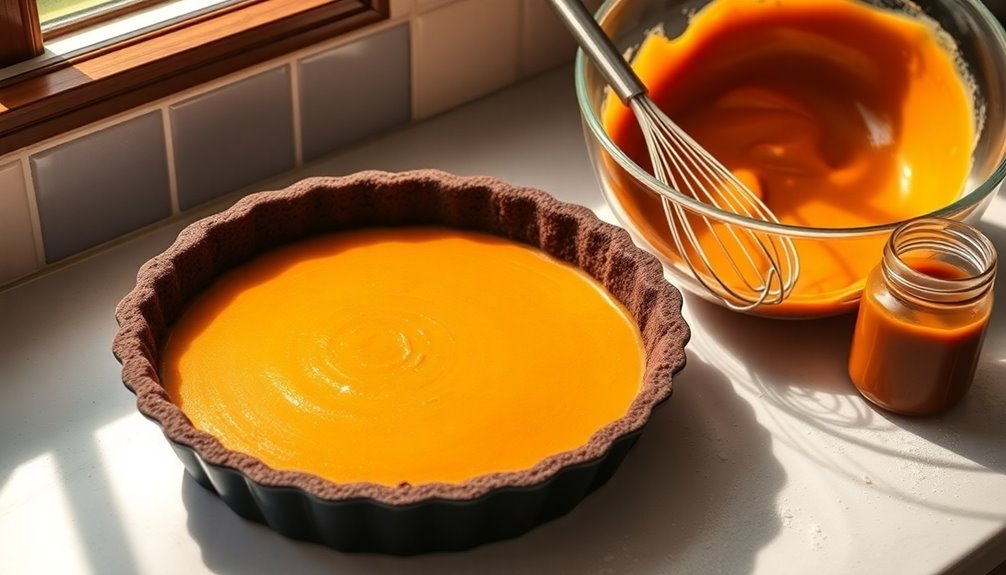
Once your chilled crust is ready, you can start preparing the pumpkin filling. In a large bowl, combine canned pumpkin puree, heavy cream, sugar, and a mix of spices like cinnamon, nutmeg, and ginger. Whisk until the mixture is smooth and free of lumps.
Next, add the eggs one at a time, whisking each in to create a rich, creamy texture. If you'd like, roast the pumpkin puree at 325°F for 20-30 minutes beforehand for added sweetness.
Pour the finished pumpkin filling into your pre-baked caramel crust, filling it about ¾ full to allow for expansion. Now, you're ready to bake the pie at 325°F for 20-25 minutes until the edges are set and the center is slightly wobbly.
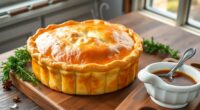
Step 4. Bake Until Set and Golden
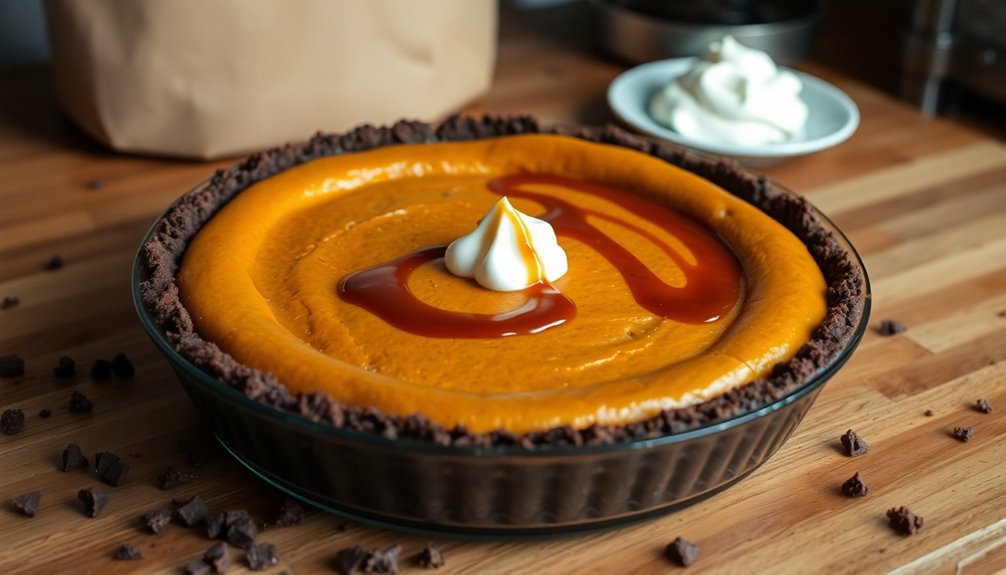
To achieve a perfectly baked chocolate pumpkin pie, start by preheating your oven to 425°F.
Once your caramel crust is ready, pour the filling into the prepared pie shell. Bake at 425°F for the first 15 minutes to establish a firm structure, then reduce the temperature to 350°F and bake for an additional 40-50 minutes.
You want to bake until set and golden, ensuring the center is slightly wobbly but not liquid when you check for doneness. A golden brown crust indicates it's baked long enough.
To prevent cracks, keep the pie in the oven and let it cool gradually with the door cracked, allowing for a gentle temperature drop.
Enjoy your delicious creation!
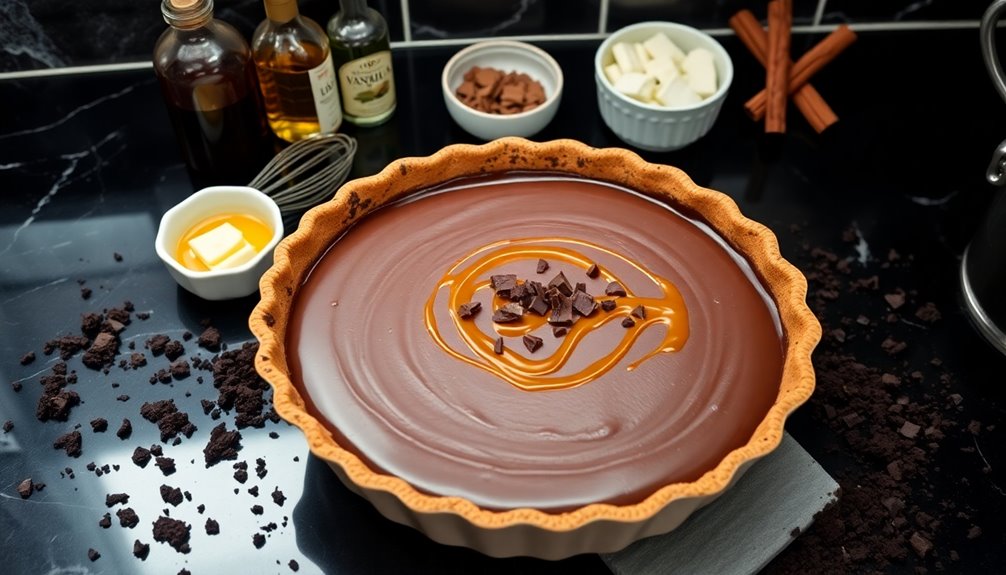
Step 5. Drizzle With Chocolate Sauce
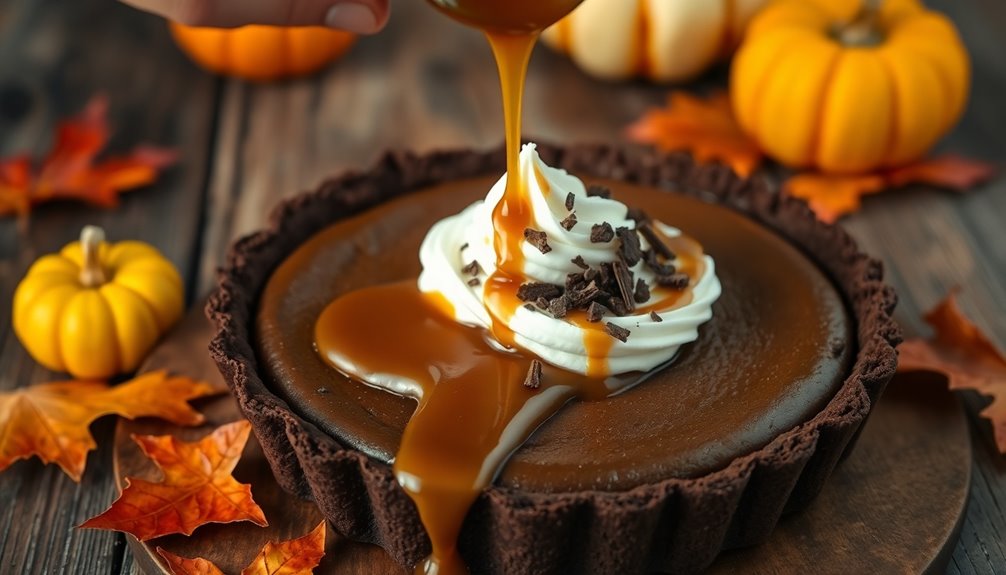
A rich chocolate sauce adds the perfect finishing touch to your chocolate pumpkin pie.
Once your pie has cooled, prepare the chocolate sauce by heating heavy cream until it boils and mixing in chocolate until smooth.
Now, it's time to drizzle the chocolate sauce over the cooled pie, letting it cascade down the sides for an appealing presentation.
For a striking effect, use a squeeze bottle or piping bag to create controlled drizzles of the sauce.
Allow the chocolate to set slightly before serving; this keeps it from running off the pie.
For an extra touch, consider sprinkling a bit of sea salt on top. This adds a delightful contrast to the pie's sweetness, making it even more irresistible.
Final Thoughts
Whether you're hosting a fall gathering or simply craving a unique dessert, chocolate pumpkin pie is sure to impress. This delightful treat combines rich chocolate flavors with creamy pumpkin pie filling, making it perfect for any occasion.
Impress your guests with chocolate pumpkin pie, a perfect blend of rich chocolate and creamy pumpkin for any occasion.
The caramel crust adds a sweet, buttery layer that enhances the pie's custard-like texture and overall taste. With just a few straightforward ingredients, you'll find this recipe accessible, regardless of your baking skills.
Feel free to get creative with additional toppings like sweetened whipped cream, chocolate ganache, or an extra drizzle of caramel for that indulgent touch.
No matter how you serve it, this chocolate pumpkin pie will be a showstopper at your fall celebrations. Enjoy every delicious bite!
Frequently Asked Questions
Should a Pumpkin Pie Crust Be Prebaked?
Yes, you should prebake a pumpkin pie crust to prevent a soggy bottom.
Prebaking helps set the crust and creates a barrier against the liquid filling. You can blind bake it using pie weights or dried beans for better shape and texture.
Poking holes in the bottom with a fork allows steam to escape, making it even more effective. Aim for about 15-20 minutes at 350°F for a perfectly golden crust.
Is Chocolate Good on Pumpkin Pie?
Yes, chocolate can be a fantastic addition to pumpkin pie! It brings a rich, deep flavor that complements the sweetness of the pumpkin filling.
You'll find that the combination enhances the overall taste experience, especially during the fall season.
Whether you're using chocolate in the crust or as a topping, it adds a delightful crunch and visual appeal.
Many dessert lovers appreciate the layers of flavor that chocolate and pumpkin create together.
Why Do Grocery Stores Not Refrigerate Pumpkin Pie?
Imagine a cozy autumn day, where the warmth of the sun cradles you like a soft blanket.
Grocery stores don't refrigerate pumpkin pie because it's crafted with preservatives that act like a shield, protecting it from spoilage. These pies often contain sweetened condensed milk, which adds stability.
As long as you consume them by the "best by" date, you can enjoy that comforting slice without worrying about refrigeration.
It's a delightful dance of convenience!
What Is Better for Pumpkin Pie Sweetened Condensed Milk or Evaporated Milk?
When deciding between sweetened condensed milk and evaporated milk for pumpkin pie, it really depends on your taste preference.
If you want a richer, sweeter filling, sweetened condensed milk's thickness enhances flavor.
However, if you prefer a lighter, creamier pie, evaporated milk is the way to go. It balances the spices well without overwhelming sweetness.
Think about what you enjoy more, and choose accordingly for your perfect pumpkin pie!