You can whip up quick cinnamon rolls in no time! Start by mixing self-rising flour, milk, and melted butter to create a soft dough. Roll it out, sprinkle with a sweet filling of brown sugar and cinnamon, then roll it up tightly. Slice and bake at 425°F for just 18-19 minutes. Finish with a drizzle of cream cheese icing for a delicious treat. If you want to learn more about the process, keep exploring!
History
Cinnamon rolls have a rich history that dates back to ancient times, with early versions emerging in Sweden, where they're lovingly referred to as "kanelbullar," or cinnamon buns.
These delightful rolls became popular in the United States during the 19th century, especially in the Midwest, where they were often a breakfast staple or holiday treat.
The introduction of quick, instant yeast in the 20th century transformed how you make these rolls, allowing for less waiting time and easier preparation of the dough.
With brands like Cinnabon, famous for their gooey filling and cream cheese frosting, cinnamon rolls gained iconic status in American culture.
Today, you can find various regional adaptations, showcasing the roll's enduring appeal and versatility.
Recipe
Preparing these rolls is a breeze. Simply whip up the dough with a few basic ingredients, roll it out, sprinkle on the filling, and bake until golden brown. Finish with a luscious cream cheese icing for an extra layer of indulgence.
Whether you're serving them for a special occasion or just a weekend brunch, these quick cinnamon rolls are bound to be a hit.
Ingredients:
- 2 cups self-rising flour
- 1 cup milk
- 4 tablespoons melted butter
- 1/2 cup brown sugar
- 1/4 cup granulated sugar
- 2 tablespoons ground cinnamon
- Cream cheese icing (for topping)
Cooking Instructions:
Preheat your oven to 425°F. In a large bowl, combine the self-rising flour, milk, and melted butter until a soft dough forms.
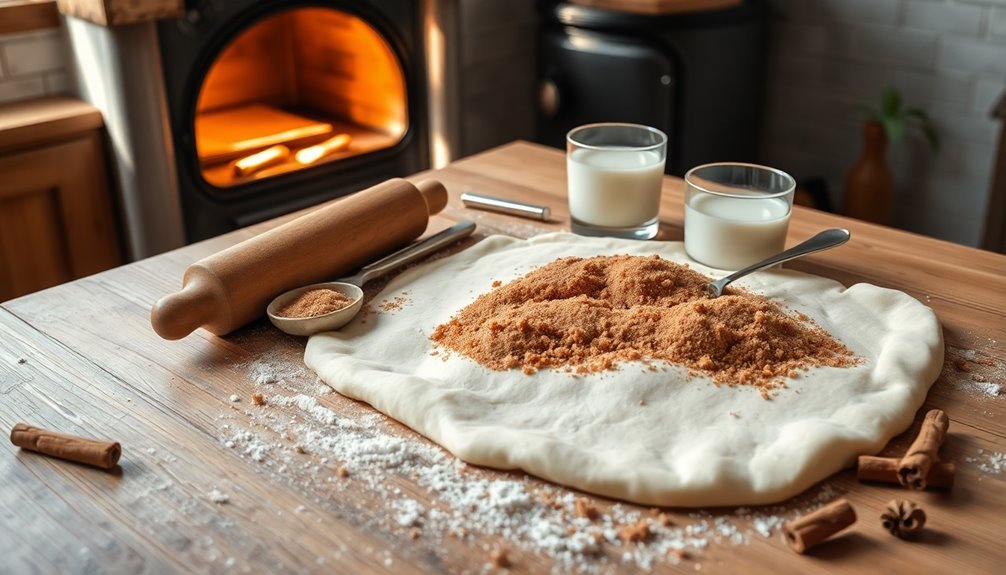
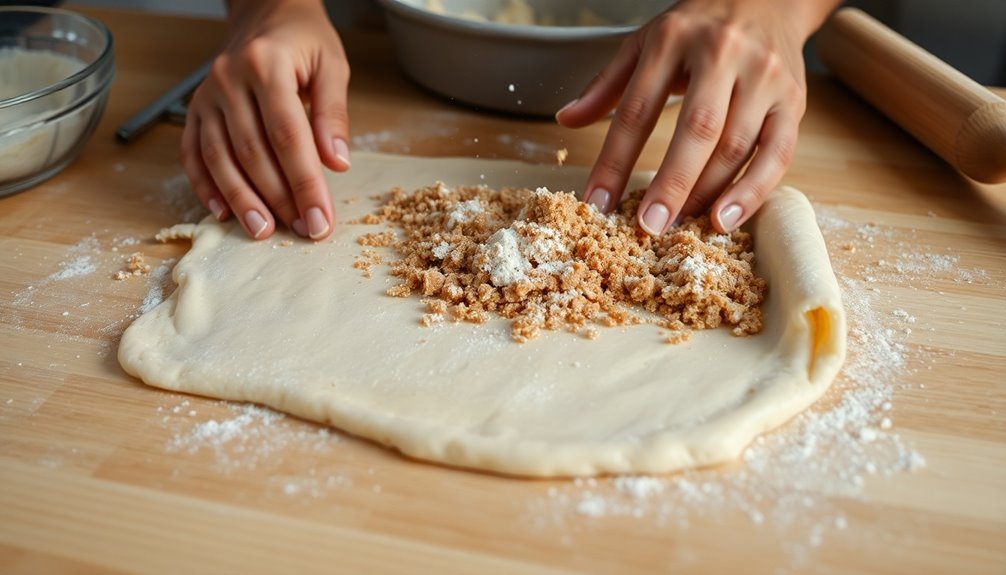
Turn the dough onto a floured surface and gently roll it out into a rectangle about 1/4 inch thick. In a separate bowl, mix together the brown sugar, granulated sugar, and cinnamon.
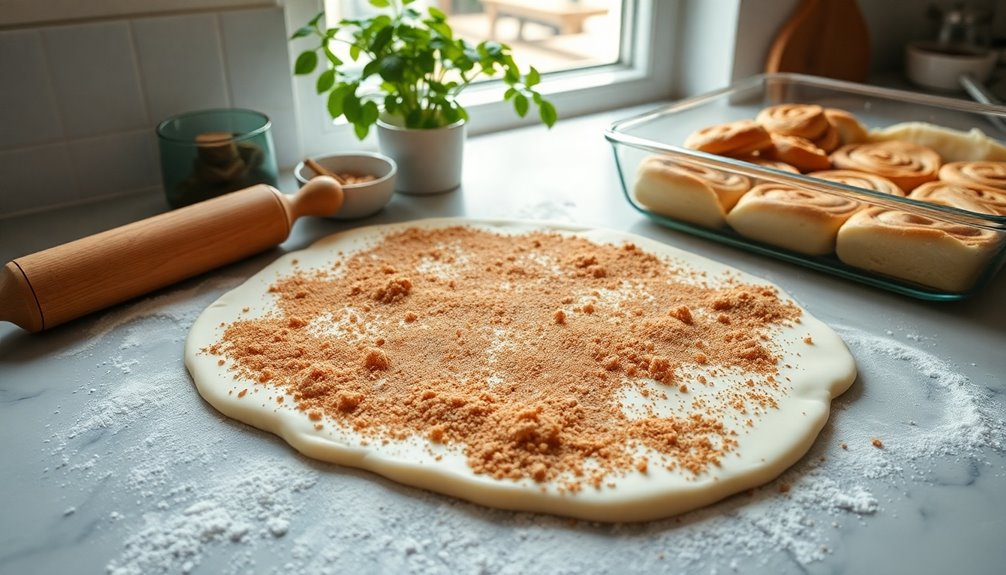
Sprinkle this mixture evenly over the dough, then roll it up tightly from one end to the other. Slice the rolled dough into 1-inch pieces and place them in a greased baking dish.
Bake for 18-19 minutes or until the rolls are golden brown and fluffy. Once done, remove from the oven and drizzle with cream cheese icing before serving.
Extra Tips:
For an even quicker method, you can prep the rolls ahead of time and refrigerate them before baking. Just make sure to allow them to come to room temperature for about 30 minutes before placing them in the oven.
Additionally, feel free to get creative with the filling by adding nuts, raisins, or even a dash of vanilla extract for an extra flavor boost.
Enjoy your delightful cinnamon rolls fresh out of the oven!
Cooking Steps

To kick off the cooking steps, you'll begin by mixing the dry ingredients together in a bowl.
Then, gradually add the wet ingredients to create a smooth dough.
After kneading it, let the dough rest briefly before rolling it tightly for those perfect cinnamon rolls.
Step 1. Mix Dry Ingredients Together
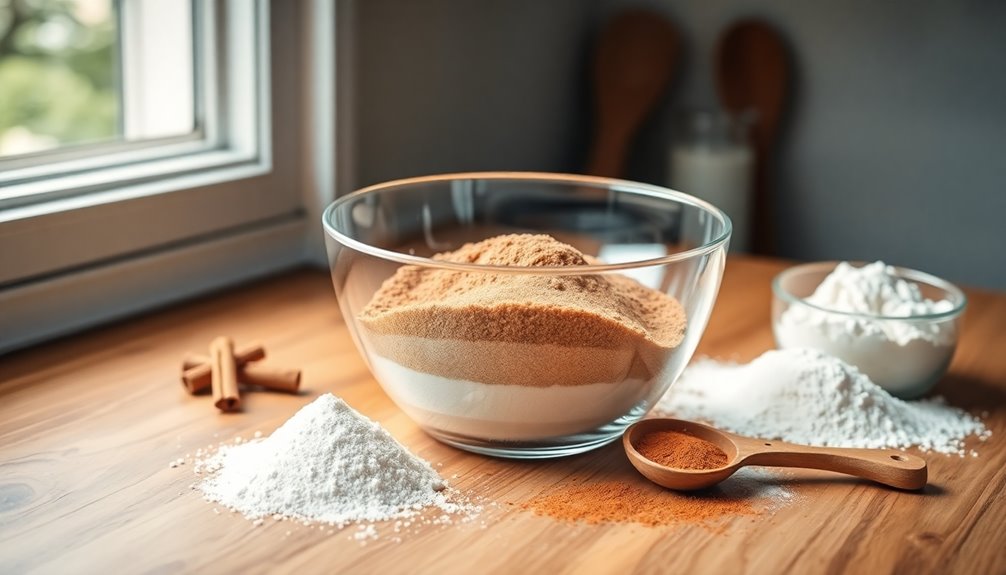
Start by measuring and whisking together the all-purpose flour, sugar, salt, and instant yeast in a large mixing bowl.
For the best results, use a ratio of 2 to 3 cups of flour, 1/4 cup of sugar, and 1 teaspoon of salt.
Whisking the dry ingredients thoroughly helps aerate the mixture, ensuring a lighter texture for your cinnamon rolls.
Make sure to sift or whisk all the dry ingredients together to prevent clumping, which can lead to an uneven dough consistency when combined with the wet ingredients later.
By incorporating instant yeast directly into your mixture, you streamline the process for quicker preparation.
This step sets a solid foundation for delicious, fluffy cinnamon rolls! Additionally, incorporating nutrient-rich ingredients can enhance the overall health benefits of your cinnamon rolls while maintaining their delightful taste.
Step 2. Add Wet Ingredients Gradually

Once your dry ingredients are well combined, begin incorporating the wet ingredients gradually to achieve a smooth dough.
Start by adding a small amount of warm liquids, like milk and melted butter, into the dry mixture. Use a spatula or wooden spoon to mix until you create a shaggy dough. It's important not to overmix at this stage.
Next, add eggs or any additional wet ingredients one at a time, ensuring you blend fully before introducing the next. This helps maintain a smooth consistency.
Once all wet ingredients are added, you'll need to knead gently on a floured surface, focusing on achieving a perfect dough texture—smooth and elastic without adding too much extra flour.
Enjoy making your cinnamon rolls!
Step 3. Knead Dough Until Smooth

Knead the dough for about 3-5 minutes until it transforms into a smooth and elastic ball. Use a lightly floured surface to prevent sticking, but be careful not to add too much flour. This helps maintain the desired texture while promoting gluten development.
As you knead, incorporate a flicking motion with your hands to stretch and fold the dough, building structure without overworking it. If the dough feels sticky, add flour gradually, ensuring it doesn't become dry, which could affect the softness of your cinnamon rolls.
You'll know it's ready when it springs back upon being poked, indicating it has reached the right elasticity for optimal rise during baking. Happy kneading!
Step 4. Let Dough Rest Briefly
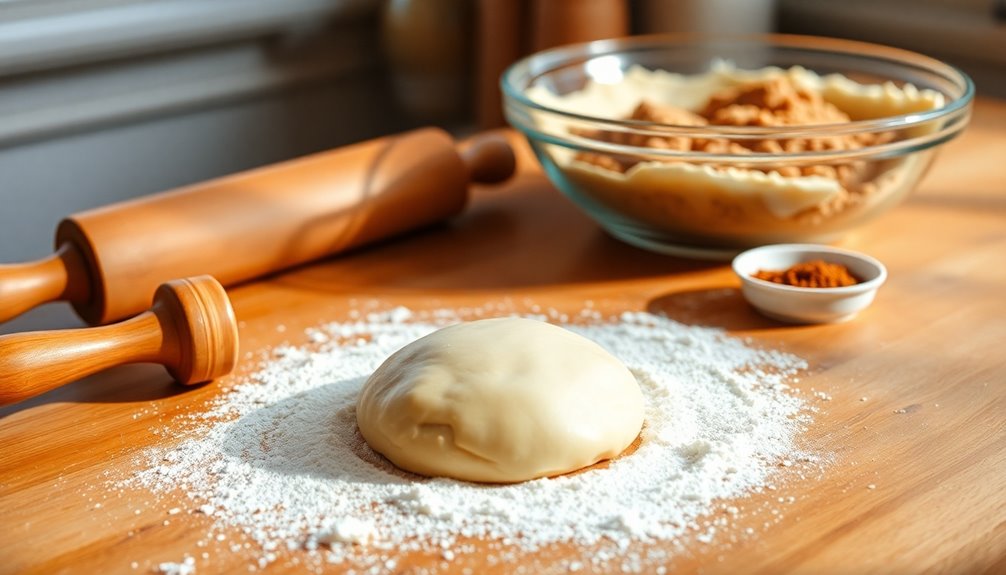
After you've kneaded the dough into a smooth and elastic ball, letting it rest for about 5 to 10 minutes is important.
This brief resting period relaxes the gluten, making it easier to roll out without resistance. It also enhances the dough's texture, ensuring your cinnamon rolls turn out soft and fluffy.
During this time, the yeast continues its fermentation process, contributing to a better rise as they bake. To achieve the best results, make sure your resting environment is warm and draft-free, which optimizes the dough's pliability.
While the dough rests, you can prepare your filling, maximizing efficiency in your cinnamon roll preparation. This step is crucial for achieving delicious results!
Step 5. Roll the Dough Tight
As you roll the dough, starting from the long edge ensures a tight roll that holds its shape during baking.
Spread an even filling layer across the dough to prevent any inconsistencies in flavor.
Use both hands to gently roll the dough into a log, maintaining consistent pressure for a tight roll without tearing.
After rolling, slice even pieces with a sharp knife or dental floss to keep the dough shape intact.
Avoid pinching, which can cause the rolls to lose their form.
Place the sliced rolls in a warm environment for about 20 minutes for rise time, helping them achieve a fluffy texture before baking.
Enjoy your perfectly shaped cinnamon rolls!
Final Thoughts

While you might think that making cinnamon rolls is a time-consuming task, these quick versions prove otherwise.
With the right ingredients, you can whip up easy homemade cinnamon rolls in just 30 to 45 minutes. Using instant yeast and self-rising flour means you won't have to let the dough rise for hours. The simple filling of melted butter, brown sugar, and cinnamon makes assembly a breeze.
Plus, baking at 375°F gives you that perfect golden-brown finish. If you want to plan ahead, consider making overnight cinnamon rolls that you can refrigerate or freeze.
Drizzle them with cream cheese icing once they're out of the baking pan, and enjoy a delicious breakfast with minimal effort!
Frequently Asked Questions
How Do You Make Cinnamon Rolls Rise Faster?
So, you want your cinnamon rolls to rise faster, huh? Imagine your dough in a sauna, soaking up warmth!
First, warm your liquid to about 100-110°F. Then, create a cozy spot for the dough—your oven's warm but off is perfect.
Swap in instant yeast for a speedy boost, and don't forget to let it rest for just 5-10 minutes. A pinch more yeast can work wonders, too.
Happy baking!
How Long Do Canned Cinnamon Rolls Take?
Canned cinnamon rolls typically take about 15 to 20 minutes to bake in your oven at 350°F (175°C).
You'll want to keep an eye on them as they bake, looking for that perfect golden brown color to ensure they're done.
Most brands come pre-formed and ready to go, so you won't need any extra prep time.
Plus, if they include icing packets, you can drizzle that on right after baking for extra flavor.
What Is the Secret Ingredient in Cinnabon?
Did you know that Cinnabon sells over 1.5 million cinnamon rolls every year?
The secret ingredient in their iconic rolls is a dash of allspice, which adds a unique warmth to the cinnamon flavor. This, combined with their proprietary Makara cinnamon from Southeast Asia, creates an irresistible taste.
Plus, the enriched dough and generous cream cheese frosting elevate the experience, making Cinnabon rolls a beloved treat for cinnamon lovers everywhere.
How Long to Bake Cinnamon Rolls in the Oven?
To bake cinnamon rolls perfectly, you'll want to preheat your oven to 375°F (190°C).
Bake them for about 15-20 minutes, until they turn golden brown and are cooked through. For best results, check the internal temperature; it should reach between 195°F to 200°F (91°C to 93°C).
Keep an eye on the size of your rolls, as larger ones may need more time. Avoid overcrowding the pan for even baking!