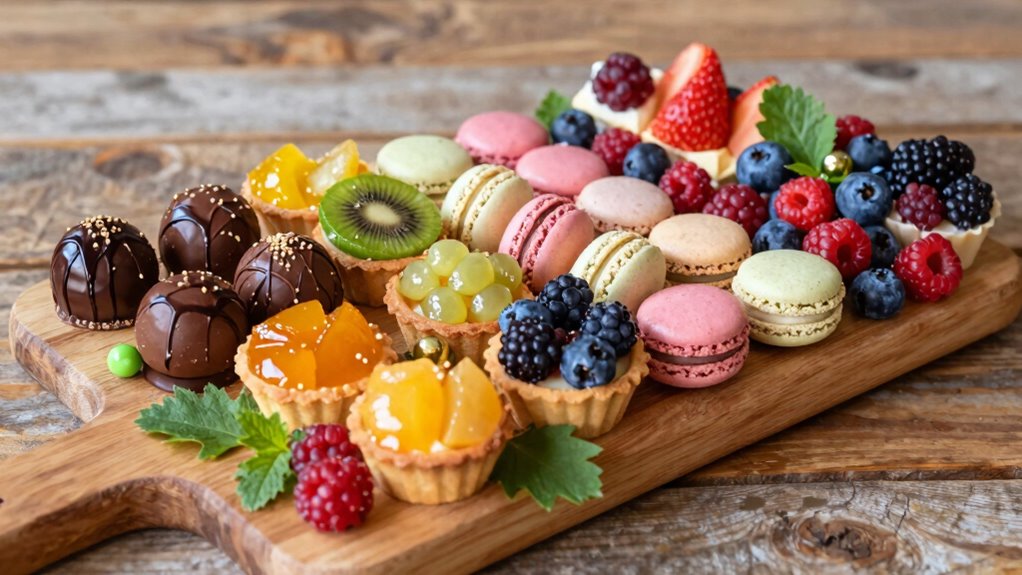

To build a better dessert board, start by selecting a variety of chocolates—dark, milk, and white—with inclusions like nuts or fruit for contrast. Add nuts like almonds or hazelnuts, arranged thoughtfully with larger pieces at the center and smaller ones filling gaps. Use different heights, colors, and textures to create visual interest, and consider featuring fresh berries for a pop of color. To master this art, keep exploring the tips that will help you craft a stunning, inviting display.

Get kitchen staples and gadgets delivered free with Prime
- Fast, free delivery on millions of items
- Prime Video, Amazon Music and more included
- Member-only deals all year
Key Takeaways
- Select a variety of chocolates (dark, milk, white) with inclusions for visual interest and flavor diversity.
- Incorporate different textures and heights with nuts, clusters, and fresh fruit for visual appeal.
- Arrange items thoughtfully, grouping similar colors and shapes, to create balance and focal points.
- Use bowls or ramekins for delicate treats to maintain organization and accessibility.
- Present on a large, attractive platter, emphasizing contrast, cohesion, and inviting placement for easy self-serving.
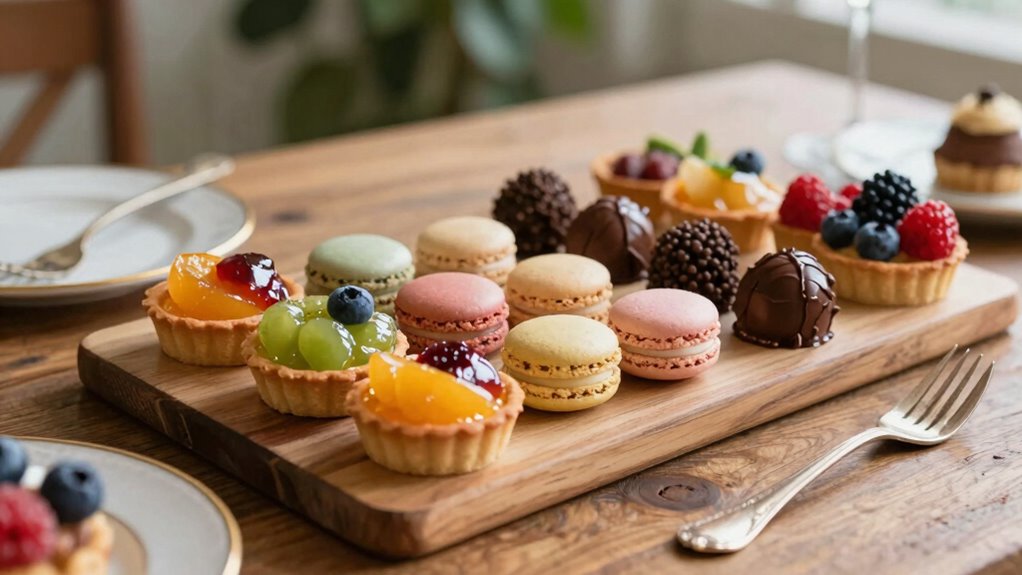
A dessert board can be the star of any gathering, offering a visually stunning and delicious centerpiece that appeals to all tastes. When building your board, think of it as a canvas where the variety of chocolates and nuts can shine. Start by selecting a range of chocolate varieties—dark, milk, and white—to provide depth and contrast. Dark chocolate offers richness and a slight bitterness, balancing the sweetness of other treats, while milk chocolate adds creaminess, and white chocolate introduces a smooth, sweet flavor. Incorporate different textures and flavors by choosing chocolates with inclusions like nuts, caramel, or fruit fillings. This variety keeps each bite interesting and invites guests to explore new combinations.
Nut pairings are essential for elevating your dessert board. Nuts bring crunch, flavor, and a touch of sophistication to the mix. Popular options like almonds, pecans, and hazelnuts work well because they complement the chocolate’s richness without overpowering it. Toasted nuts add an extra layer of flavor and aroma, making your board more inviting. You can arrange whole nuts or chop them into smaller pieces to sprinkle over chocolates or dips. Consider including nut-based confections like pralines or clusters, which combine the crunch of nuts with a sweet coating. These add variety and make it easy for guests to grab a handful of flavor in one bite. Additionally, understanding pairing principles can help you create harmonious flavor combinations that delight the palate. Incorporating biodiversity into your selection by choosing nuts from different regions can also enhance the sustainability and environmental impact of your choices.
When arranging your board, balance is key. Place larger items, such as clusters or halved nuts, towards the center or at focal points, and fill in gaps with smaller chocolates and nut pieces. Use different heights and textures to create visual interest, and don’t forget to include some fresh elements like berries or fruit slices for added color and freshness. Incorporate small bowls or ramekins for softer, more delicate treats like nut butter dips or chocolate spreads. This not only keeps your board organized but also encourages guests to dip and sample different combinations. Additionally, incorporating artful presentation can elevate the overall look and make your dessert board even more appealing.
Finally, pay attention to presentation. Use a large wooden board or platter as your base, and arrange items artfully—group similar colors or shapes together for a cohesive look. Keep everything accessible, so guests can easily serve themselves. By thoughtfully selecting a variety of chocolate varieties and nut pairings, and arranging them with care, you turn a simple dessert board into a memorable centerpiece that delights everyone’s palate.
As an affiliate, we earn on qualifying purchases.
Frequently Asked Questions
How Far in Advance Can I Prepare a Dessert Board?
You can prepare a dessert board up to 24 hours in advance, but for the best dessert presentation, assemble it closer to serving time. To keep everything fresh, cover the platter tightly with plastic wrap and store it in the refrigerator. When ready to serve, remove it from the fridge about 30 minutes prior to allow flavors to settle. Proper platter arrangement guarantees an appealing dessert presentation that impresses your guests.
What Are Alternative Options for Guests With Dietary Restrictions?
You can easily accommodate guests with dietary restrictions by including gluten-free options and vegan-friendly desserts. Investigate popular recipes to guarantee they meet dietary needs without sacrificing flavor. Offering a variety of fresh fruits, nuts, dairy-free chocolates, and plant-based treats guarantees everyone has delicious choices. By thoughtfully selecting these alternatives, you create an inclusive dessert board that delights all your guests, regardless of their dietary restrictions.
How Do I Transport a Dessert Board Without Damaging It?
To transport a dessert board without damaging fragile items, start by securing it in a sturdy, flat box lined with non-slip padding. Place the board carefully inside, making sure delicate items are cushioned and won’t shift. Use tape or additional padding to stabilize everything. Keep the box level during transit, and handle it gently to prevent any breakage. This guarantees your dessert board arrives beautifully intact.
What Are Cost-Effective Ways to Create an Impressive Dessert Board?
You don’t need to spend a fortune to create an impressive dessert board. Use seasonal toppings and simple ingredients for an elegant presentation that wows everyone. Repurpose items you already have—like colorful fruits, nuts, or candies—and arrange them artfully. Keep it budget-friendly by focusing on variety and visual appeal rather than expensive chocolates or fancy platters. With a little creativity, your dessert board becomes both beautiful and cost-effective.
How Can I Customize a Dessert Board for Themed Gatherings?
To customize a dessert board for themed gatherings, start with flavor combinations that match your theme, like tropical fruits for a beach party or rich chocolates for a cozy winter event. Use presentation tips like arranging items in eye-catching patterns and adding themed decorations or accents. Incorporate colors, shapes, or props that reflect your theme, making your dessert board both visually appealing and perfectly tailored to your celebration’s vibe.
Conclusion
Now that you know how to craft stunning dessert boards, you’re ready to impress your guests. Remember, they’re more than just sweet treats—they’re a reflection of your creativity and effort. While the vibrant visuals draw the eye, it’s the thoughtful selections and harmonious flavors that truly delight. So, embrace the art of balancing beauty and taste, turning an ordinary gathering into an extraordinary experience where elegance meets indulgence.
NFL season / tailgating Picks
team gear
As an affiliate, we earn on qualifying purchases.