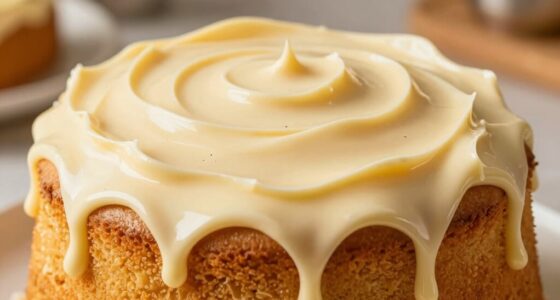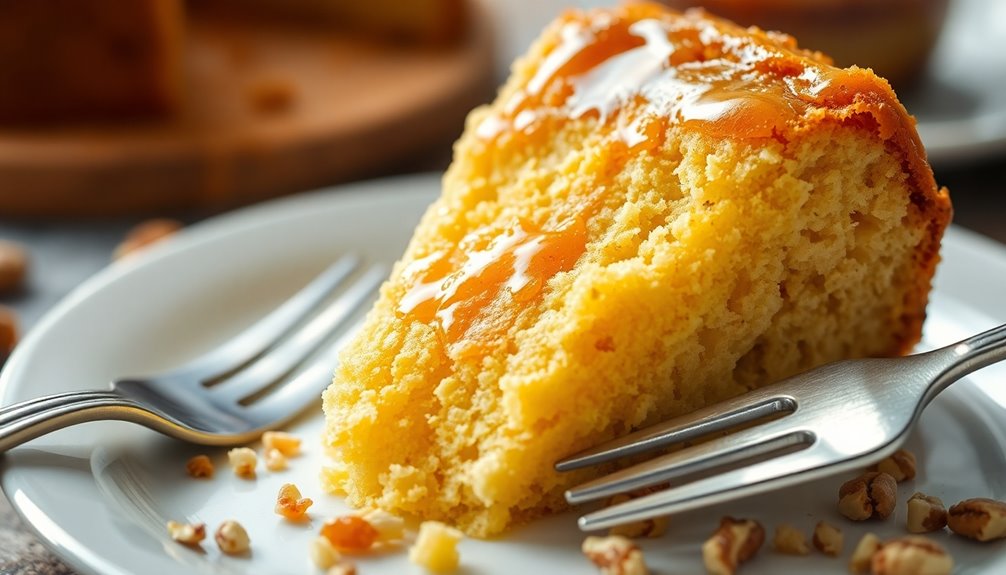

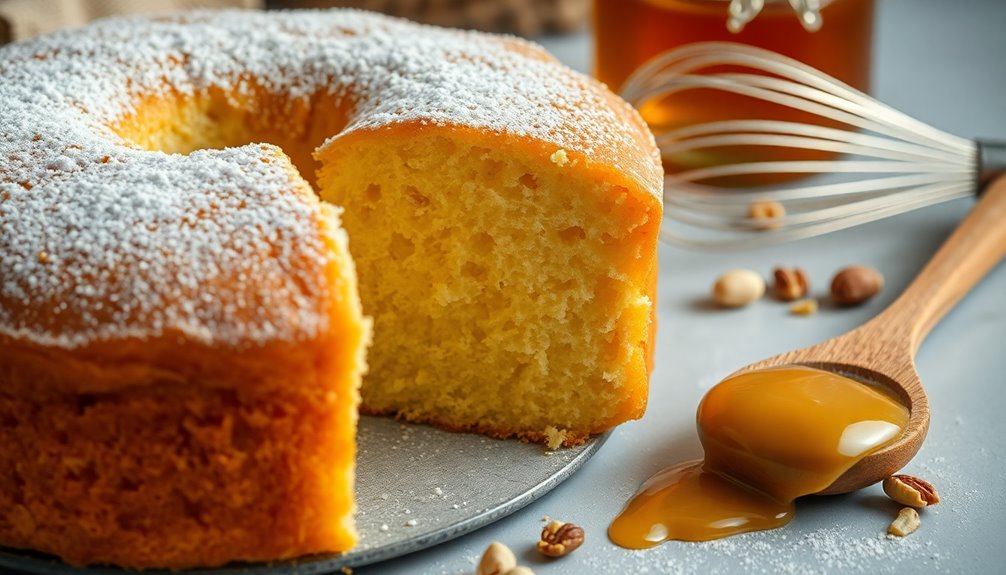
Honey cake is a fluffy, delightful treat that perfectly balances rich sweetness with a light, airy texture. To achieve this, make sure to mix your wet ingredients thoroughly and gently fold in the dry ones without overmixing. Using room temperature honey ensures better integration, while melted butter and oil contribute to the softness. After baking, let it cool completely before serving. If you want to perfect your honey cake or learn more about its history, keep exploring!
History
Honey cake has deep roots in Jewish tradition, especially as a symbol of sweetness and prosperity during Rosh Hashanah. Its cultural significance shines through as families come together to celebrate the Jewish New Year.
This delicious dessert dates back to ancient times, originally made to honor the harvest and seek blessings for the year ahead. Variations exist across cultures, but the Russian Medovik stands out with its layered structure and rich honey flavor, becoming a favorite in the 19th century.
Over time, honey cake recipes evolved, incorporating local ingredients and techniques. Today, you'll find this beloved treat at various celebrations and family gatherings, reminding everyone of the importance of sweetness and abundance in life.
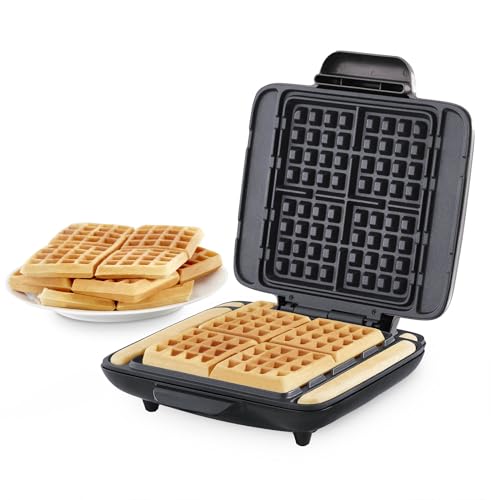
Dash No-Drip Waffle Maker - Makes Four Waffles at Once for Hassle-Free Breakfasts - Dual Nonstick Heating Plates & Quick Heat-Up System - Easy-Release Surface - Silver
Consistently Perfect Waffles: The Dash No-Drip Waffle Maker is a family breakfast maker with dual nonstick heating plates...
As an affiliate, we earn on qualifying purchases.
Recipe
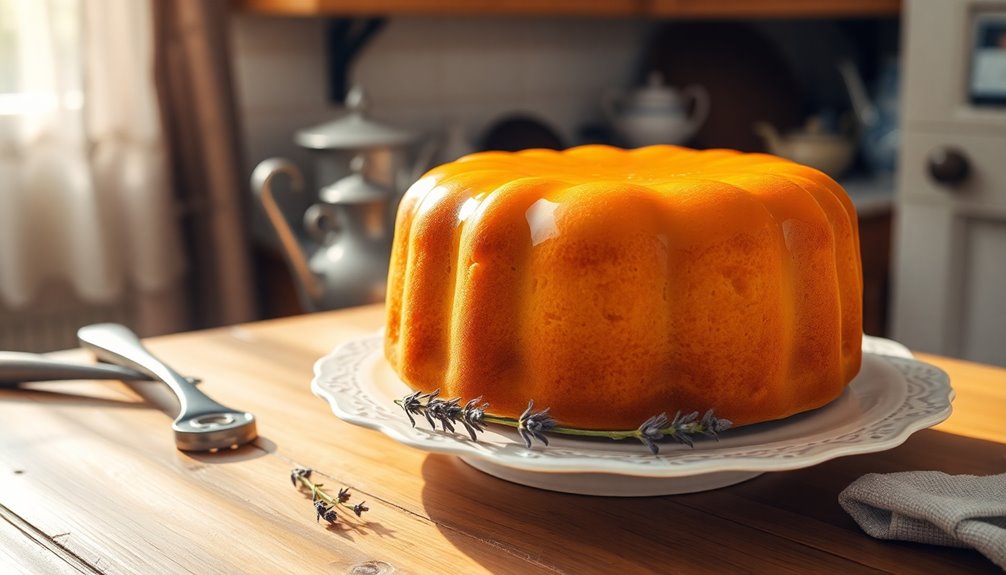
Honey cake is a delightful treat that brings together the rich sweetness of honey with a light and airy texture that melts in your mouth. The secret to achieving this fluffiness lies in the careful combination of wet and dry ingredients, as well as the proper use of leavening agents. This recipe will guide you through creating a perfect honey cake that's moist, fluffy, and perfect for any occasion.
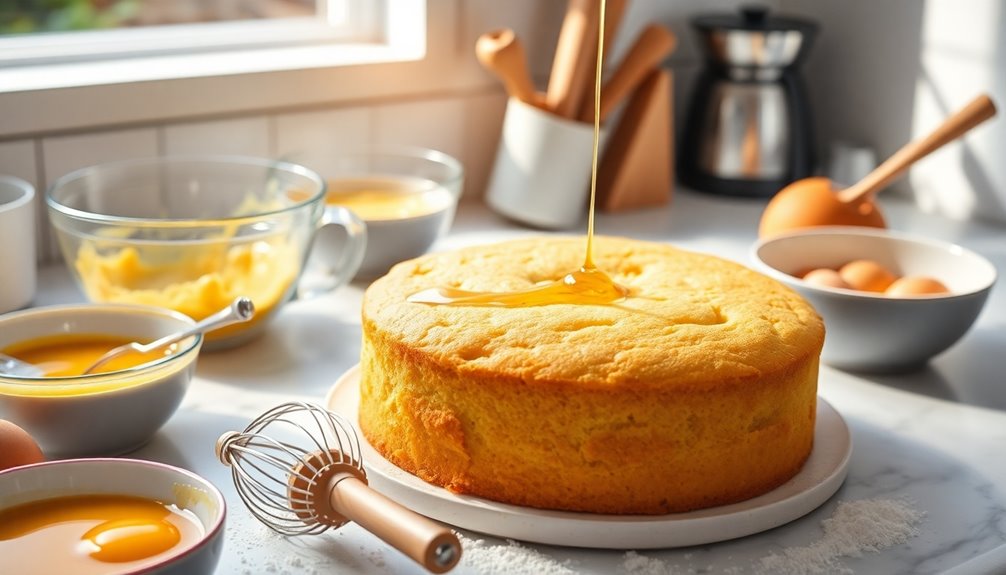
To start, ensure you have all your ingredients ready and at room temperature for better emulsification. The combination of melted butter, oil, and eggs creates the base for a soft texture, while the hot milk and honey blend seamlessly to add moisture and flavor.
Follow the steps below to create this delicious cake that will surely impress your friends and family.
Ingredients:
- 1 cup honey
- 1/2 cup melted butter
- 1/2 cup vegetable oil
- 3 large eggs
- 1 cup hot milk
- 2 cups all-purpose flour
- 1 tablespoon baking powder
- 1/2 teaspoon baking soda
- 1/4 teaspoon salt
Cooking Instructions:
In a mixing bowl, combine the melted butter, vegetable oil, and eggs, whisking until smooth. Gradually add the hot milk and honey, mixing well.
In a separate bowl, sift together the flour, baking powder, baking soda, and salt. Gently fold the dry ingredients into the wet mixture until just combined, being careful not to overmix.
Pour the batter into a greased cake pan and bake in a preheated oven at 180 °C (350°F) for 30 minutes or until a toothpick inserted in the center comes out clean. Allow the cake to cool before removing it from the pan.
Extra Tips:
To elevate the flavor of your honey cake, consider adding a teaspoon of vanilla extract or a pinch of cinnamon to the batter.
Always measure your ingredients accurately for the best results, and remember to let the cake cool completely before frosting or serving to maintain its fluffy texture. If you have leftovers, store them in an airtight container to keep the cake moist for days.
Enjoy your fluffy honey cake!

KRUPS 4-Slice Belgian Waffle Maker: Stainless Steel, 5 Browning Levels, Audible Ready Beep, Removable Plates, 1200W, Silver/Black, Large Waffle Maker Family Size, Great for Family Breakfasts
Family-Sized Capacity: Square waffle maker bakes 4 square waffles simultaneously & deep pockets are great for generous toppings;...
As an affiliate, we earn on qualifying purchases.
Cooking Steps
To start making your Honey Cake Fluffy, you'll need to preheat your oven to 350°F and prepare your cake pan.
Next, mix your wet ingredients thoroughly before folding in the dry ones for that perfect texture.
Don't forget to add the honey and mix well before pouring the batter into the prepared pan!
Step 1. Preheat Oven to 350°F

Preheating your oven to 350°F (180°C) sets the stage for a perfectly fluffy honey cake. This consistent baking temperature is essential for achieving that soft and fluffy texture you desire.
Proper preheating allows for even heat distribution, which is crucial to avoid any dense results. To ensure accuracy, use an oven thermometer, as some ovens can be off by several degrees.
Make sure to fully preheat your oven before placing the cake batter inside; this helps in developing a good rise and maintaining moisture throughout the baking process.
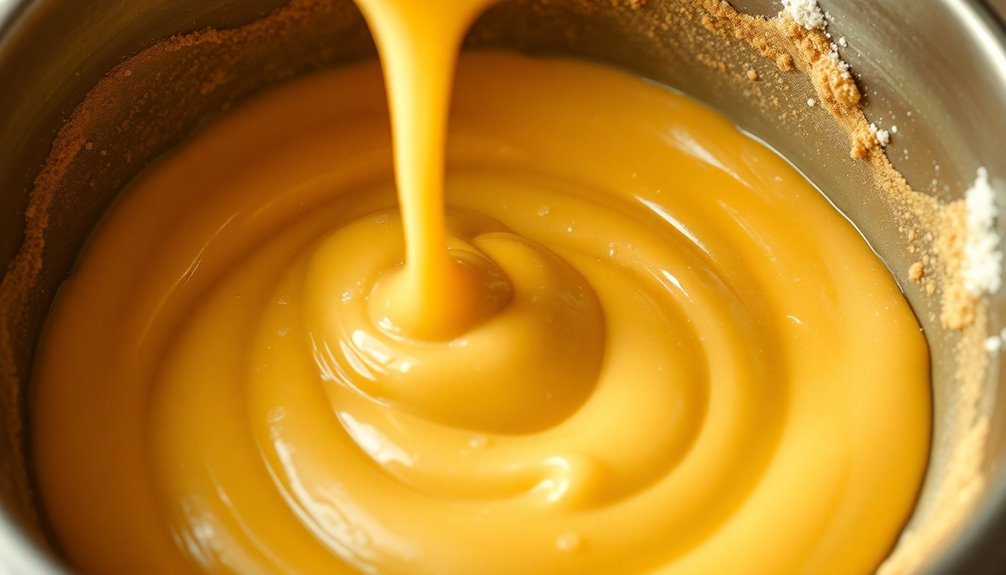
Step 2. Mix Wet Ingredients Thoroughly

Once you've gathered all your wet ingredients, it's crucial to mix them thoroughly for the best results.
Start by combining the melted butter, oil, vanilla extract, and eggs in a large bowl. Whisk them until the mixture is smooth and well combined; this ensures a homogenous batter.
Gradually add the hot milk and honey, which helps dissolve the honey and evenly distribute its sweetness. Use room temperature ingredients to promote better emulsification, leading to a lighter, fluffier cake.
If you're using an electric mixer, mix on low speed, then increase to medium until the mixture is fluffy. Remember to whisk gently to avoid overmixing; you want to keep that airy texture, not a dense one!
Step 3. Fold in Dry Ingredients

As you prepare to incorporate the dry ingredients, remember that a gentle touch is key to keeping your honey cake airy.
Start by adding about one-third of the dry mixture to the wet ingredients. Using a spatula, fold in dry ingredients with a gentle hand in a circular motion until just combined, being careful to avoid overmixing.
This ensures even distribution without deflating the batter, which is crucial for achieving a light texture. Incorporate the dry ingredients in batches, and use a figure-eight motion to mix.
Stop as soon as no dry flour is visible to prevent gluten development, which can lead to a denser cake. This method maintains the airiness of the batter, resulting in a fluffy honey cake.
Step 4. Add Honey and Mix Well
With the dry ingredients carefully folded in, it's time to add the honey for that signature sweetness. Make sure your honey is at room temperature or slightly warmed; this helps it mix well with the wet ingredients.
Combine the honey with the eggs and oil first, ensuring you create a cohesive batter that enhances the flavor and moisture level of your cake. Stir gently, incorporating the honey mixture into the dry ingredients using a gentle folding method.
This technique helps avoid overmixing, which can lead to a denser cake. Remember, the amount of honey you use will impact both the cake's sweetness and overall texture, so measure carefully to achieve the perfect balance.
Step 5. Pour Batter Into Prepared Pan
Gently pour the batter into your prepared cake pan, ensuring it's well-mixed for a consistent texture.
Use a greased 8×3 inch or a 9-inch round pan for optimal results. As you're pouring, take care to avoid deflating the air pockets that are crucial for achieving a light and fluffy cake.
Once the batter's in the pan, tap it lightly on the counter to release any trapped air bubbles, which helps promote even baking. This step is vital for maintaining the leavening properties of the baking powder and baking soda, allowing your cake to rise beautifully.
Bake immediately after pouring to ensure your honey cake achieves that perfect fluffy texture you desire.

Presto 03510 Ceramic FlipSide Belgian Waffle Maker, Nonstick, Cool Touch Handles, Black
PROFESSIONAL FLIP WAFFLE MAKER: This Belgian waffle maker features a professional-style rotating design, ensuring perfectly cooked waffles every...
As an affiliate, we earn on qualifying purchases.
Final Thoughts
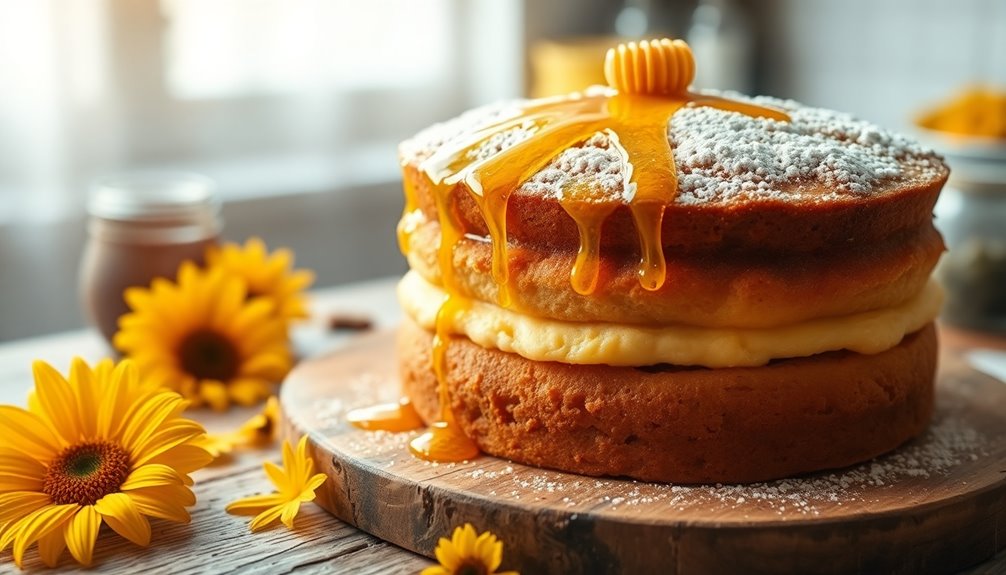
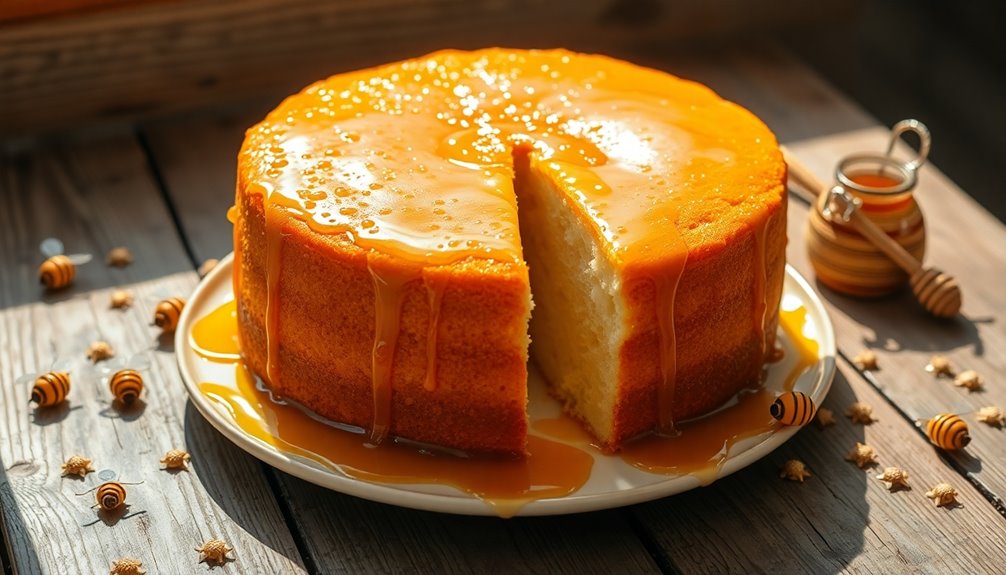
While the process of making honey cake may seem straightforward, the delicate balance of ingredients truly transforms it into a fluffy delight.
The combination of melted butter, oil, and eggs creates a light batter that rises beautifully during baking. Don't forget to use hot milk, as it helps dissolve the honey and contributes to the cake's moist texture.
To achieve that soft, fluffy outcome, be mindful of overmixing—this can lead to a tougher texture.
Once baked, store the cake properly at room temperature or in the fridge to keep it moist and prevent drying out.
With its rich flavor and fluffy nature, your honey cake will surely impress anyone who takes a bite!

Hamilton Beach Belgian Waffle Maker with PFAS-Free Non-Stick Ceramic-Coated Plates, Browning Control, Indicator Lights, Stainless Steel (26081)
Create quick and easy waffles at home. With the Hamilton Beach Ceramic Belgian Waffle Maker, you'll make restaurant-quality...
As an affiliate, we earn on qualifying purchases.
Frequently Asked Questions
Can I Substitute Ingredients in the Honey Cake Recipe?
Absolutely, you can substitute ingredients in a recipe!
It's all about finding the right alternatives that suit your taste or dietary needs. For instance, if you're out of eggs, consider using applesauce or flaxseed meal.
You can swap different types of flour or sweeteners too. Just keep in mind that substitutions might slightly alter the texture or flavor, so don't hesitate to experiment until you find the perfect balance for your creation!
How Should I Store Leftover Honey Cake?
Ever wonder how to keep your delicious creations fresh?
To store leftover honey cake, wrap it tightly in plastic wrap or place it in an airtight container. This locks in moisture and flavor, ensuring every bite stays delightful.
If you want to keep it longer, consider freezing individual slices. When you're ready to enjoy it again, just thaw at room temperature.
You'll have a treat that tastes just as good as the first slice!
Is Honey Cake Suitable for Vegans?
When it comes to honey cake, it's not typically suitable for vegans because it usually contains honey, which is an animal product.
However, you can easily adapt the recipe by substituting honey with maple syrup or agave nectar.
Just make sure to check other ingredients too, like eggs or dairy.
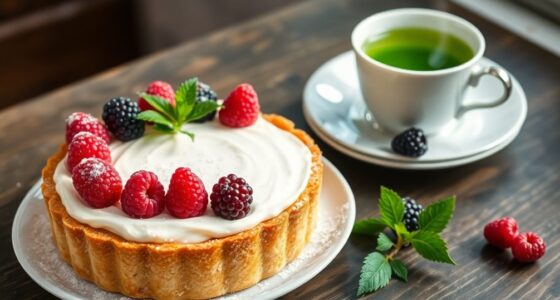
What Beverages Pair Well With Honey Cake?
So, you think pairing beverages with cake is as easy as pouring a glass of water? Think again!
When enjoying honey cake, you're in for a treat. Try a lovely cup of herbal tea, like chamomile or mint, to complement the sweetness.
If you're feeling fancy, a light sparkling wine can elevate the experience.
And don't forget about a classic coffee—its bold flavors balance the cake perfectly.
Cheers to your delicious adventure!
How Can I Make Honey Cake Gluten-Free?
To make honey cake gluten-free, you can substitute regular flour with gluten-free all-purpose flour.
Make sure it contains xanthan gum, which helps with texture. You might also consider using almond flour or coconut flour for a unique flavor.
Adjust the liquid ingredients slightly, as gluten-free flours often absorb more moisture.
Don't forget to check your baking powder and baking soda for gluten-free certification.
Enjoy your delicious, gluten-free creation!