
Serving ice cream in a chocolate bowl elevates your dessert game. It adds rich flavor and visual appeal that's irresistible. The process is fun and easy—just melt chocolate, coat a balloon or mold, then fill it with your favorite ice cream. You can customize it with toppings for extra flavor! Plus, these bowls store well in the fridge, so you can have them ready for any occasion. There's so much more to explore with dessert presentation!
History

The history of serving ice cream in chocolate bowls dates back to the 19th century, when ice cream emerged as a favorite dessert in the United States.
As ice cream gained popularity, creative vessels began to enhance the experience. By the late 20th century, chefs started experimenting with chocolate bowls, adding visual appeal and unique flavor combinations to traditional sundaes.
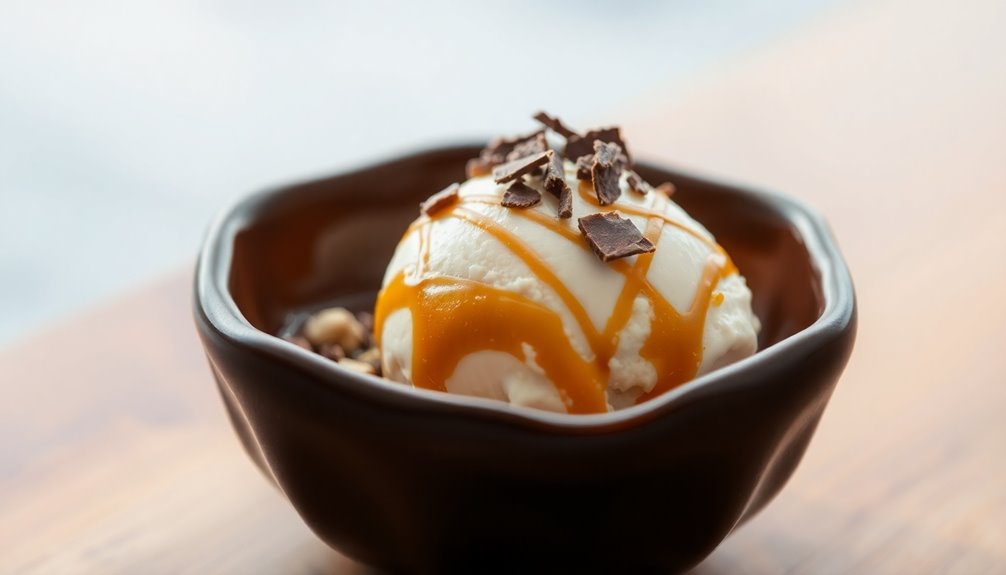
The firm yet melting chocolate creates a delightful textural contrast with creamy ice cream, making each bite enjoyable.
The combination of firm yet melting chocolate and creamy ice cream offers a delightful textural contrast in every bite.
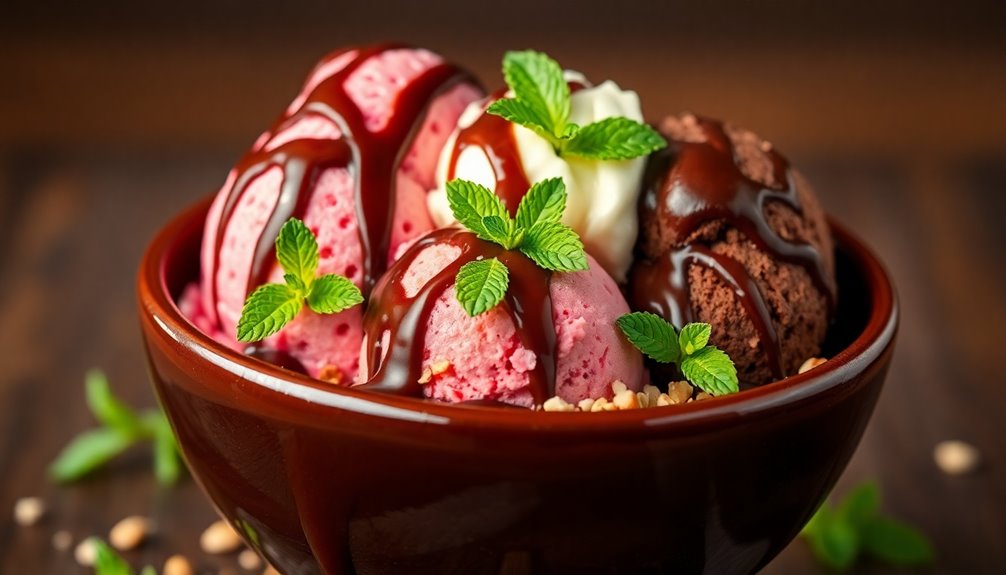
Today, chocolate bowls are a staple in various dessert recipes, accommodating everything from ice cream to fresh fruit and mousse. Their versatility has made them a highlight in upscale dining and on social media, showcasing the ever-evolving world of desserts.

Chocolate Bar Mold,Non-Stick Chocolate Molds,100% Food Grade Silicone Mold
- Deep Mold Design: 0.6 inch deep for stuffing
- Size Dimensions: 10 x 6.7 x 0.6 inches
- Food Grade Material: 100% BPA-free silicone
As an affiliate, we earn on qualifying purchases.
As an affiliate, we earn on qualifying purchases.
Recipe
To get started, gather your ingredients and materials. You'll need a mold, which can be a silicone mold or even water balloons for a unique shape. Once you have everything ready, you can melt the chocolate and prepare to coat the inside of your chosen mold. After chilling the bowls in the fridge, they'll be ready to be filled with your favorite ice cream and toppings. Consuming ice cream in moderation is important due to its high sugar and fat content, which can lead to weight gain and potential health issues. The creamy texture of the ice cream will pair beautifully with the chocolate bowl, creating a delightful gourmet dessert experience.
Ingredients:
- 10 ounces of chocolate (dark, milk, or white)
- 1-2 tablespoons of coconut oil (optional)
- Silicone mold or water balloons
- Ice cream of your choice
- Toppings (fruits, sprinkles, syrups)
Instructions:
Begin by melting the chocolate in a microwave-safe bowl or using a double boiler, stirring until smooth. If desired, mix in coconut oil to enhance the chocolate's sheen and texture.
Once melted, carefully coat the inside of your mold with the chocolate using a spoon or brush, ensuring an even layer. Place the mold in the refrigerator for at least 30 minutes or until the chocolate is firm.
Once set, gently remove the chocolate bowls from the molds and fill them with your favorite ice cream, adding toppings as desired. Consider adding gummy worms for a playful touch, reminiscent of fun dessert ideas like Dirt Cups.
Extra Tips:
For a more polished look, consider using tempered chocolate, which will give your bowls a nice shine and help them hold their shape longer.
If using water balloons, be cautious when deflating them to avoid damaging the chocolate bowl. Additionally, if you want to make the bowls in advance, they can be refrigerated in an airtight container for up to 2-3 months, making them a great make-ahead option for parties or gatherings.
Enjoy your creative dessert!
Cooking Steps

To start making those delicious chocolate bowls, you'll want to melt chocolate with a bit of oil for a smooth finish.
Once that's done, chill the chocolate until it's firm before coating your balloons thoroughly.
After popping the chocolate-coated balloons, you can fill your bowls with your favorite ice cream and toppings!
Step 1. Melt Chocolate in a Bowl
Start by breaking the chocolate into small, even pieces to ensure it melts uniformly.
Place the chocolate in a heat-safe bowl. You can use a microwave or a double boiler to melt it.
If you choose the microwave, heat the chocolate in 20-30 second intervals, stirring between sessions to prevent overheating.
For the double boiler method, fill the bottom pan with a little water, bring it to a simmer, and set the heat-safe bowl on top without letting it touch the water.
To achieve a smoother consistency and enhance shine, add a small amount of oil, like coconut or vegetable oil.
Stir the melted chocolate until it's completely smooth, ready to make chocolate bowls without any lumps.
Step 2. Chill Chocolate Until Firm

Pour the melted chocolate into your mold or around the balloons, ensuring an even coating. After filling, tap the mold gently to release any air bubbles, helping the chocolate set more uniformly.
Place the filled molds in the refrigerator for about 15 minutes, or if you're using dipped balloons, chill them on a lined sheet pan for at least 30 minutes. This step is crucial for creating durable bowls that can hold your ice cream. To enhance the flavor of your ice cream, consider using a popular ice cream flavor like birthday cake or cotton candy.
If you want extra strength, consider adding additional layers of chocolate before chilling.
Once firm, your chocolate bowls will be ready for a delicious ice cream treat!
Step 3. Coat Balloons Thoroughly With Chocolate

Dipping balloons in chocolate is a fun and straightforward process that yields impressive results. Start by melting chocolate and a bit of oil together until smooth, ensuring it's not too hot.
Inflate your water balloons to about the size of a baseball, then wash and dry them thoroughly to prevent moisture from ruining the chocolate.
Dip the balloon straight down into the melted chocolate, letting any excess drip off before placing it on a lined surface. Make sure to coat the entire lower half evenly; this'll create a sturdy chocolate bowl for your ice cream.
Finally, refrigerate the dipped balloons for at least 30 minutes to let the chocolate harden completely before moving on to the next step.
Step 4. Pop the Chocolate-Coated Balloons

After chilling the chocolate-coated balloons in the refrigerator for at least 30 minutes, it's time to pop them and reveal your beautiful chocolate bowls.
Carefully remove the balloons, ensuring the chocolate has set properly. Grab a pair of scissors and gently pop the balloon at the knot, letting the air escape slowly to avoid damaging your chocolate structure.
Once the balloon's popped, carefully peel away the deflated scraps, taking care not to break the delicate edges of your chocolate bowls. If any chocolate pieces stick to the balloon, gently coax them off with your fingers.
Finally, store your finished chocolate bowls in the refrigerator until you're ready to fill them with ice cream or your favorite treats. Enjoy!
Step 5. Fill With Your Favorite Treats

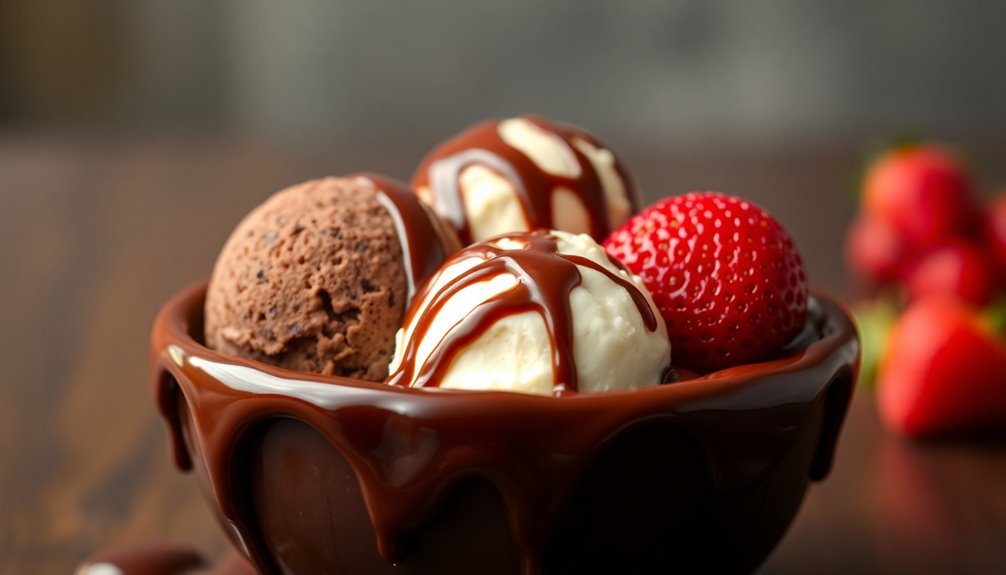
Now that you've carefully crafted your chocolate bowls, it's time to fill them with your favorite treats. Start by scooping about 1/2 cup of your chosen ice cream flavor into each bowl. Whether you opt for creamy vanilla, rich chocolate, or a fruity sorbet, each choice brings its own delight.
Next, let your creativity shine by adding toppings like colorful sprinkles, a drizzle of chocolate syrup, or a generous dollop of whipped cream. For a fun twist, layer in crushed cookies or candy bars between your scoops, adding a surprising crunch.
Serve your filled chocolate bowls immediately for a fresh treat or freeze them briefly for an extra cold experience, ensuring they're covered to maintain quality. Enjoy!
Final Thoughts
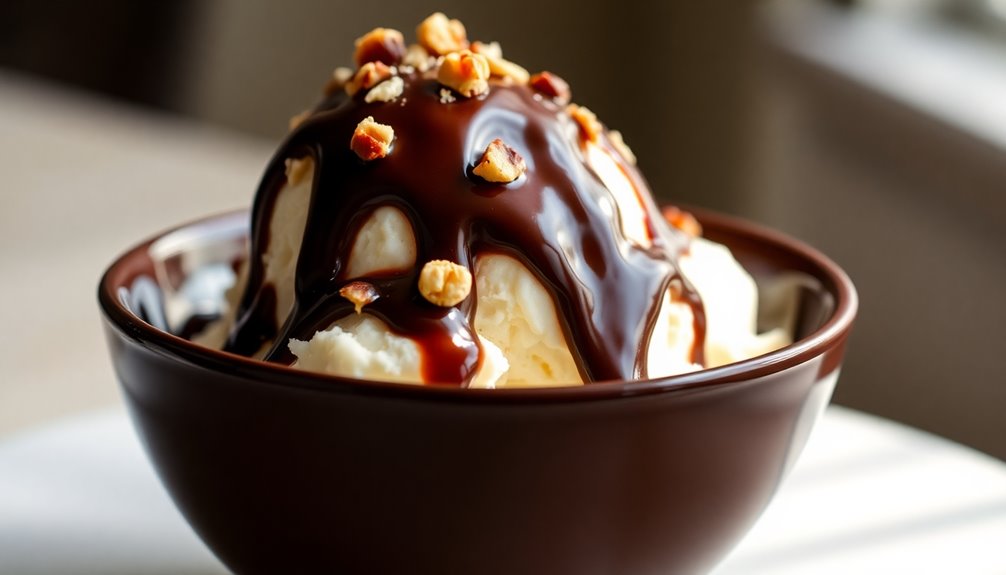
While enjoying a scoop of ice cream in a chocolate bowl, you can't help but appreciate the delightful fusion of flavors and presentation.
Chocolate bowls elevate your dessert experience, turning ordinary vanilla ice cream into an extraordinary treat. With the option to customize with sprinkles or drizzles of chocolate syrup, you can unleash your creativity while indulging in a delicious dessert.
Plus, making chocolate bowls is fun and easy, whether you dip balloons or use silicone molds. Keeping these edible bowls in the refrigerator extends their shelf life, so you can have them ready for various occasions.
In the end, chocolate bowls don't just hold your ice cream; they enhance every bite, making every dessert moment truly memorable.
Frequently Asked Questions
What Is Ice Cream Covered in Chocolate Called?
Have you ever indulged in the sheer joy of ice cream covered in chocolate? You're not alone—this delightful treat is commonly known as chocolate-coated or chocolate-dipped ice cream.
Picture biting into a smooth, creamy center, only to be met with a crisp, chocolatey shell. It's a treat that ignites nostalgia and excitement, often reminding you of carefree summer days or fun outings with friends.
You can enjoy it in bars, cones, or sundaes!
How to Create a Chocolate Bowl?
To create a chocolate bowl, you'll want to start by melting chocolate and oil together until smooth.
Once it cools slightly, inflate water balloons to baseball size and dip the bottoms into the melted chocolate.
Place them on dollops of chocolate on a silicone mat, then refrigerate for about three hours.
After the chocolate hardens, carefully pop the balloons to reveal your chocolate bowl.
Enjoy your creative treat presentation!
What Is the Ice Cream With the Chocolate in the Middle?
You're talking about desserts like chocolate-filled ice cream or ice cream bonbons.
These treats have a creamy ice cream center surrounded by rich chocolate. The combination of flavors and textures creates a delightful experience as the cold ice cream melts against the sweet chocolate.
You can find variations with different ice cream flavors like vanilla or strawberry, paired with milk, dark, or white chocolate, making it a popular choice for all ages.
How to Make a Chocolate Bowl Without a Balloon?
Imagine a rich, glossy chocolate bowl, ready to cradle your favorite treats.
To make one without a balloon, start by melting chocolate, then dollop it onto parchment paper to create a sturdy base.
Cover an upside-down cup with Saran wrap, pour the melted chocolate over it, and let it chill for about 30 minutes.
Once firm, peel away the wrap and gently lift off the cup.
You've got yourself a beautiful chocolate bowl!