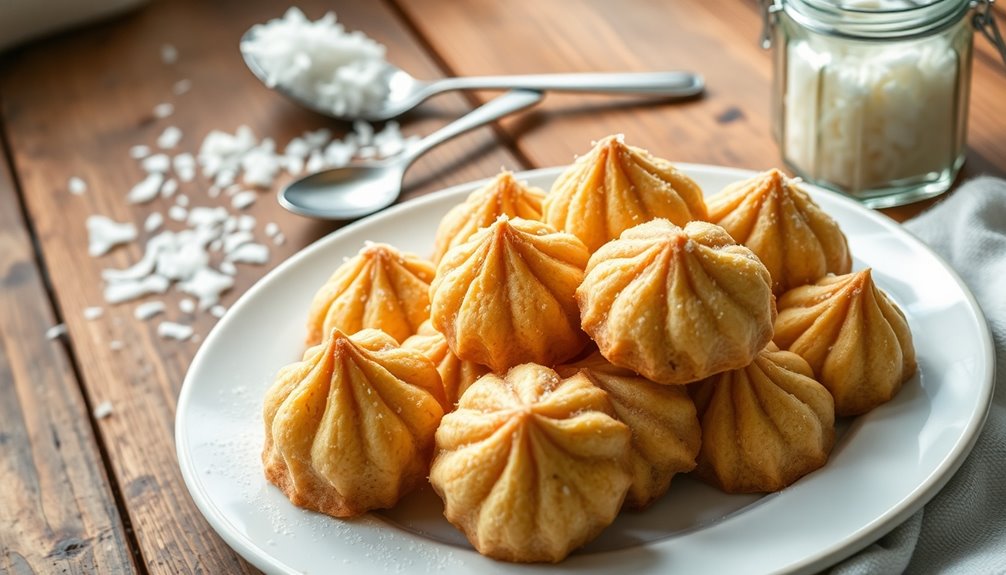

Kokosanki are heavenly Polish coconut cookies that bring comfort and nostalgia in each bite. They're made with just a few simple ingredients: desiccated coconut, sugar, egg whites, and condensed milk, making them perfect for both novice and seasoned bakers. With a light, chewy texture, these treats are great for sharing at family gatherings or savoring alone. Once you try them, you'll understand their charm and discover how easy they are to whip up in your kitchen.
History
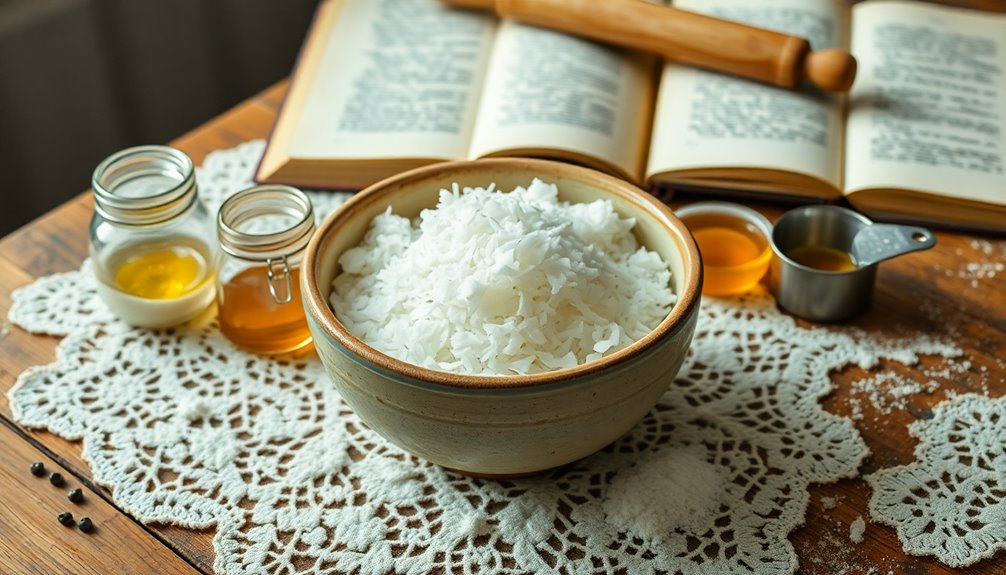
Kokosanki, or coconut macaroons, trace their roots back to Poland, where they emerged as a cherished treat after World War II.
Kokosanki, or coconut macaroons, are a beloved Polish treat that blossomed in the aftermath of World War II.
These cookies reflect the simplicity and resourcefulness of Polish cuisine during challenging times. With just a few ingredients—desiccated coconut, egg whites, and sugar—this simple recipe became a favorite for home bakers.
You might find kokosanki evoking childhood memories during family gatherings, as they serve as a nostalgic reminder of shared traditions.
Over the years, variations have sprouted, introducing different flavors while the classic version remains a beloved staple.
Their popularity isn't confined to Poland; similar coconut-based desserts appear across various cultures, showcasing the universal appeal of coconut in sweet treats. In fact, kokosanki exemplify the importance of reader-focused content that helps consumers navigate their culinary choices.
Recipe
Kokosanki, or traditional Polish coconut macaroons, are a delightful treat that brings a taste of Eastern European cuisine to your home. With their light and chewy texture, these cookies are an excellent way to indulge your sweet tooth without overwhelming your palate. Perfect for sharing at gatherings or simply enjoying with a cup of tea, kokosanki are sure to become a favorite in your recipe collection.
This simple recipe highlights the use of desiccated coconut, sugar, and egg whites, creating a deliciously chewy cookie that captures the essence of coconut flavor. With minimal ingredients and straightforward preparation, even novice bakers can whip up a batch in no time. So roll up your sleeves and get ready to enjoy the heavenly taste of kokosanki! Additionally, you can enjoy them while camping and pair them with a lightweight power bank to keep your devices charged for those outdoor adventures.
Ingredients:
- 2 ½ cups sweetened coconut flakes
- 2/3 cup sweetened condensed milk
- 1/3 cup all-purpose flour
- A pinch of salt
- 2 egg whites
- 1/4 cup icing sugar
- 2 egg yolks
Cooking Instructions:
Preheat your oven to 350º F (175°C) and line a baking sheet with parchment paper.
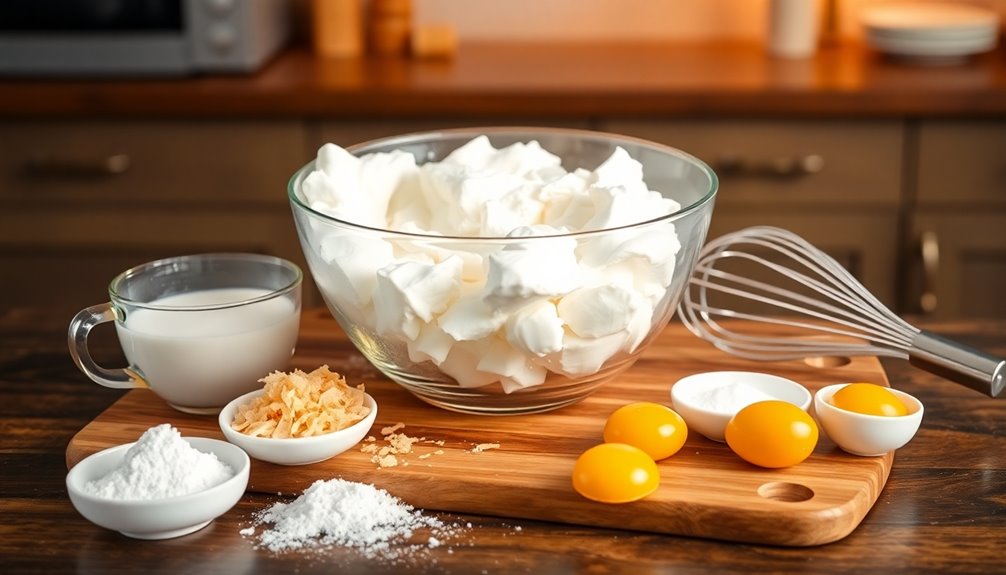
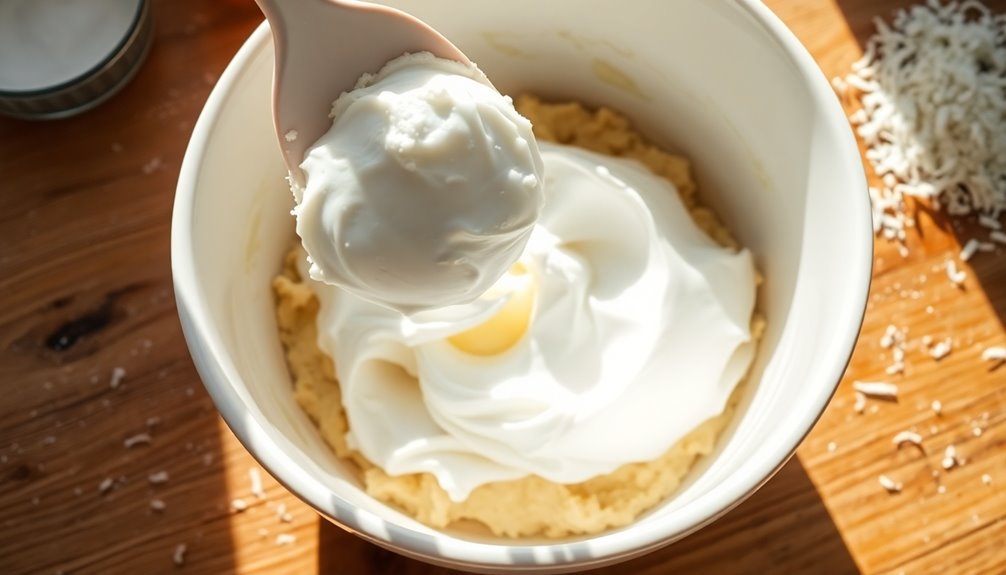
In a mixing bowl, whip the egg whites until stiff peaks form, then gradually add the icing sugar while continuing to whip. Once well combined, gently fold in the egg yolks and the sweetened coconut flakes.
Add the condensed milk, flour, and salt, mixing until everything is evenly incorporated. Using a spoon or cookie scoop, drop spoonfuls of the mixture onto the prepared baking sheet, spacing them about 2 inches apart.
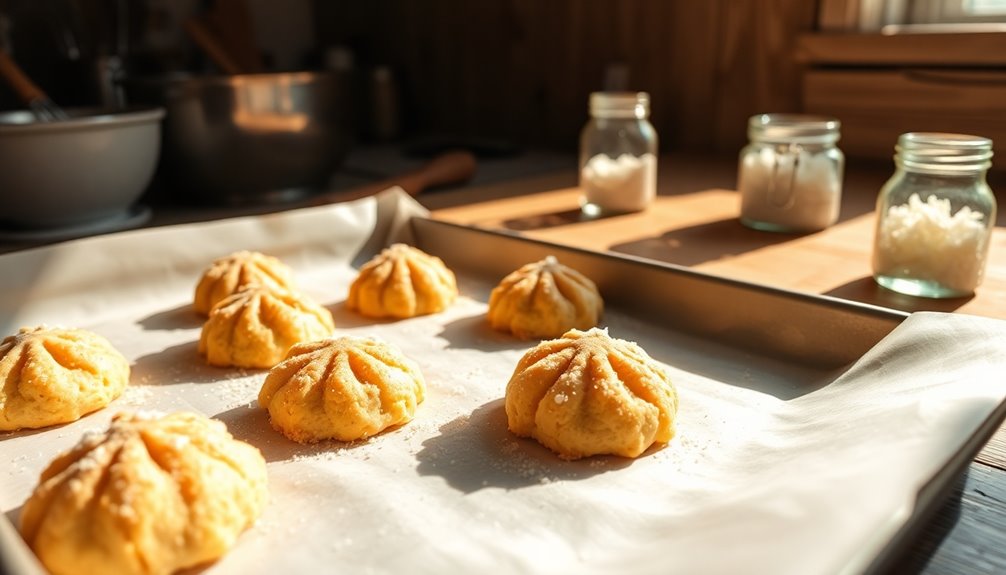
Bake for approximately 15 minutes or until the cookies turn a golden brown, then remove from the oven and let them cool on a wire rack.
Extra Tips:
To ensure your kokosanki turn out perfectly every time, make sure your egg whites are at room temperature before whipping, as this helps achieve maximum volume.
Additionally, avoid overmixing the batter once the coconut and other ingredients are added, as this can lead to denser cookies.
Store any leftovers in an airtight container to keep them fresh for up to a week, but they're so delicious that they may not last that long! Enjoy your homemade kokosanki!
Cooking Steps

To start making your kokosanki cookies, preheat your oven to 350°F.
Next, mix the coconut and sugar together before gradually adding the egg whites for a smooth batter.
Once you've got that ready, scoop the mixture onto a baking sheet and get ready to bake! These cookies are perfect for sharing at gatherings or enjoyed as a personal indulgence.
Step 1. Preheat Your Oven to 350°F

Preheating your oven to 350°F (175°C) is crucial for baking perfect kokosanki cookies. This temperature ensures an even baking process, letting the cookies develop a lovely golden-brown exterior while keeping the inside soft and chewy.
Allow your oven to preheat for at least 10-15 minutes before you start baking. It's a good idea to use an oven thermometer to double-check the temperature, as some ovens can be inaccurate. Additionally, color accuracy in baking can influence how the cookies appear, so ensure your ingredients are fresh for the best results.
Once your oven is ready, line a baking sheet with parchment, and you're all set for the next steps.
Keep an eye on the cookies while they bake, as they typically take about 15 minutes; you don't want to risk over-browning!
Step 2. Mix Coconut and Sugar
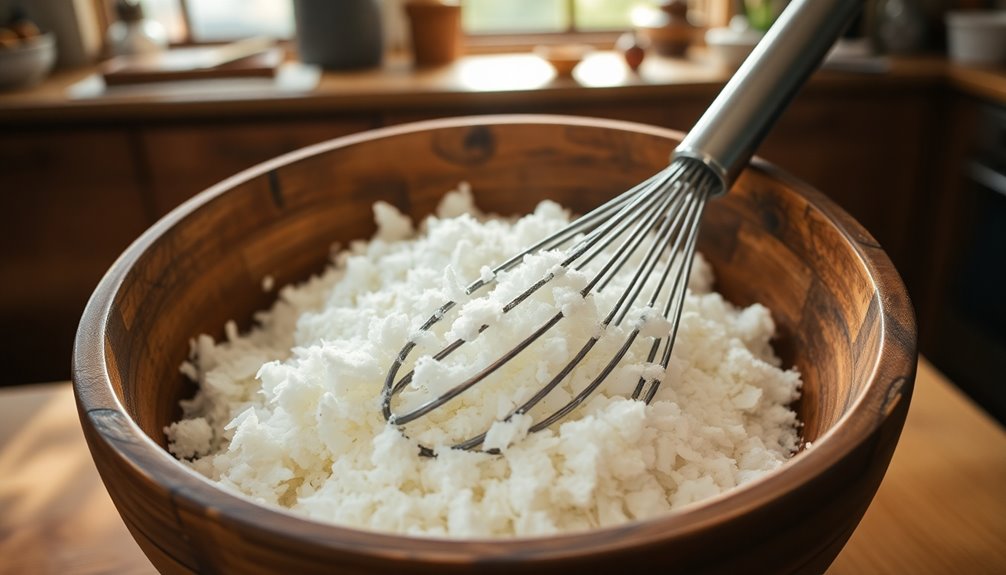
With your oven preheated and ready, you can now focus on mixing the coconut and sugar.
Start by measuring 200 g of coconut flakes and adding them to a mixing bowl. Next, add the sugar—2 tablespoons should suffice for a sweet coconut mixture.
Use a spatula or spoon to mix thoroughly, ensuring the sugar is evenly distributed among the coconut flakes. This step is crucial for achieving the perfect texture in your coconut cookies.
If you prefer a sweeter treat, you can adjust the sweetness by gradually adding more sugar, but be careful to maintain the right consistency.
Your mixture should be smooth and cohesive, with no dry pockets of coconut or sugar left behind. Remember that coconut flakes are not only delicious but also provide healthy fats and fiber.
Step 3. Add Egg Whites Gradually
As you prepare to elevate your coconut mixture, gradually adding the beaten egg whites is essential for achieving that light and fluffy texture.
First, beat the egg whites to stiff peaks; this step is crucial for ensuring your kokosanki maintain their volume and shape.
Once you've achieved those stiff peaks, gently fold in the egg whites one-third at a time. This gradual incorporation helps prevent clumps and ensures an even distribution throughout the mixture.
Be careful to use a folding technique rather than stirring, as this preserves the airiness of the whipped egg whites. Incorporating whole foods into your diet can also enhance the overall health benefits of your kokosanki.
Step 4. Scoop Onto Baking Sheet
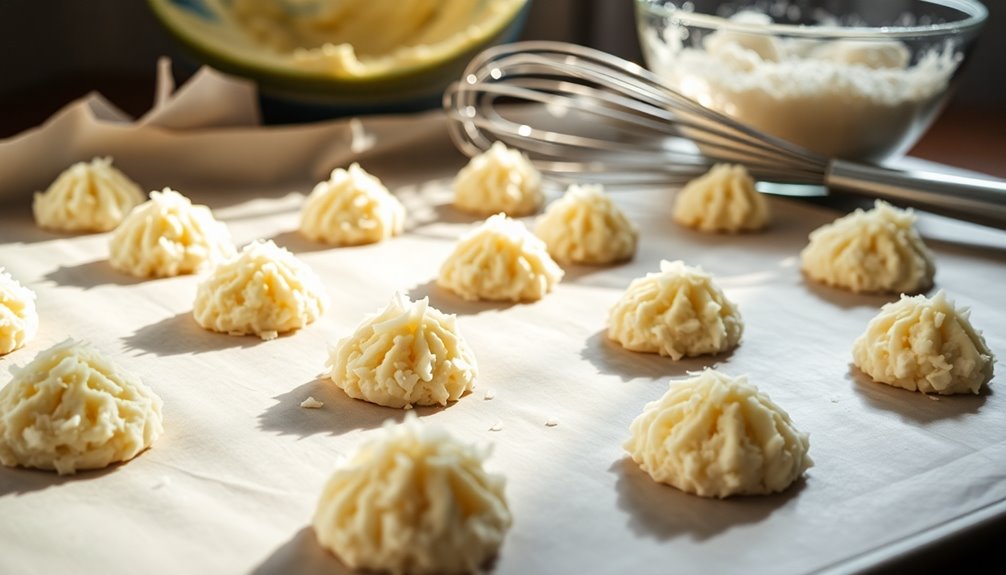
Scoop the coconut mixture onto a lined baking sheet, ensuring each portion is roughly the same size for even baking. Use a spoon or cookie scoop to achieve consistency, allowing the sweetened coconut to maintain an even texture throughout.
Leave enough space between each cookie, as they'll spread during baking. To create a more uniform shape, flatten each scoop slightly with your fingers. Remember to moisten your hands lightly; this prevents the sticky mixture from clinging to your fingers while shaping the cookies.
Aiming for consistent sizes helps all cookies bake evenly, so you achieve that perfect balance of crunchy exteriors and soft interiors. Interestingly, the process of creating these cookies can be likened to the importance of communication in relationships, as both require attention to detail for optimal results. Now, you're ready for the next step in creating your heavenly kokosanki cookies!
Step 5. Bake for 15 Minutes
Now that your kokosanki cookies are shaped and ready, it's time to bake them for 15 minutes.
First, preheat your oven to 175°C (347°F) to ensure even baking. Once the oven reaches the desired temperature, place your cookies on a lined baking tray, making sure they've enough space in between for expansion.
This step is crucial for achieving that perfect texture. Bake for 15 minutes, keeping an eye on them as they near the end of the baking time. You're looking for a lovely golden brown color on the outside. If they start to over-brown, take them out early.
Allow the cookies to cool on the tray for a few minutes before transferring them to a wire rack. Emotional resilience is key to enjoying the baking process without stress. Enjoy!
Final Thoughts

Kokosanki, with their delightful balance of crispiness and chewiness, offer a simple yet satisfying treat that can evoke fond memories of family gatherings. You'll find they're easy to make, requiring just a few ingredients like desiccated coconut, sugar, and egg whites to stiff peaks. This traditional recipe not only caters to those with gluten sensitivities but also allows for personal touches, whether you want to add a hint of vanilla or adjust the sweetness. Enjoy them fresh from the oven, or store them in an airtight container for up to a week without losing their charm. Each bite is a journey through cherished traditions, making Kokosanki a perfect addition to any occasion or a nostalgic reminder of home. Additionally, these cookies can be enjoyed alongside cute acne patches to brighten your skincare routine.
Frequently Asked Questions
Are Kokosanki Cookies Gluten-Free?
If you're wondering whether those cookies are gluten-free, it really depends on the ingredients used.
Many cookie recipes can easily be made gluten-free by substituting regular flour with gluten-free alternatives like almond flour or coconut flour.
Always check the packaging to confirm that no gluten-containing ingredients are included.
If you're sensitive to gluten, it's best to make cookies from scratch or choose brands that specifically label their products as gluten-free.
How Should I Store Leftover Kokosanki Cookies?
To keep your leftover cookies fresh, you might wonder if airtight containers really do the trick. They actually do!
After they cool, place the cookies in an airtight container and store them at room temperature. They'll stay fresh for about a week.
If you want to keep them longer, consider freezing them. Just make sure to wrap them tightly in plastic wrap before putting them in a freezer bag.
Enjoy your treats later!
Can I Freeze Kokosanki Cookies?
Yes, you can freeze cookies! To do this, make sure they're completely cooled down first.
Place them in an airtight container or a freezer-safe bag, separating layers with parchment paper to prevent sticking.
When you're ready to enjoy them, just take out the desired amount and let them thaw at room temperature.
If you want, you can also reheat them for a freshly baked taste. Enjoy your delicious treats anytime!
What Is the Origin of the Name "Kokosanki"?
The name "kokosanki" dances on the tongue like a sweet melody.
It's derived from the Polish word "kokos," meaning coconut, which hints at the primary ingredient that gives these treats their distinctive character.
This delightful treat likely traces its roots back to Eastern European culinary traditions, where coconut and other ingredients combine to create a unique flavor.
Are There Any Common Variations of Kokosanki Cookies?
When it comes to cookies, there are plenty of variations you can explore. You might find different flavors like chocolate, almond, or even matcha.
Some people add nuts or dried fruits for extra texture. You could also experiment with the type of chocolate used, whether dark, milk, or white.
Each variation brings a unique twist, allowing you to customize the cookie to your taste. Enjoy the fun of trying out these delicious options!
Conclusion
In conclusion, kokosanki heavenly cookies blend blissful bites with a rich history. You've journeyed through the past and perfected the process, creating delightful desserts that dazzle the palate. As you savor these sweet sensations, remember the magic of homemade treats and the joy they bring to gatherings. So, gather your ingredients and get baking—your taste buds are in for a tantalizing treat that's sure to spark smiles and spread sweetness all around!