
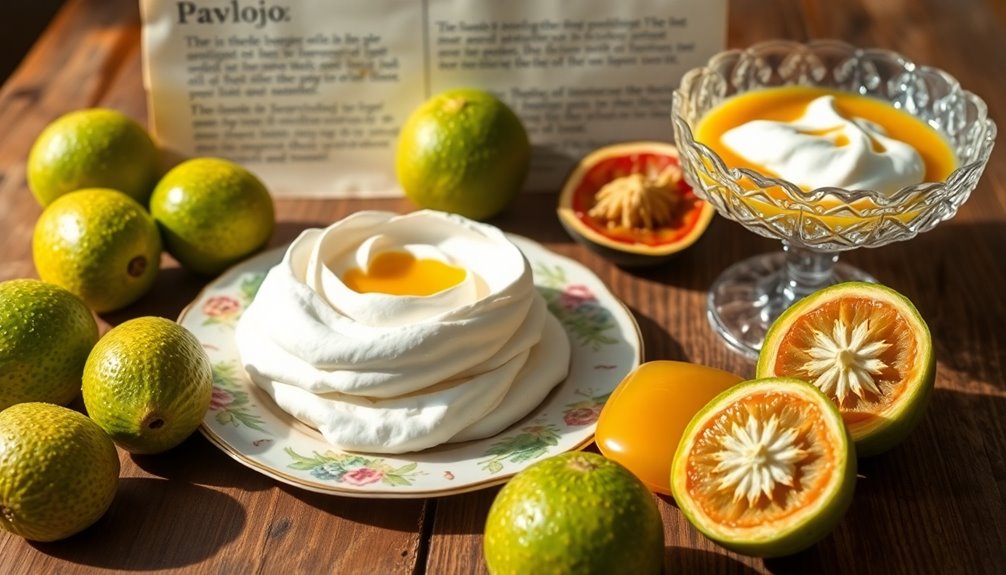
Pavlova dessert with feijoa features a crisp meringue shell topped with whipped cream and fresh feijoas, delivering a delightful mix of textures and flavors. To make it, you'll need egg whites, caster sugar, toasted walnut meal, and lemon or lime curd. The tangy feijoas balance the sweetness beautifully, making it a showstopper dessert. It's perfect for impressing guests at any special occasion. Stick around to discover tips and techniques that can elevate your pavlova game.
History
The pavlova dessert, known for its delicate meringue and fresh fruit toppings, was likely created during the 1920s to honor the famed Russian ballerina Anna Pavlova as she toured Australia and New Zealand.
This dessert has sparked a culinary rivalry between the two countries, each claiming to be its birthplace.
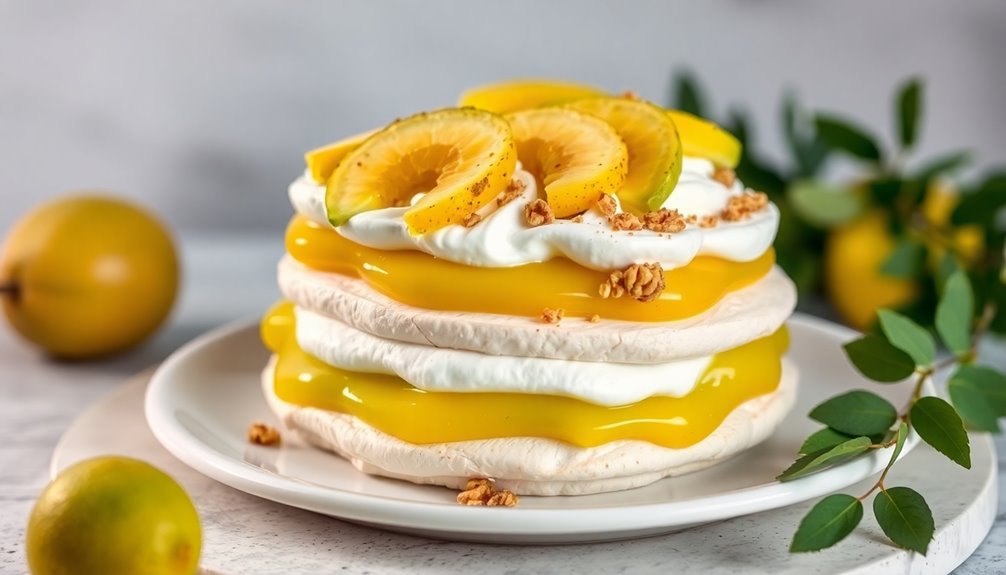
The classic pavlova features a crisp meringue shell with a soft, marshmallow-like interior, topped with whipped cream and a variety of fresh fruits.
In New Zealand, feijoas, a unique fruit native to South America, have gained popularity as a topping.
This choice showcases the local adaptation of pavlova, demonstrating how regional ingredients can influence traditional recipes while adding a sweet and aromatic flavor to this beloved dessert. Additionally, the use of advanced cleaning features in modern kitchens ensures that the preparation area remains hygienic and safe for food preparation.
Recipe
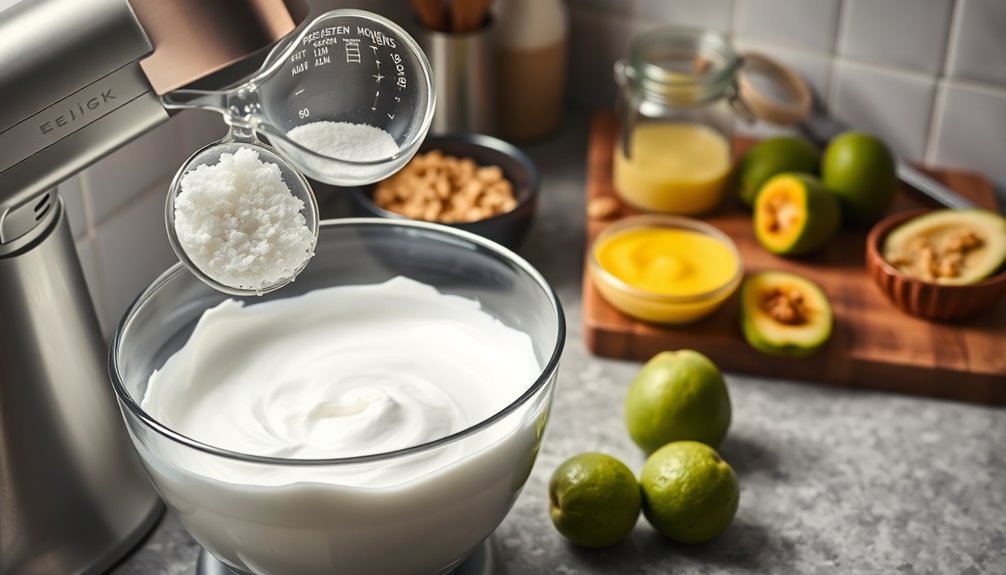
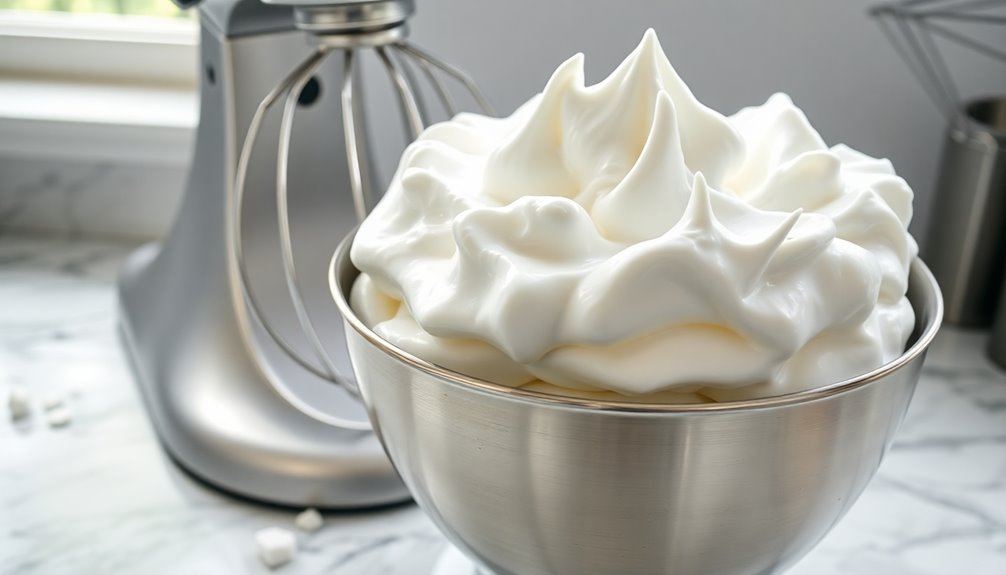
To start, it's important to prepare the meringue layers correctly. Beating egg whites until stiff peaks form is crucial for achieving that perfect meringue texture. Gradually adding caster sugar while continuing to beat will create a glossy finish. The toasted walnut meal is folded in gently to maintain the fluffiness.
Preparing the meringue layers is vital; beat egg whites to stiff peaks and gradually add sugar for a glossy finish.
Once baked, these layers will cool and be ready for assembly, where the creamy and zesty elements will come together beautifully.
Ingredients
- 6 egg whites
- 1 ½ cups caster sugar
- 1 cup toasted walnut meal
- Lemon or lime curd (store-bought or homemade)
- 2 cups heavy whipping cream
- Fresh feijoas, sliced
- Extra walnut meal for garnish
Cooking Instructions
Preheat your oven to 160°C (320°F). In a clean mixing bowl, beat the egg whites until stiff peaks form, then gradually add the caster sugar while continuing to beat until the mixture is glossy.
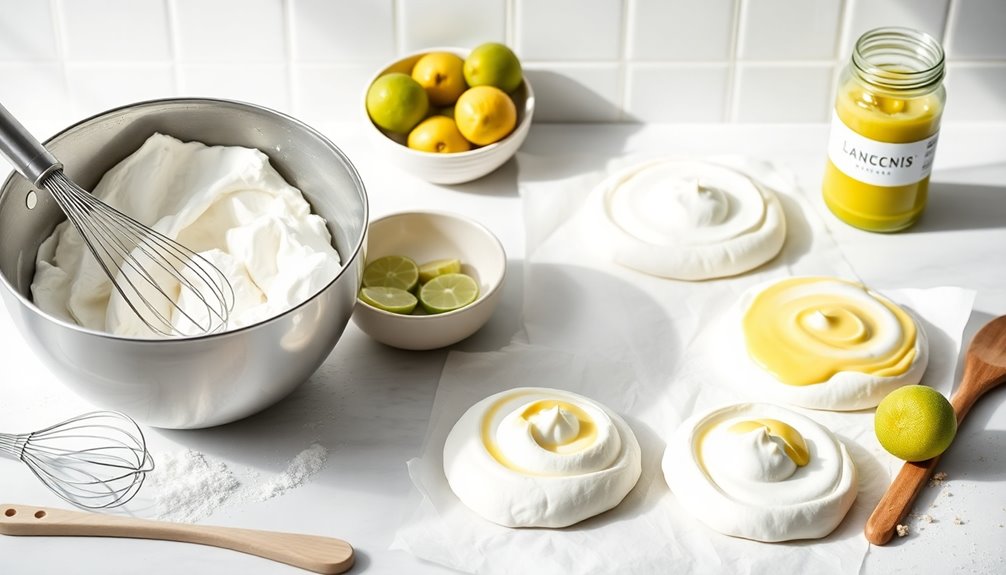
Gently fold in the toasted walnut meal, taking care not to deflate the egg whites. Divide the mixture into three equal portions, shaping each into a circle approximately 18cm in diameter on baking paper. Bake the meringue layers for about an hour or until they're dry and crisp.
Once baked, remove them from the oven and allow them to cool completely on a cake rack.
Extra Tips
To ensure the best results, make sure that your mixing bowl and beaters are completely clean and free of grease when whipping the egg whites. This will help achieve the maximum volume.
For the whipped cream, whisk it until it holds stiff peaks to maintain the structure of the pavlova during assembly. When assembling, spread the lemon or lime curd evenly between the layers, and be gentle when adding the whipped cream and feijoas to avoid collapsing the meringue.
It's also important to monitor the temperature of the wax types used in any candle-making projects to prevent overheating, as this can lead to a poor final product.
Reserve some walnut meal for garnishing the top layer for added texture and visual appeal!
Cooking Steps
To start making your Pavlova, preheat your oven to 120°C and whip the egg whites until they're stiff. Once you've achieved that, fold in the crushed walnuts for added texture. After that, you'll bake the mixture for about 90 minutes before adding the feijoa puree topping. This dessert is perfect for autumn gatherings due to its light and airy texture, complementing a variety of seasonal flavors.
Step 1. Preheat Oven to 120°C
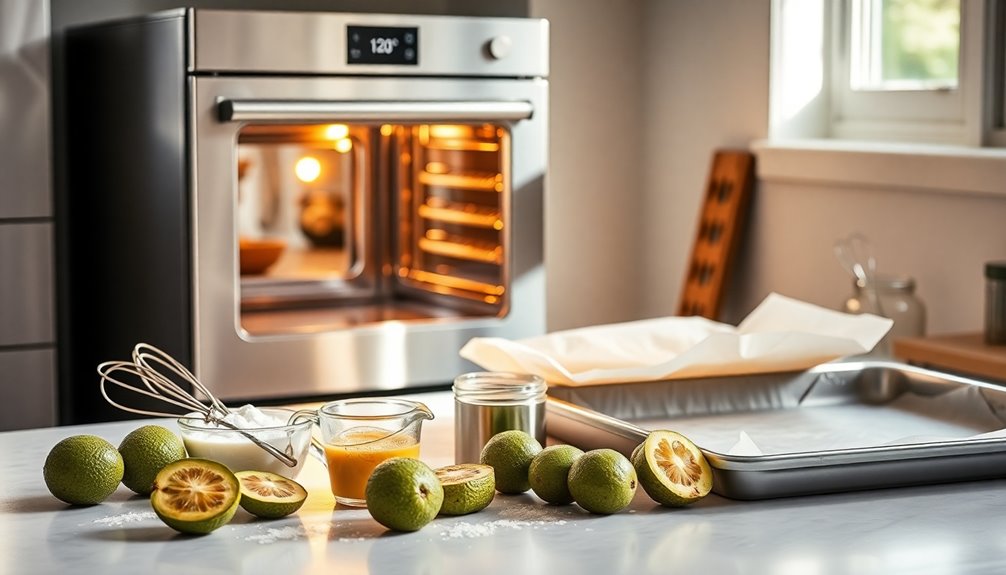
Preheating your oven to 120°C (approximately 250°F) is crucial for achieving the perfect pavlova texture. This low temperature helps dry out the meringue without browning it, ensuring a light and airy result.
While the oven warms up, line your baking tray with baking paper to prevent sticking, making removal easy after baking. It's a good idea to use a reliable oven thermometer to confirm the temperature is accurate, as even slight variations can impact the meringue's texture. A consistent temperature control is essential for achieving ideal baking results.
Bake the meringue layers for about an hour, or until they feel dry and crisp. After baking, let them cool completely in the oven with the door slightly ajar, so they don't crack from sudden temperature changes—perfect for serving with whipped cream!
Step 2. Whip Egg Whites Until Stiff
After your oven's preheated and your meringue layers are ready to go, it's time to whip those egg whites until they reach the perfect stiff peak stage.
Start by ensuring your mixing bowl and beaters are completely clean and grease-free. Next, use fresh egg whites at room temperature, as they whip better than cold ones.
Begin beating the egg whites on medium speed for about 2-3 minutes until soft peaks form. Gradually add caster sugar while continuing to beat on high speed. This step is crucial, as it helps achieve a glossy finish.
Keep beating for an additional 3-5 minutes until stiff peaks form. To test readiness, turn the bowl upside down; if the mixture stays put, you're good to go! The process of whipping egg whites is similar to the *agitation* used in butter production to create a stable structure and achieve the desired texture.
Step 3. Fold in Crushed Walnuts

Gently fold in the crushed walnuts to your meringue mixture, ensuring you maintain the airy texture you've worked hard to achieve.
First, make sure you've toasted your walnuts lightly in the oven at 160°C for about 15 minutes for enhanced flavor.
After beating your egg whites and mixing in half of the caster sugar, it's time to add ¾ cup of finely chopped walnuts or walnut meal.
Use a rubber spatula to carefully incorporate the walnuts into the meringue, being cautious not to deflate the egg whites.
This addition brings a delightful nutty flavor and pleasing texture, creating a lovely contrast with the whipped cream and feijoa. Additionally, walnuts are rich in essential nutrients that can complement your overall diet.
Reserve 3 tablespoons for garnishing the top of your assembled Pavlova.
Step 4. Bake for 90 Minutes

Once you've folded in the crushed walnuts, it's time to bake the meringue.
Preheat your oven to 160°C (320°F) to create the ideal environment. Spoon the meringue mixture onto a lined baking tray, forming three even circles around 18cm in diameter.
Now, bake for 90 minutes. During this time, check for dryness and crispness, which will indicate that your meringue layers are ready. The longer baking time helps develop a stable texture while keeping the inside soft.
Once baked, turn off the oven and leave the meringue inside to cool completely. This step is crucial for achieving that perfect pavlova base, ready for assembly with your delicious toppings later. Additionally, incorporating omega-3 fatty acids from chia seeds into your toppings can enhance the nutritional value of your dessert.
Step 5. Add Feijoa Puree Topping
As you prepare the feijoa puree topping, start by cooking peeled and chopped feijoas in a saucepan with a splash of water until they soften.
Once tender, blend the feijoas until smooth using an immersion blender or food processor. To achieve a silky texture, strain the puree through a fine mesh strainer, removing any seeds.
Sweeten the strained puree with caster sugar to taste and add about 1 tablespoon of lemon juice to enhance the flavor.
Next, gently fold the sweetened feijoa puree into whipped cream, creating a light and fluffy topping.
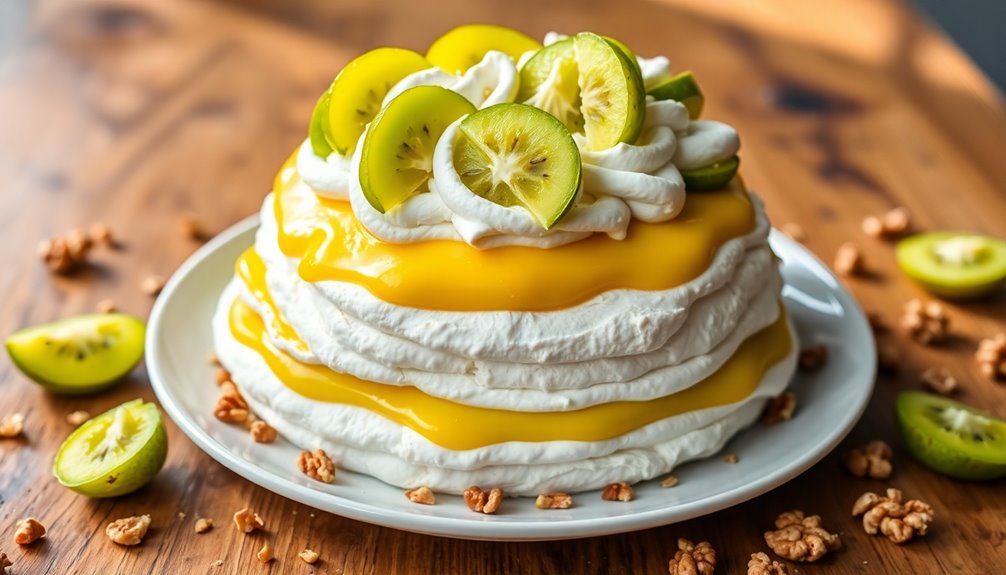
Finally, drizzle or dollop this feijoa cream over the assembled pavlova, allowing it to cascade beautifully, and garnish with additional feijoa slices for an inviting presentation. Consider pairing this dessert with coffee brewing essentials to elevate your dining experience.
Final Thoughts
While creating a pavlova might seem daunting, the end result is well worth the effort. As you whip the egg whites, pay attention to when soft peaks form; that's your cue to continue until the mixture is stiff and glossy.
The contrast of the crisp exterior and soft, marshmallow-like interior makes this dessert truly special. Layering the meringue with tangy lemon curd, whipped cream, and sliced feijoas not only adds depth but also enhances the overall flavor profile. The feijoas provide a delightful tartness that balances the sweetness. Finally, don't forget to sprinkle some reserved walnut meal on top for an elegant touch and nutty flavor.
The delightful contrast of a crisp shell and soft, marshmallow-like center makes pavlova a truly unforgettable dessert.
For a delightful breakfast addition, consider serving it alongside protein-rich options like an egg rollup or fried egg quesadilla toast. Your pavlova will impress everyone, making it a perfect showstopper for any occasion!
Frequently Asked Questions
What Fruits Go With Pavlova?
When you're choosing fruits to pair with pavlova, think about vibrant options like berries, citrus, and tropical fruits.
Strawberries, blueberries, and passionfruit add a tangy contrast to the sweet meringue. You can also include juicy stone fruits like peaches and cherries for extra texture.
If you're feeling adventurous, try mixing in some dried fruits like figs or apricots to create a chewy element that balances the lightness of the pavlova.
Enjoy!
Is Pavlova a New Zealand Dessert?
Yes, many folks consider Pavlova a New Zealand dessert, as it holds significant cultural importance there.
It's often celebrated at special occasions and holidays, with New Zealand Parliament even declaring it a traditional Kiwi dish in 2017.
While both New Zealand and Australia claim its origins, when you enjoy a slice topped with fresh fruits, you're likely experiencing a beloved piece of New Zealand's culinary heritage.
What Is Pavlova Dessert Made Of?
Pavlova dessert is made primarily from egg whites, which you whip until stiff peaks form.
You sweeten it with caster sugar for that crisp texture and often add cornflour to stabilize the meringue, giving it a soft, marshmallow-like interior.
Once baked, you top it with whipped cream for richness and usually garnish it with fresh fruits for extra flavor.
The result is a delightful contrast of a crisp exterior and a chewy center.
Conclusion
As you savor your pavlova adorned with feijoa, you're transported to a sun-drenched orchard, where the sweet, tropical aroma mingles with the crisp air. This dessert isn't just a treat; it's a celebration of heritage and flavor, reminiscent of springtime blooms and joyful gatherings. With each bite, you're reminded that culinary delights can evoke memories and create new ones, much like a well-loved story that unfolds with every delightful taste, making your kitchen feel like a warm embrace.