
For a quick and tasty chocolate spread braid, preheat your oven to 400°F (200°C). Roll out puff pastry and cut diagonal strips along both sides. Spread warmed Nutella down the center, then fold the strips over to create a braid. Brush it with an egg wash for a golden finish and bake for 25-30 minutes. Let it cool, then enjoy with coffee or tea. There's so much more to explore in this delicious treat!
History

Braided pastries have a rich history that spans various cultures, as you'll find similar techniques in traditional Jewish challah and Italian brioche. The art of creating a braid from sweet dough reflects communal celebrations during festive occasions, where sharing food fosters connection. Additionally, the practice of sharing food has been linked to community living in various cultures, highlighting its importance in fostering relationships. The evolution of baking techniques, such as the introduction of pasteurization techniques, has also contributed to the quality and safety of the ingredients used in these pastries.
In the late 20th century, chocolate spread—especially Nutella—gained popularity, adding a delicious twist to these classic pastries. Puff pastry, a key component in chocolate braids, originated in France during the Renaissance, showcasing the evolution of pastry-making techniques. This technique parallels the use of European butter, known for its superior quality and flavor, which enhances the richness of baked goods. Furthermore, the incorporation of nutrition in recipes has become increasingly important for health-conscious bakers.
Today, you can explore modern variations of chocolate braided pastries worldwide, featuring diverse fillings and flavors that cater to regional tastes. This delicious blend of tradition and innovation continues to delight pastry lovers everywhere.
Recipe

To make the chocolate braid, start by preheating your oven to 350°F (180°C). Roll out your thawed puff pastry on a floured surface and place it on a baking sheet lined with parchment paper. Cut diagonal strips along both sides of the pastry, ensuring they're even for a balanced braid.
Spread a generous layer of chocolate spread down the center, leaving a half-inch space at the top and bottom. Braid the pastry strips over the filling, tucking them alternately. Chill the braid in the refrigerator for 20 minutes to help it puff up nicely. Proper storage of any remaining pastry can ensure it stays fresh for future use. Additionally, remember that using essential oils for toothache relief like clove oil can help soothe any discomfort you might have while enjoying your sweet treat. Furthermore, the chocolate spread's base ingredient, cocoa, contains approximately 15 mg of caffeine per ounce, adding a slight energy boost to your dessert.
Then, brush with a beaten egg and sprinkle sugar on top before baking for 25-30 minutes, or until golden brown.
When making this chocolate braid, feel free to get creative with your fillings! You can substitute chocolate spread with other options like almond paste, fruit jams, or cream cheese for different flavor profiles. Additionally, if you want a more decadent treat, consider adding chopped nuts or chocolate chips to the filling. Lastly, let the braid cool for a few minutes after baking before slicing to ensure clean cuts and an enjoyable eating experience. Enjoy your delicious creation!
Incorporating natural materials can further enhance the presentation of your chocolate braid, making it not only a treat for the taste buds but also a feast for the eyes.
Cooking Steps

To get started, preheat your oven to 400°F, so it's ready for baking.
Next, cut slits in the pastry to create flaps that you'll fill generously with Nutella. Additionally, you should consider your budget when deciding how much to spend on ingredients to ensure you stay within your financial limits.
Once you've filled it, fold and twist the pastry strips for that beautiful braided look, then brush the top with an egg wash for a golden finish. Additionally, you can serve these braids alongside Easy Tomato Focaccia for a delightful combination of flavors.
Step 1. Preheat Oven to 400°F
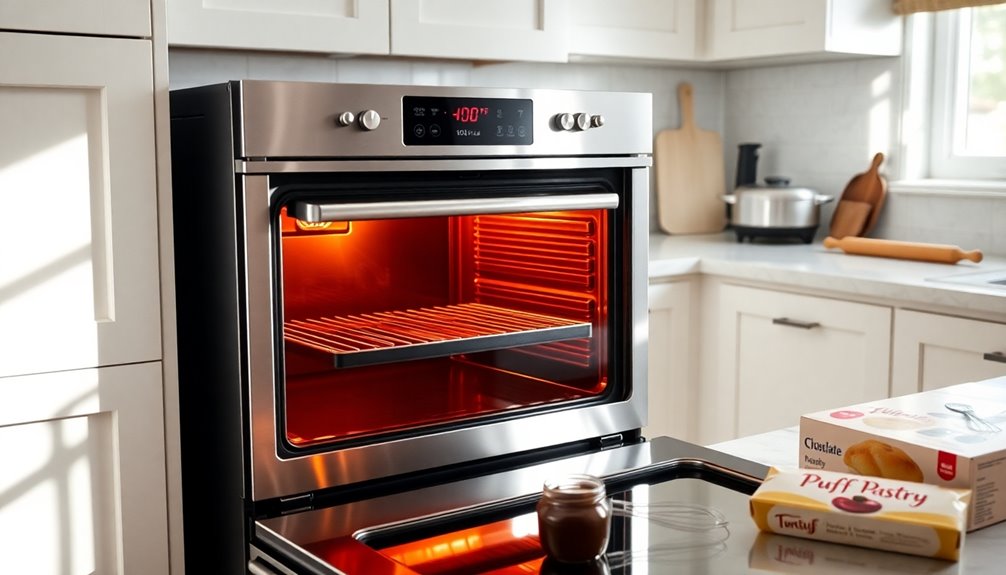
Preheating your oven to 400°F (200°C) is crucial for achieving perfectly puffed pastry.
Start by turning on your oven and allow it to preheat for about 10-15 minutes. This ensures even cooking and proper puffing while you bake.
To make sure the temperature is spot on, consider using an oven thermometer, as some ovens can be off by several degrees.
While the oven heats up, line a baking sheet with parchment paper to prevent your chocolate-filled pastry with an egg from sticking. This will also make cleanup a breeze.
Once the oven reaches the desired temperature, you're ready to pop your delicious chocolate braid inside and let the baking magic begin!
Step 2. Cut Slits in the Pastry
Once your oven is preheated, it's time to prepare the pastry.
Lay the thawed puff pastry sheet on a baking sheet lined with parchment paper to prevent sticking.
Next, use a sharp knife or pizza cutter to cut slits in the pastry, creating approximately six equal strips down each side. This will ensure your flaky pastry filled with chocolate spread can be braided beautifully.
Don't forget to cut off the top corners for a polished oval shape.
Once you're ready to braid and roll, fold the strips over the filling in a crisscross pattern, pressing the edges to seal.
Finally, brush the top with a beaten egg for that golden finish before baking.
Enjoy your delicious creation!
Step 3. Fill With Nutella Generously

After preparing the pastry, it's time to fill it with Nutella. Start by warming your Nutella in a saucepan for 1-2 minutes to make it easier to spread.
Generously spread a thick layer of Nutella down the center of the dough, leaving about 1/2 inch of space at the top and bottom edges. This prevents overflow during baking.
For extra texture, consider adding finely chopped toasted hazelnuts or chocolate chips on top of the Nutella.
When you're ready to fold the dough, press the edges firmly to seal in the filling. This ensures that your tender dough holds everything together while it bakes, preventing any leakage and keeping that delicious Nutella inside.
Enjoy!
Step 4. Fold and Twist Pastry Strips

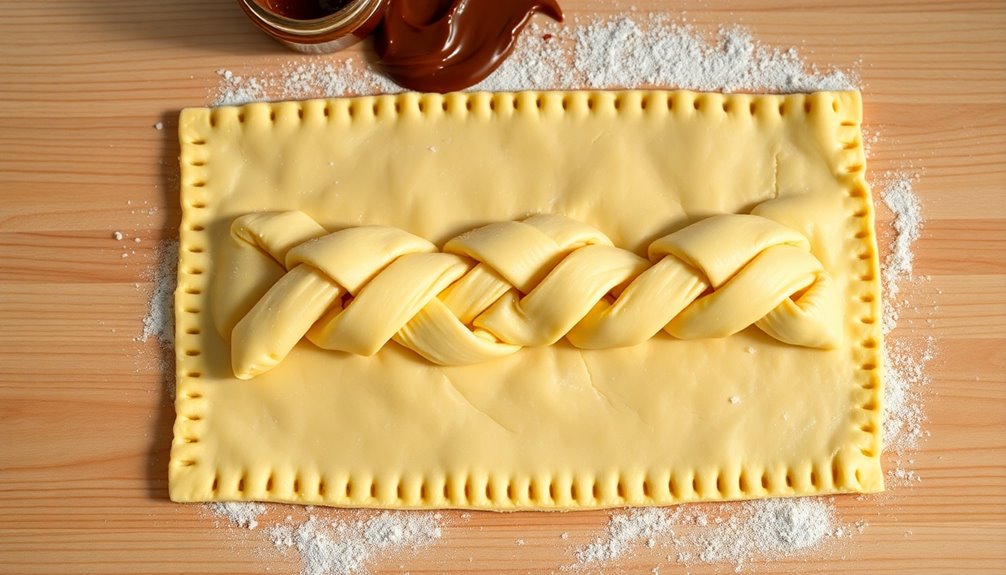
As you get ready to create those beautiful braids, start by cutting approximately six equal strips on each side of the pastry, ensuring they're of equal width.
Next, spread Nutella down the center of the pastry, leaving about 1/2 inch of space at the top and bottom.
Now, it's time to fold the pastry strips over the chocolate filling in an alternating pattern. Begin from one side and twist each strip over the next, crafting a lovely braided effect.
Press the edges of the pastry to seal in the chocolate filling and prevent any leakage during baking. This step is crucial for a neat appearance and allows the flavors to meld beautifully.
Step 5. Brush With Egg Wash
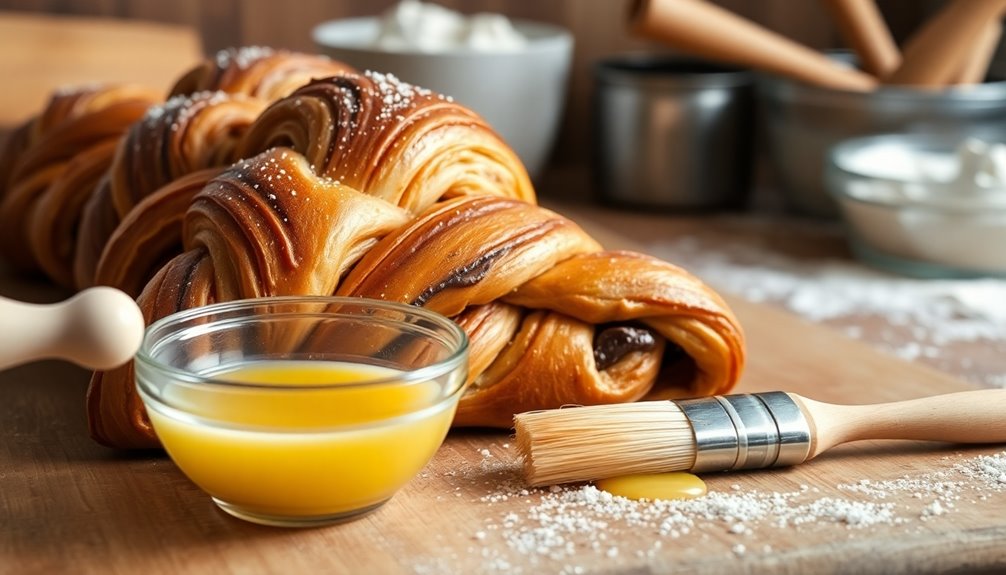
With your beautifully braided pastry ready, it's time to enhance its appearance with an egg wash. This mixture, typically made from a beaten egg and a splash of water or milk, gives your pastry a golden finish that's visually appealing.
If you prefer a vegan option, combine non-dairy milk with a bit of maple syrup or soy milk for a similar effect.
Using a pastry brush, apply the egg wash gently across the surface of your braid. Be careful not to disturb the dough or the filling inside.
Make sure to do this step right before placing your pastry in the oven, allowing it to set and develop that lovely sheen while baking.
Enjoy the delicious results!
Final Thoughts

While you might think that creating a pastry requires extensive skills, chocolate spread braids prove that anyone can whip up a delicious treat with ease.
The Nutella Puff Pastry Braid is a fantastic example of a simple dessert that's versatile and quick to prepare. You can customize the filling with various chocolate spreads and even add fruits or nuts for extra flair.
Remember to let the braided pastry rise in the fridge before you egg wash and bake it, ensuring a fluffy, golden finish.
These delightful pastries are perfect for brunches, gatherings, or just a sweet snack at home. With minimal effort, you'll impress both kids and adults alike with your baking prowess!
Frequently Asked Questions
Can I Use Different Types of Chocolate Spread?
Absolutely, you can use different types of chocolate spread!
Whether it's creamy, crunchy, or even flavored, each option brings a unique twist to your creation.
You'll find that hazelnut spread adds a delightful nuttiness, while white chocolate spread offers a sweet, rich flavor.
Experiment with dark chocolate for a more intense taste, or try a fruit-infused spread for something unexpected.
The choice is yours, so have fun and enjoy the process!
How Long Do These Braids Last After Baking?
After baking, your braids can last about 2 to 3 days if stored properly.
Keep them in an airtight container at room temperature to maintain their freshness.
If you want them to last longer, consider freezing them.
Just wrap them tightly in plastic wrap and place them in a freezer bag.
When you're ready to enjoy them again, thaw them at room temperature or warm them in the oven for a delicious treat!
What Can I Substitute for Chocolate Spread?
If you're looking for a sweet twist, you can use peanut butter or almond butter instead of chocolate spread.
They'll give your dish a creamy texture and rich flavor.
Alternatively, try a fruit spread like raspberry or strawberry jam for a fruity burst.
You can even mix in some honey or maple syrup for a touch of sweetness.
Just remember, whatever you choose, make it your own!
Can I Freeze the Braids for Later?
Yes, you can freeze the braids for later!
Just make sure they're completely cooled before wrapping them tightly in plastic wrap or aluminum foil. This keeps them fresh and prevents freezer burn.
When you're ready to enjoy them, simply thaw them in the fridge overnight or at room temperature for a few hours.
You can also reheat them in the oven for a few minutes to restore that fresh-baked taste.
Are There Gluten-Free Options for This Recipe?
Did you know that about 1 in 100 people have celiac disease, making gluten-free options increasingly popular?
If you're looking for gluten-free options for your recipe, you can use gluten-free flour blends that work well in most baking.
Just make sure to check the specific blend's instructions, as some may require additional ingredients like xanthan gum.
With the right adjustments, you can enjoy delicious gluten-free treats that everyone will love!