
Tsvetaevsky pie with pears combines rich flavors and a touch of Russian literary history. Made with flaky dough, sour cream, and sweet Conference pears, this dessert is perfect for tea time. You'll mix the dough, chill it, and prepare a creamy filling with sliced pears. Bake it in a multicooker for an even finish. Serve warm with a dusting of powdered sugar or a scoop of ice cream. There's so much more to discover about this delightful treat!
History

The Tsvetaevsky pie, named after the famous Russian poetess Marina Tsvetaeva and her sister Anastasia, is steeped in a rich but somewhat elusive history.
The Tsvetaevsky pie intertwines the legacy of poetess Marina Tsvetaeva with a nostalgic slice of Russian culinary tradition.
Though primarily celebrated for her poetry, Tsvetaeva's connection to this dish adds a layer of nostalgia to Russian culture. It's said that the sisters baked this delightful pie during tea time in the early 20th century, although documented evidence of the recipe's origins remains scarce. The calming decor of their tea gatherings likely contributed to the cherished memories associated with this dish. Additionally, the act of baking can foster social interaction and exercise, enhancing bonds among family and friends.
Over time, the Tsvetaevsky pie has evolved, featuring both pear and apple fillings, showcasing its adaptability. This dessert, often shared among family and friends, serves as a delicious reminder of Russian culinary traditions, reflecting how a simple pie can intertwine with literary legacy and cultural identity. Additionally, the act of baking and sharing food can enhance mental clarity and health, promoting well-being and connection among loved ones.
Top picks for "tsvetaevsky pear"
As an affiliate, we earn on qualifying purchases.
Recipe

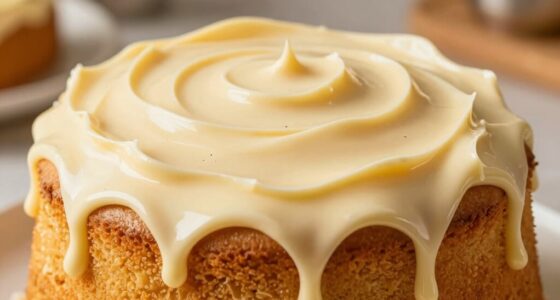
Tsvetaevsky pie with pears is a delightful dessert that combines the richness of sour cream with the sweetness of fresh pears, creating a moist and flavorful treat. This pie isn't only easy to make, but it also allows for the natural flavors of the ingredients to shine through. The combination of a flaky dough and a creamy filling makes it a perfect dessert for gatherings or simply enjoying at home with a cup of coffee. Additionally, a balanced diet that includes whole foods can enhance overall health and wellness, contributing to improved digestion and increased energy levels.
To get started, gather all your ingredients and prepare for a delightful baking experience. The process involves making a simple dough, preparing a luscious filling, and then baking everything together in a multicooker. Once baked, the pie is sure to impress with its beautiful presentation and delicious taste, making it a favorite among family and friends.
Ingredients:
- 300 g flour
- 100 ml sour cream
- 10 g baking powder
- 50 g melted butter
- 3-4 sliced Conference variety pears
- 200 ml sour cream
- 80 g sugar
- 1 egg
- 40 g flour
Cooking Instructions:
Begin by preparing the dough: in a mixing bowl, combine 300 g of flour, 100 ml of sour cream, 10 g of baking powder, and 50 g of melted butter. Knead the mixture until it forms a smooth dough, then cover it and chill in the refrigerator for about 30 minutes.
While the dough is chilling, prepare the filling by blending together the sliced pears, 200 ml of sour cream, 80 g of sugar, 1 egg, and 40 g of flour until smooth. Including fruits like pears can provide essential vitamins and minerals for your diet, helping to support metabolism and fat burning.
Once the dough is ready, roll it out and place it in the multicooker. Arrange the pear slices evenly in a circular pattern on the dough, then pour the prepared filling over the pears. Set the multicooker to Baking mode and cook for 1 hour and 20 minutes.
Extra Tips:
For an added flavor boost, consider sprinkling a little cinnamon or nutmeg over the pears before adding the filling. This will enhance the overall taste of the pie.
Additionally, make sure the pears are ripe but firm to prevent them from becoming too mushy during baking. For a beautiful presentation, you can sprinkle powdered sugar on top of the cooled pie before serving.
Enjoy your Tsvetaevsky pie warm or at room temperature, paired with a scoop of vanilla ice cream or a dollop of whipped cream for an extra treat!
Cooking Steps

To get started on your Tsvetaevsky Pie, preheat your multicooker for optimal baking.
Next, mix the flour and sugar together before adding the sliced pears evenly across the dough. Incorporating healthy fats into your recipes can enhance both flavor and nutritional value, as butter enhances flavor in a variety of dishes.
Finally, pour the batter over the pears and set the cooking time to 50 minutes for a delicious outcome.
For an extra layer of flavor, consider adding butter as a key ingredient to enrich the pie's taste and texture.
Step 1. Preheat the Multicooker

Before you dive into baking, it's crucial to preheat your multicooker to ensure the Tsvetaevsky pie with pears bakes evenly.
Start by selecting the Baking mode on the program panel. Setting the cooking time to 1 hour and 20 minutes allows the pie to develop a golden crust while ensuring thorough baking.
While the multicooker preheats, line the bowl with food paper to prevent sticking, making it easier to remove the pie later.
Once preheated, keep an eye on the cooking process; multicooker settings can vary, so monitor the pie to make any necessary adjustments. Additionally, ensuring color accuracy in your kitchen lighting can enhance the visual appeal of your baked goods.
After the cooking time is complete, allow the pie to cool in the multicooker bowl with the lid open to maintain its texture.
Step 2. Mix Flour and Sugar
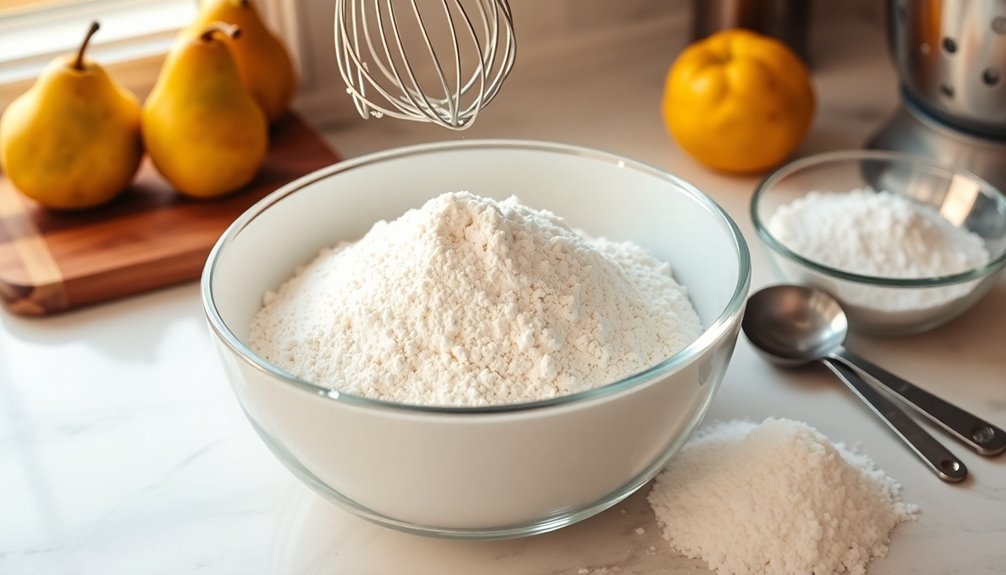
Start by measuring out 300 g of flour and 80 g of sugar for your pie filling, ensuring you get the right balance of sweetness and texture.
Next, sift the flour into a deep bowl to remove any lumps and aerate the mixture, which helps create a lighter, fluffier dough.
Gradually mix the sugar with the flour, ensuring even distribution to enhance the flavor of your Tsvetaevsky pie crust.
Use a whisk or fork to combine the flour and sugar thoroughly before adding other ingredients like baking powder and sour cream.
Once well blended, combine the flour-sugar mixture with the wet ingredients to form a cohesive dough, ready to be rolled out for your delicious pie crust.
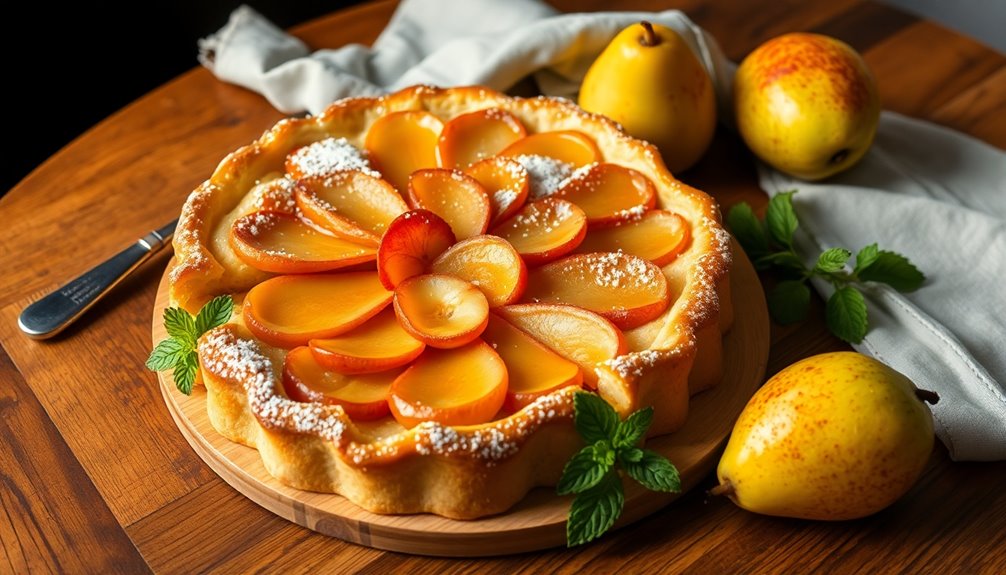
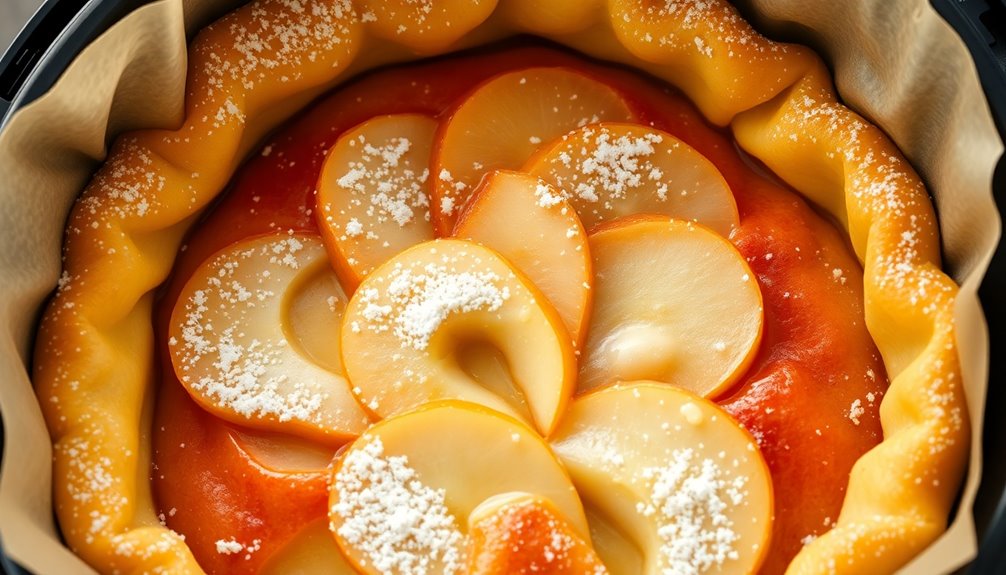
Step 3. Add Sliced Pears Evenly

Slice the washed and peeled pears into thin, longitudinal pieces, ensuring they're ready for an even distribution across your pie.
Next, take the pie crust and arrange the pear slices in a circular pattern. This not only creates an aesthetically pleasing layer but also enhances the pie's overall appearance.
Make sure the pear slices are placed close together to fill the pie evenly, allowing for balanced flavor in every bite.
Once you've arranged the pear slices, it's time to pour the sour cream filling mixture over them. Ensure that all slices are coated for the best taste.
Gently press the pear slices into the filling, securing them in place and helping them meld wonderfully during baking.
Enjoy!
Step 4. Pour Batter Over Pears
Gently pour the prepared sour cream mixture over the arranged pear slices, ensuring it seeps into every gap. This step is vital for achieving a balanced flavor and keeping the pears moist during baking.
Before you pour, make sure the sour cream mixture is smooth for a consistent texture throughout the pie. Using a spatula, spread the batter evenly over the pears, covering all areas thoroughly.
This not only binds the pears together but also enhances the overall moisture and flavor of the pie. As you pour, watch for any spots that might need extra attention, ensuring every pear is enveloped in that delicious sour cream batter.
Your pie will be all the better for it!
Step 5. Set Cooking Time to 50 Minutes

Once you've poured the batter over the pears, it's time to set the cooking time to 50 minutes in your multicooker.
This shorter cooking time helps achieve that perfect balance without overbaking the Tsvetaevsky pie. While it cooks, keep an eye on the pie, especially during the last few minutes, to ensure it develops a lovely golden-brown top.
After the cooking time is up, let the pie cool in the multicooker bowl with the lid open. This step prevents sogginess and allows the flavors, especially from the sour cream, to meld beautifully.
Remember, the dough should've been chilled for at least 20 minutes earlier, enhancing its elasticity for a delightful texture.
Enjoy your scrumptious creation!
Final Thoughts

As you savor a slice of Tsvetaevsky pie with pears, you'll appreciate how this delightful dessert not only pays homage to the artistic spirit of Marina Tsvetaeva but also brings people together during tea time.
The rich crust, made from flour, butter, and sour cream, provides a perfect foundation for the juicy pear filling. The sour cream mixture adds a creamy texture that complements the sweet, tender pears beautifully.
Baking it in a multicooker ensures an even bake, making every slice a treat. Enjoying this pie with a cup of aromatic coffee elevates the experience, creating cherished moments with friends and family.
Tsvetaevsky pie is more than just a dessert; it's a celebration of flavors and connections.
Frequently Asked Questions
What Kind of Pears Are Best for Pies?
When you're choosing pears for pies, go for varieties like Bartlett, Bosc, or Anjou.
These pears hold their shape well and balance sweetness with acidity. Aim for firm, slightly underripe pears so they soften nicely during baking without getting mushy.
Mixing different types can enhance the flavor, adding complexity to your pie. Look for pears that yield slightly when pressed; this ensures they're fresh and ready to create a delicious dessert.
What's the Difference Between Shoo Fly Pie and Pecan Pie?
Think of Shoo Fly Pie and Pecan Pie like two unique characters at a family reunion.
Shoo Fly Pie's dense, cake-like texture and sweet, slightly bitter molasses taste make it a comforting choice, often enjoyed for breakfast.
In contrast, Pecan Pie dazzles with its gooey, nutty filling and crunchy pecan top, perfect for holiday gatherings.
While one hails from Pennsylvania Dutch roots, the other boasts a Southern heritage, each bringing distinct flavors to the table.
Do I Have to Peel Pears for Baking?
You don't always have to peel pears for baking; it depends on your recipe and preference.
Peeling can give your dish a smoother texture and reduce bitterness, especially with thicker-skinned varieties like Bosc or Anjou.
However, leaving the skin on adds fiber and a rustic look, as long as you wash the pears well.
Ultimately, both peeled and unpeeled options can taste great, so choose what suits your style best!
How to Make a Fruit Pie Without a Soggy Bottom?
Ever wondered how to keep your fruit pie from turning into a soggy mess? Start by pre-baking your crust for about 10 minutes at a high temperature.
Use a thickening agent like cornstarch to absorb excess moisture from the filling. If you're using frozen or canned fruit, make sure it's well-drained.
Finally, bake your pie on a hot baking sheet and let it cool completely before slicing for the best results.