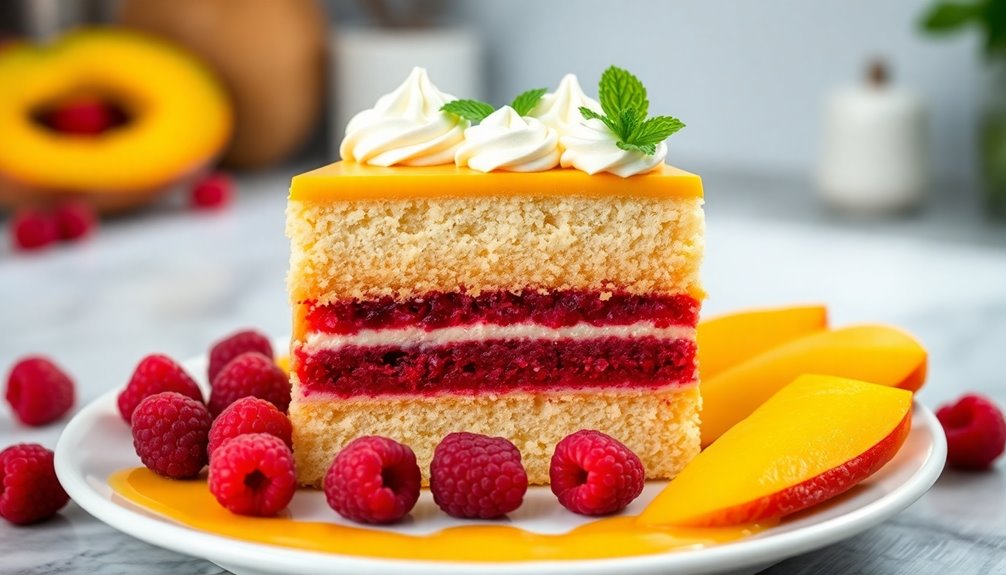

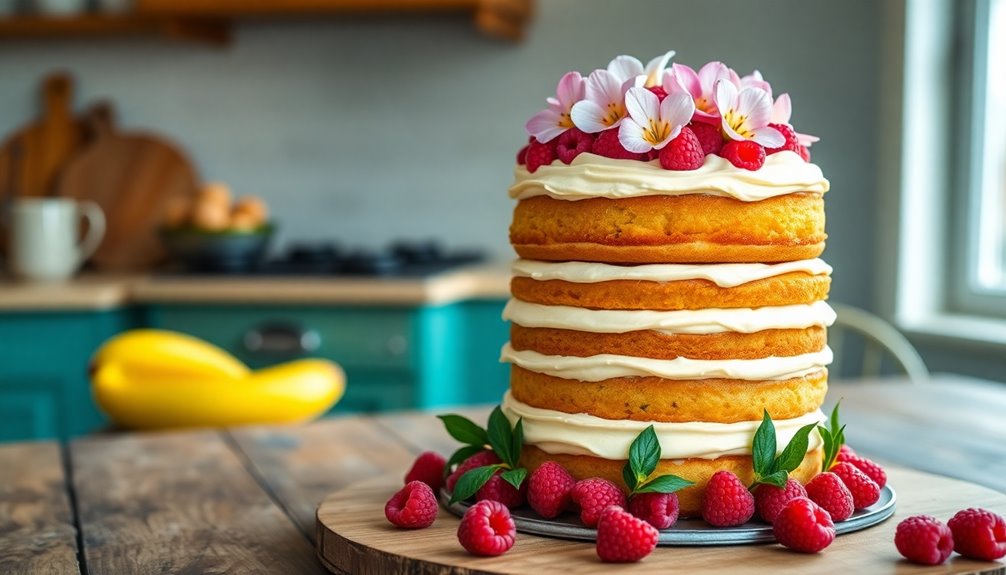
The vertical mango raspberry cake is a vibrant dessert that beautifully combines the sweetness of mango with the tartness of raspberries. With its elegant layers and visually striking design, it's perfect for any celebration. You'll love crafting this cake, starting from the buttery base to the refreshing fruit fillings. With the right techniques, you can achieve a stunning presentation that impresses your guests. Want to discover more tips on perfecting this delicious treat?
History
While you might think of the vertical mango raspberry cake as a recent creation, it actually draws inspiration from classic European baking traditions.
Layered cakes have long been a staple in Europe since the 19th century, where bakers showcased their skills through intricate designs. This modern cake elevates those traditions by incorporating tropical flavors, blending sweet mango with tart raspberries. The use of freeze-dried fruits not only enhances the taste but also helps maintain the cake's texture, similar to how loose leaf tea often provides superior flavor compared to bagged tea. Additionally, just as color accuracy is vital for achieving stunning visuals in home cinema projectors, the precise balance of flavors in this cake creates a delightful experience. As social media platforms like Instagram popularize visually striking desserts, the vertical cake design has gained traction, enchanting audiences with its vibrant colors and innovative presentation. This evolution reflects a delightful fusion of history and contemporary baking trends, making it a treat for both the eyes and palate, much like how astrology claims to influence personality traits and attractiveness in a modern context.

HIWARE 8-Inch Round Cake Pan Set of 3, Nonstick Baking Cake Pans with 90 Pieces Parchment Paper, Dishwasher Safe
- Material: Heavy-weight carbon steel for durability
- Design: Straight-sided for layered cakes
- Warp Resistance: Reinforced wire rod prevents warping
As an affiliate, we earn on qualifying purchases.
As an affiliate, we earn on qualifying purchases.
Recipe

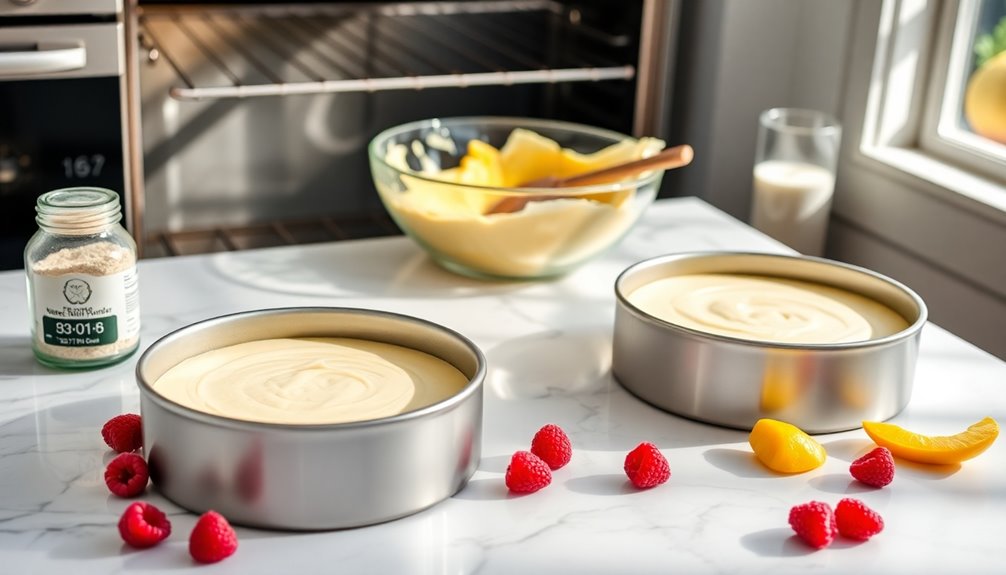
Preheat your oven to 350°F (175°C) and grease and flour three 8-inch round cake pans.
In a mixing bowl, combine the flour, baking powder, and salt. In a separate bowl, cream the softened butter and sugar until light and fluffy. Freshly squeezed juice can be a refreshing addition to your baking process. Incorporating whole foods into your baking can enhance both flavor and nutritional value.
Add the eggs one at a time, mixing well after each addition, then stir in the vanilla extract. Gradually mix in the dry ingredients, alternating with buttermilk until well combined.
Divide the batter evenly among the prepared pans and bake for 25-30 minutes, or until a toothpick inserted in the center comes out clean. Allow the cakes to cool completely.
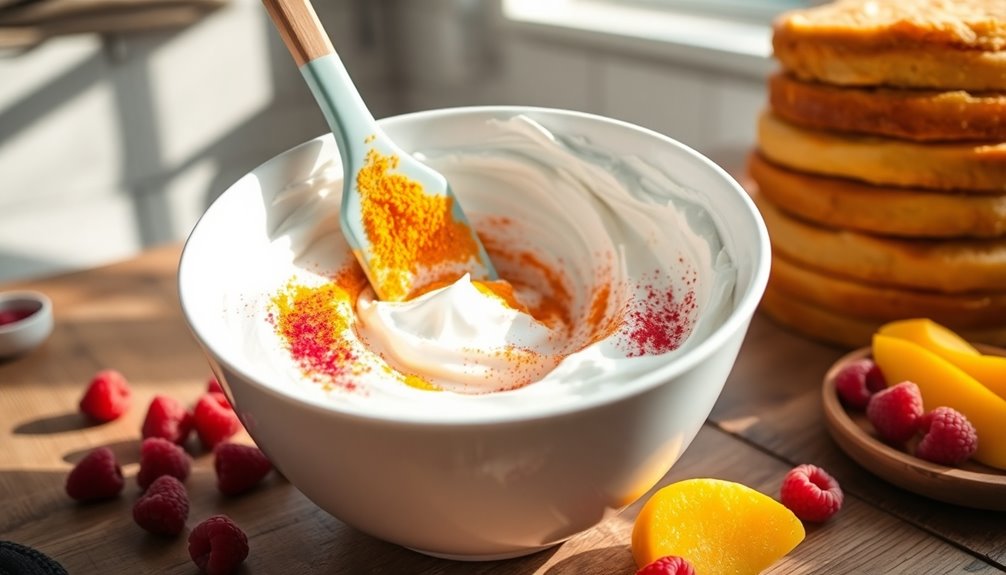
For the buttercream, beat the softened butter until creamy, then gradually add the powdered sugar, followed by the mango and raspberry powders, mixing until smooth and fluffy.
Once the cakes are cool, level them if necessary, and assemble by spreading a layer of buttercream between each cake layer, smoothing the sides with a bench scraper.
Finish by decorating the top with fresh raspberries and edible flowers. Additionally, make sure to stay hydrated while baking, as proper hydration can enhance your baking experience and overall performance in the kitchen.
Extra Tips:
For an extra burst of flavor, consider adding a layer of mango and raspberry compote between the cake layers to complement the buttercream.
When using freeze-dried fruit powders, ensure they're finely ground for the smoothest texture in your buttercream. Fresh orange juice can also enhance the flavor profile of your cake.
If you're making the cake ahead of time, store it in the refrigerator to keep it fresh, and allow it to come to room temperature before serving for the best flavor and texture.
Cooking Steps
Now, let's get into the cooking steps for your cake.
Start by preparing the mango puree mixture and folding in whipped cream to create a light and fluffy texture. This technique of folding is similar to the methods used in making bread pudding to enhance the dessert's texture. Maintaining optimal air quality in your kitchen while cooking can also help improve the overall freshness of your ingredients. Additionally, using functional cookies in your website's design can enhance user experience, much like the careful balance in a well-made cake.
After chilling it for an hour, you'll be ready to layer with fresh raspberries and add a beautiful garnish before serving.
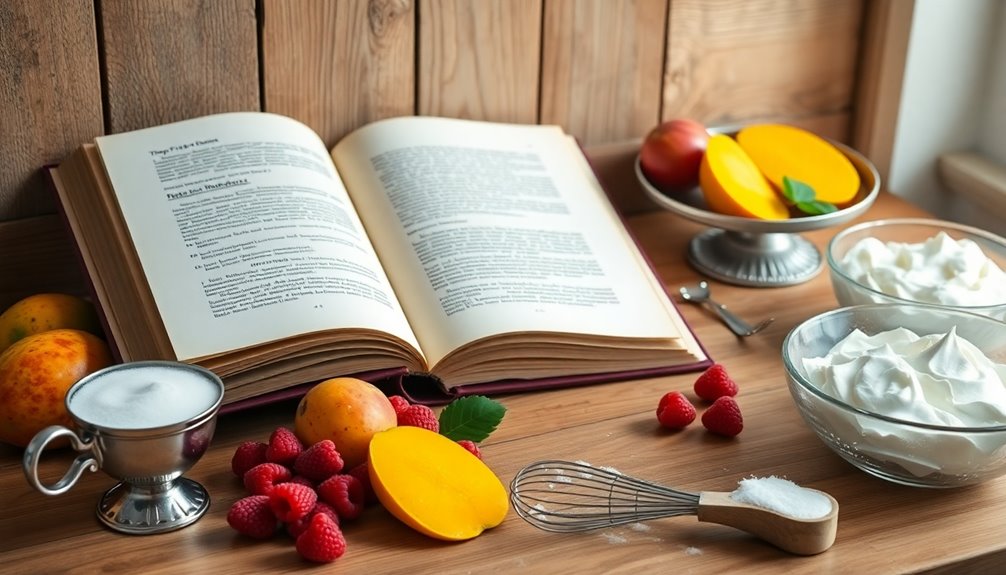
Step 1. Prepare Mango Puree Mixture

Start by selecting ripe mangoes, as their sweetness will enhance the flavor of your cake.
Peel the mangoes, remove the pit, and cut them into chunks. Place the chunks in a food processor or blender and blend until smooth, ensuring your mango puree is creamy and free of lumps.
If you find the puree isn't sweet enough, mix in a tablespoon of sugar or honey, adjusting to your taste based on the ripeness.
For a silkier texture, strain the puree through a fine mesh sieve to eliminate any fibrous bits.
Once done, you can store the mango puree in an airtight container in the refrigerator for up to three days or freeze it for later use in your delicious tropical desserts. Additionally, consider using natural ingredients to enhance the health benefits of your cake.
Step 2. Fold in Whipped Cream
With the mango puree ready, it's time to incorporate the whipped cream into your batter.
Start by adding a small portion of the whipped cream to the batter, which helps lighten it for easier folding. Use a spatula and a gentle figure-eight motion to fold in the cream, ensuring you maintain the aeration and light texture.
Be careful not to overmix, as this can lead to a dense final product. The whipped cream should be at soft peaks before you start, providing the right consistency for integration.
Fold just until combined; excessive mixing can diminish volume and result in a less fluffy cake.
Enjoy the process and watch your cake come to life!
Step 3. Chill for One Hour

To ensure your vertical mango raspberry cake holds its shape and flavors meld beautifully, chill it for one hour.
This chilling period is crucial for the layers to set properly, allowing the cake to maintain its structure when you slice into it. A well-chilled cake helps the vibrant flavors of mango and raspberry to integrate, enhancing your overall taste experience.
Make sure to cover the cake with plastic wrap or place it in an airtight container to prevent any unwanted odors from the refrigerator. If you've used buttercream or mousse filling, chilling will also firm up the frosting, making it easier to achieve clean edges.
After an hour, check the cake; if it's still soft, consider additional chilling for optimal firmness.
Step 4. Layer With Fresh Raspberries
After chilling your vertical mango raspberry cake, you're ready to layer it with fresh raspberries.
Start by placing one cake layer on a stand, then spread a generous layer of mango buttercream on top.
Press fresh raspberry slices into the frosting to enhance the flavor and add visual appeal.
Continue this process for each layer, ensuring you evenly distribute both the mango buttercream and raspberry slices.
This balance is key to a delicious cake.
Once all layers are stacked, apply a crumb coat to seal in any crumbs and chill the cake for about 20 minutes.
This helps set the layers before adding your final decorative buttercream layer, ensuring a beautiful finish for your vertical mango raspberry cake.
Step 5. Add Garnish Before Serving

Before you serve your vertical mango raspberry cake, think about how garnishing can elevate its presentation and flavor.
Start by adding fresh raspberries on top or sprinkle some freeze-dried raspberry powder for a vibrant look. A light dusting of powdered sugar will enhance sweetness and create visual appeal.
Don't forget fresh mint leaves; they provide a refreshing aroma and contrast beautifully with the cake's colors.
For an elegant touch, drizzle a thin layer of mango puree or raspberry sauce around the plate. This not only adds color but also a flavor boost.
Make sure to apply all garnishes just before serving to keep them fresh and maintain their visual impact, enhancing the overall presentation of your cake.
Final Thoughts

As you savor the last bites of your vertical mango raspberry cake, it's clear that this dessert is more than just a treat—it's a celebration of vibrant flavors and textures.
The combination of mango mousse and raspberry elements creates a delightful contrast that excites your palate. Mastering layering techniques, like pressing fresh raspberry slices into the Swiss meringue buttercream between cake layers, not only enhances the flavor but also adds visual appeal.
Remember, managing moisture from fresh fruit is key to achieving that perfect slice. With each layer, you've crafted a stunning centerpiece that impresses both in taste and appearance.
You've turned simple ingredients into a memorable experience, making every bite a joyous occasion. Enjoy the sweet success!
Frequently Asked Questions
Can I Substitute Other Fruits for Mango and Raspberry?
Absolutely, you can substitute other fruits for mango and raspberry!
Think about your favorite fruits or what's in season. Fruits like strawberries, peaches, or blueberries work great in most recipes.
Just keep in mind the sweetness and moisture level of the fruit you choose, as it can affect the final result.
Experimenting with different flavors can lead to delicious surprises, so don't hesitate to get creative in the kitchen!
How Should I Store Leftover Vertical Mango Raspberry Cake?
You've made this delicious cake, and now it's just sitting there, begging for attention.
To store your leftover cake, cover it tightly with plastic wrap or place it in an airtight container. Keep it in the refrigerator to maintain its freshness for up to five days.
If you won't finish it that quickly, consider freezing slices for later enjoyment. Your cake deserves a proper home, even after the party's over!
Is This Cake Suitable for Gluten-Free Diets?
If you're wondering whether this cake is suitable for gluten-free diets, it really depends on the ingredients used.
Many traditional cakes contain wheat flour, which isn't gluten-free. However, if the recipe calls for gluten-free alternatives like almond flour or coconut flour, then you're in the clear.
Always check the labels of your other ingredients too, just to be sure they don't contain gluten.
Enjoy your baking adventure!
What Type of Frosting Pairs Best With This Cake?
When you think about frosting, the possibilities can feel overwhelming.
But consider this: what if you could elevate your dessert experience? A light and tangy cream cheese frosting complements the sweetness of the cake perfectly, balancing flavors beautifully.
Alternatively, a whipped coconut frosting adds a tropical twist that'll leave everyone wanting more.
Don't forget a drizzle of raspberry sauce for an extra pop of flavor that'll take your cake to the next level!
How Long Does It Take to Prepare This Cake?
Preparing this cake typically takes about 30 to 45 minutes.
You'll want to gather all your ingredients first, which makes the process smoother.
Mixing the batter and preparing the pans usually takes around 20 minutes.
While the cake bakes, you can clean up and get your frosting ready.
Don't forget to account for cooling time, which can add another 30 minutes or so before you can frost and serve it.