
Yoghurt cake's a delightful treat you can whip up easily, blending creamy Greek yogurt with a moist crumb. Originating from French tradition, it's perfect for all skill levels. Simply mix flour, yogurt, eggs, and olive oil, then bake for about an hour. You can even customize it with flavors like lemon or berries. Whether paired with tea or adorned with fruit, it's a heartwarming dessert that resonates with home baking. Stick around to discover tips and variations!
History

Yoghurt cake, or "gâteau au yaourt," has a charming history rooted in French culinary tradition. This delightful dessert is often taught to children by French grandmothers, introducing them to the joys of baking. Its unique measuring system uses yogurt cups, making ingredient measurements simple and accessible. With a moist texture and mild sweetness, yogurt cake reminds you of a classic pound cake, but with a twist that makes it special. Incorporating healthy ingredients like yogurt can enhance not only the flavor but also the nutritional value of the cake. Additionally, the use of butter production techniques ensures that the cake achieves a rich taste and satisfying mouthfeel. Traditionally flavored with lemon or vanilla, its versatility has inspired numerous variations worldwide. As you explore its origins, you'll find that the cake embodies the essence of home baking—satisfying and uncomplicated, inviting everyone to enjoy a slice of this beloved treat. Additionally, the importance of keeping memories alive through family recipes highlights the emotional connection often found in baking traditions.

Wilton Performance Pans Aluminum Round Cake Pan, 9 x 2 in., Pack of 2
READY SET, BAKE: Bake up a delicious, moist layer cake with this 9-inch round cake pan set. The…
As an affiliate, we earn on qualifying purchases.
As an affiliate, we earn on qualifying purchases.
Recipe
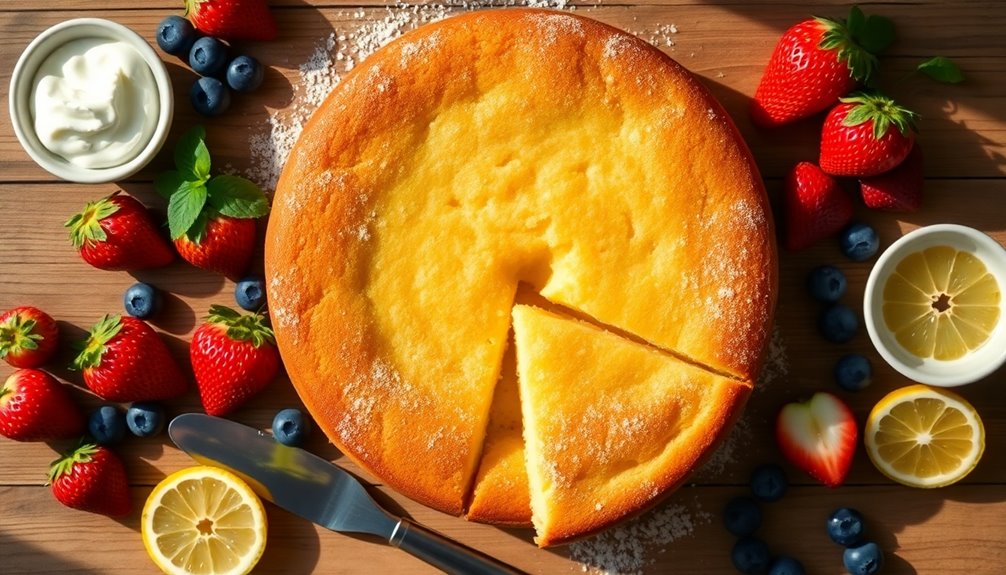
A yogurt cake is a delightful and moist dessert that's simple to prepare, making it perfect for both novice and experienced bakers. The use of Greek yogurt not only adds a lovely creaminess to the cake but also contributes to its tender texture. This cake is versatile, allowing for the addition of flavors such as lemon or berries, which can elevate it to a new level of deliciousness. Moreover, effective wall organization in the kitchen can create a more efficient baking environment. Additionally, ensuring color accuracy in your kitchen lighting can help you better assess the cake's color while baking.
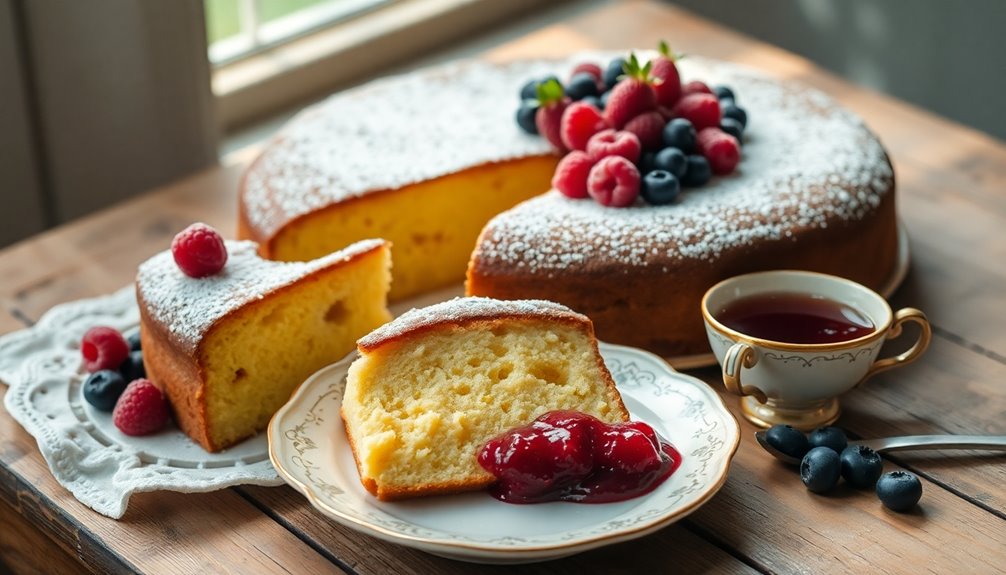
The process of making a yogurt cake is straightforward and requires minimal equipment. By mixing together a few key ingredients and baking them in the oven, you can create a comforting treat that pairs wonderfully with a cup of tea or coffee. Once baked, the cake can be enjoyed as is or adorned with a dusting of powdered sugar and fresh fruit for an extra special touch.
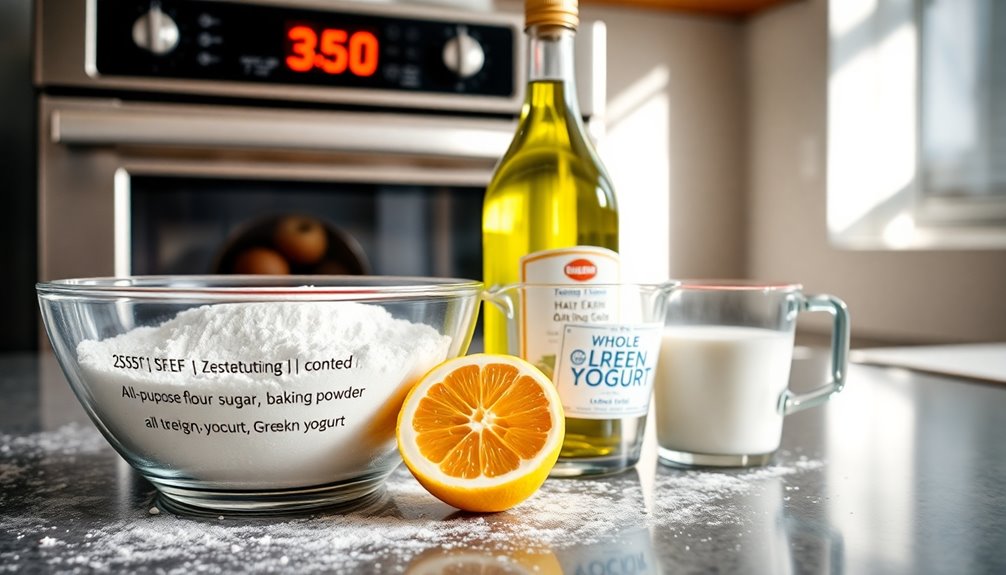
Ingredients:
- 1 ½ cups all-purpose flour
- 1 cup whole plain Greek yogurt
- 1 cup sugar
- 3 large eggs
- ½ cup extra virgin olive oil
- Baking powder
- Baking soda
- Zest and juice of 1 lemon (optional) or 1 cup fresh blueberries (optional)
Cooking Instructions:
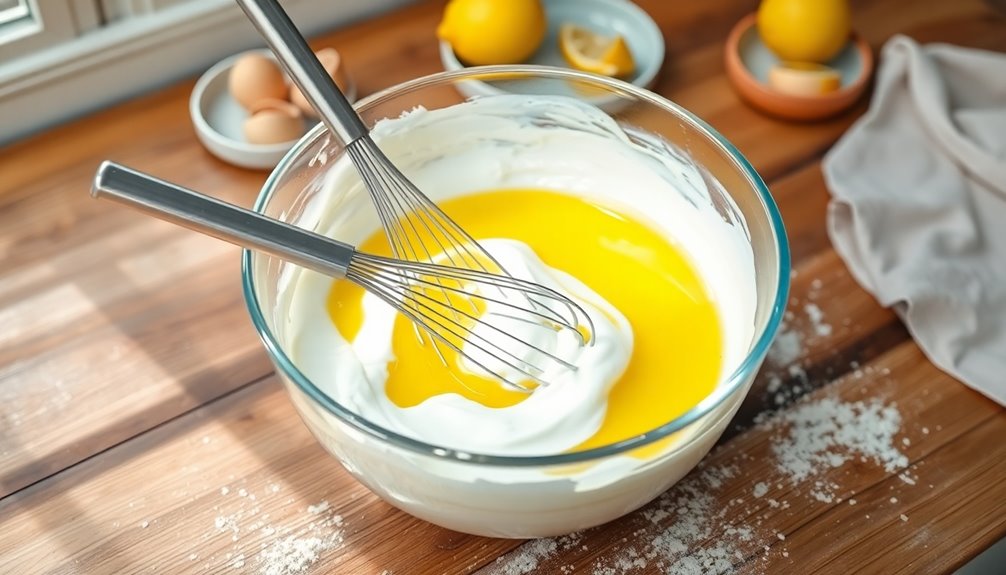
Preheat your oven to 350°F (175°C) and grease a 9-inch round cake pan. In a large mixing bowl, whisk together the flour, sugar, baking powder, and baking soda. In another bowl, combine the yogurt, eggs, and olive oil until well blended.
Gradually add the wet ingredients to the dry ingredients, stirring until just combined. If desired, fold in the lemon zest and juice or blueberries. Pour the batter into the prepared cake pan and smooth the top. Bake for 50 to 55 minutes or until a toothpick inserted in the center comes out clean.
Allow the cake to cool in the pan for a few minutes before transferring it to a wire rack to cool completely.
Extra Tips:
To ensure the best texture and flavor, let the cake cool completely before slicing. When storing leftovers, wrap the cake tightly to maintain its moisture; it can be kept at room temperature for about 2 days or in the refrigerator for up to 6 days.
If you plan to freeze the cake, slice it first and wrap individual pieces to make it easy to enjoy later. Adding a simple berry compote or a dollop of whipped cream can also enhance the dessert experience. Additionally, having a comprehensive business plan can be beneficial if you decide to turn your baking passion into a side business.

Chobani® Whole Milk Plain Greek Yogurt 32oz
Thick and creamy Chobani Greek Yogurt
As an affiliate, we earn on qualifying purchases.
As an affiliate, we earn on qualifying purchases.
Cooking Steps

To get started on your yoghurt cake, you'll want to preheat your oven to 350°F.
Next, mix together your dry ingredients before gradually adding the wet ones. This careful blending will set the stage for a perfectly moist cake. Incorporating whole foods into your recipe can enhance the nutritional value of your yoghurt cake. Additionally, using expandable home security systems can provide you with options for future upgrades, similar to enhancing your cake's ingredients for improved flavor and nutrition. Remember that setting clear savings goals can be beneficial not only in financial planning but also in achieving the best results in your baking endeavors.
Step 1. Preheat Oven to 350°F
Before diving into the cake batter, make sure to preheat your oven to 350°F (175°C).
Preheating the oven is crucial for your yogurt cake to bake evenly, achieving the perfect texture and rise. If you skip this step, you risk affecting the baking time and cake density.
While the oven warms up, you can prepare your batter, optimizing your time for a smooth process. To ensure accuracy, use an oven thermometer, as some ovens may not reflect the correct temperature.
A properly preheated oven helps create that delicious golden crust, enhancing both flavor and appearance. Additionally, maintaining air quality considerations can influence the overall baking environment, ensuring your cake rises perfectly.
Step 2. Mix Dry Ingredients Together
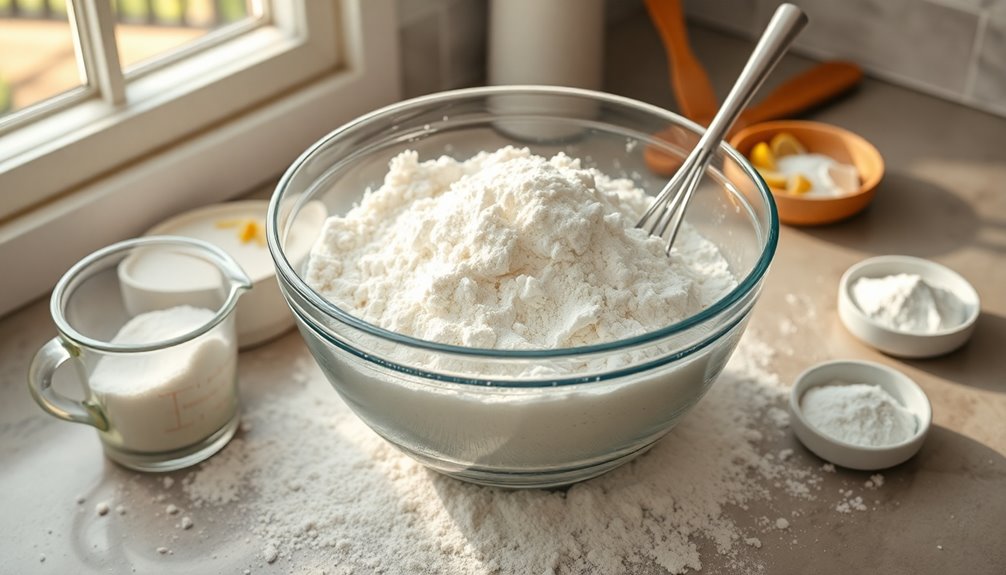
With the oven preheated and ready, it's time to focus on mixing your dry ingredients.
Start by measuring out unbleached all-purpose flour, which serves as the primary ingredient for your cake's structure. In a medium bowl, whisk together the flour, 1 to 2 teaspoons of baking powder, and 1/2 teaspoon of baking soda. This helps ensure they're evenly distributed and free of lumps.
Next, add a pinch of salt to enhance the cake's flavor and balance the sweetness from the sugar. If you're feeling adventurous, consider incorporating 1 1/2 teaspoons of Herbes de Provence or substituting cocoa powder for part of the flour for unique flavor profiles.
Mix these dry ingredients thoroughly to achieve a light, airy cake texture.
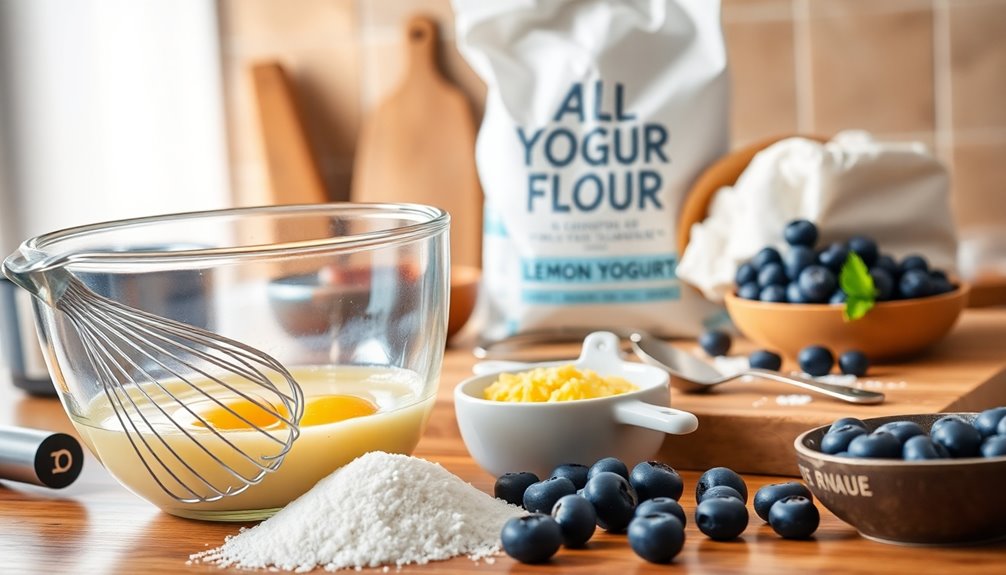
Step 3. Add Wet Ingredients Gradually
As you prepare to add the wet ingredients, remember that doing this gradually is key to achieving a well-mixed batter.
Start with the yogurt, sugar, and eggs mixture, ensuring you achieve a smooth consistency. This step is crucial for your yogurt cake, as it helps prevent clumping in the dry mixture.
Once combined, gradually adding oil and flavor extracts will enhance the cake's flavor. Mixing the wet ingredients separately maintains a light and airy texture.
Be careful to avoid overmixing once you combine the wet and dry ingredients; stir just until no dry flour remains. This allows the baking powder to activate properly, contributing to the cake's rise and ensuring a fluffy texture you'll love.
Step 4. Fold in Yogurt Gently
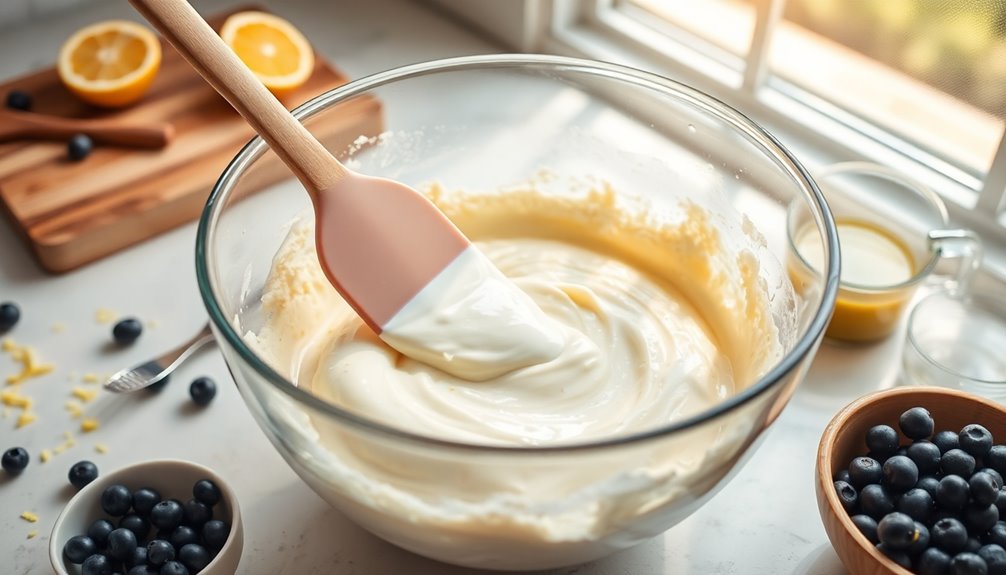
Gently fold in the yogurt to your batter, ensuring you maintain that light, airy texture.
Start by adding a small portion of yogurt to the wet ingredients, creating a smoother mixture before incorporating the rest.
Use a rubber spatula to carefully lift and turn the batter over itself in a circular motion. This method helps distribute the yogurt evenly without overmixing, which can deflate your batter.
Remember, a few gentle folds are all you need to blend the yogurt while preserving the cake's light texture.
Incorporating yogurt not only adds moisture but also imparts a slight tanginess, enhancing both flavor and texture.
Enjoy the delightful results of your careful combining!
Step 5. Pour Batter Into Prepared Pan
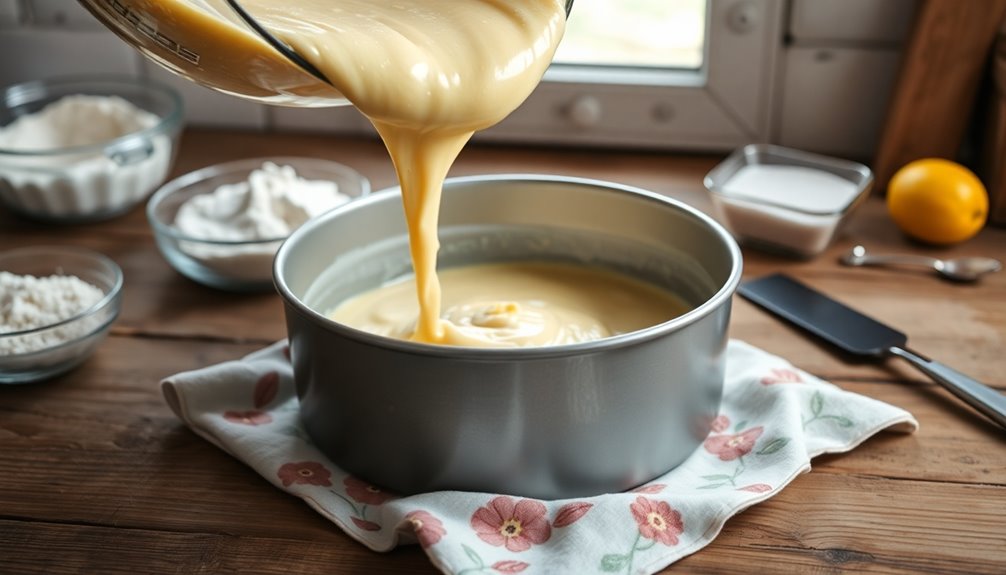
Pour the batter into your prepared pan, ensuring it's lined with parchment paper and greased with olive oil to prevent sticking.
Gently pour the batter into the center of the pan, letting it spread naturally to the edges for even baking. If needed, use a spatula to smooth the top for a beautiful finish.
Don't forget to tap the pan lightly on the countertop to eliminate any air bubbles that may have formed in the batter.
Once you're done, bake the cake immediately for the best rise and texture. Set your oven to 350°F and let it bake for about 50 to 55 minutes.
Enjoy the delightful aroma while you wait!
ARM & HAMMER Baking Soda, Multi-Purpose 100% Pure Sodium Bicarbonate Powder for Cooking, Baking, Cleaning, Laundry, Deodorizing, DIY & More, 2.7 Lbs
A HOUSEHOLD CLASSIC: This 2.7 lb resealable bag of ARM & HAMMER Baking Soda unlocks 100+ uses across…
As an affiliate, we earn on qualifying purchases.
As an affiliate, we earn on qualifying purchases.
Final Thoughts
When you dive into making yogurt cake, you'll discover not only a delightful treat but also a recipe that encourages creativity and personal touch.
This simple recipe is perfect for novice bakers, using yogurt as a base for a super moist texture. You can experiment with flavor variations by adding lemon zest, fruit, or cocoa powder to make it uniquely yours.
The cake's mildly sweet profile, thanks to all-purpose flour and granulated sugar, can be adjusted based on your taste, especially with unsweetened yogurt.
Plus, with convenient storage options, it stays fresh at room temperature for two days, in the fridge for up to six, or frozen for three months.
Enjoy your baking journey!

Deiss PRO Lemon Zester & Heavy Duty Cheese Grater & Vegetable Grater – Parmesan Cheese Lemon, Garlic, Nutmeg, Chocolate, Fruits, Vegetables, Ginger Grater – Cheese Shredder & Stainless Steel Grater
Comfortable to Use & Built to Last ✔ The Hand Grater has a razor-sharp stainless steel blade that…
As an affiliate, we earn on qualifying purchases.
As an affiliate, we earn on qualifying purchases.
Frequently Asked Questions
Can I Use Greek Yoghurt Instead of Regular Yoghurt?
Sure, you can absolutely swap Greek yogurt for regular yogurt!
Think of it as giving your dish a little extra personality. Greek yogurt's thicker texture and tangy flavor can elevate your recipe, adding richness and creaminess.
Just keep in mind that it's less watery, so you might need to adjust other liquid ingredients slightly.
Embrace the change and enjoy the delicious results! Your taste buds will thank you for the delightful twist.
How Long Does Yoghurt Cake Stay Fresh?
Yoghurt-based desserts can stay fresh for about three to five days when stored properly.
You should keep it in an airtight container in the fridge to maintain its moisture and flavor.
If you notice any signs of spoilage, like an off smell or mold, it's best to toss it.
For longer storage, consider freezing individual slices, which can last for up to three months, but you'll want to wrap them well to prevent freezer burn.
What Are Some Common Yoghurt Cake Variations?
When you think about common variations, consider incorporating different flavors and ingredients. You might add fruits like berries or citrus for a fresh twist.
Nuts or chocolate chips can enhance the texture and taste. Spices like cinnamon or vanilla extract can elevate the flavor profile.
If you're feeling adventurous, try using flavored yogurt, like coconut or peach, to create a unique cake that reflects your personal preferences.
The possibilities are endless!
Is Yoghurt Cake Suitable for Gluten-Free Diets?
If you're looking for gluten-free options, you'll want to check the ingredients closely. Many recipes can be easily adapted by using gluten-free flour instead of regular flour.
You can enjoy a delicious treat without compromising your dietary needs. Just make sure to choose certified gluten-free products to avoid cross-contamination.
With the right substitutions, you can savor a delightful dessert that fits your gluten-free lifestyle and satisfies your sweet tooth.
Can I Freeze Yoghurt Cake for Later Use?
Yes, you can freeze cake for later use!
Just make sure it's completely cooled before wrapping it tightly in plastic wrap or aluminum foil. You can also place it in an airtight container.
When you're ready to enjoy it, let it thaw in the fridge or at room temperature. This way, you'll maintain its flavor and texture.
It's a great way to have a treat ready for whenever you want it!