
Making homemade curd cheese is easier than you think! Start with whole milk and cream, add citric acid and rennet, then heat and cut the curds. This cheese is packed with protein and can be used in various dishes, from salads to desserts. Focus on maintaining the right temperatures for the best texture. Plus, you can customize flavors to suit your taste. Stick around to discover more tips and tricks for perfecting this delicious cheese.
History

Curd cheese, often referred to as fromage frais, has a rich history that stretches back centuries, as various cultures developed traditional methods for preserving dairy.
You might be surprised to learn that the cheese-making process likely evolved from early practices of curdling milk with natural acids from fruits or plants.
In Europe, particularly in France and Italy, artisans refined the art of making fresh cheeses, leading to regional specialties you can still find today.
The rise of pasteurization in the 19th century significantly impacted curd cheese production, making it safer and more consistent for homemade cheese enthusiasts.
Today, this nutritious option remains popular, celebrated not only for its versatility in recipes but also for its high protein content and lower fat options. Additionally, the historical significance of butter and cheese in ancient culinary traditions highlights their valued roles in sustenance and trade.
Recipe

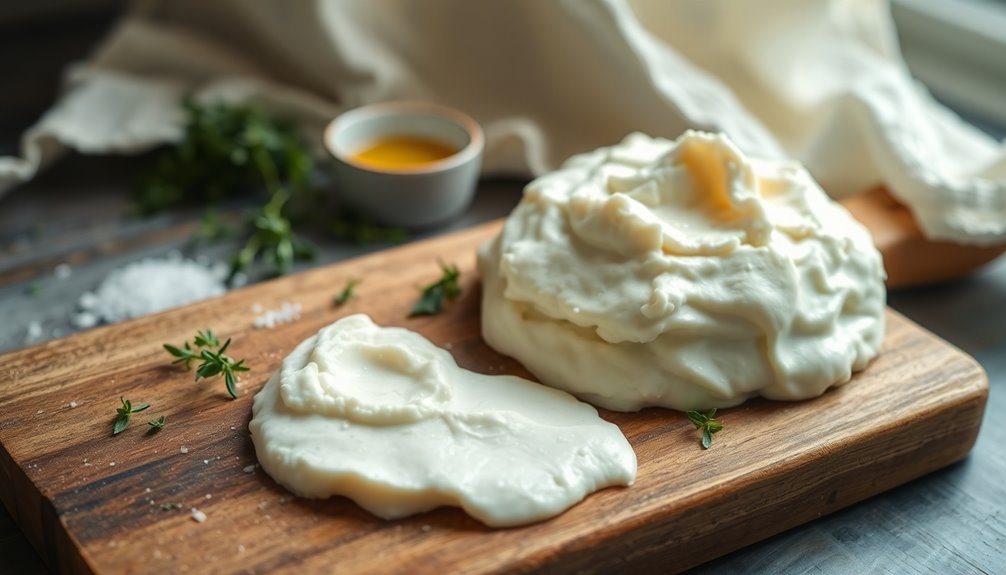
Making homemade curd cheese is a rewarding process that allows you to enjoy a fresh, creamy cheese made from simple ingredients. This curd cheese can be used in a variety of dishes or enjoyed on its own, spread on toast, or incorporated into salads. The process takes a little time, but the results are well worth the wait, as you'll have a delicious cheese that you made yourself!
Homemade curd cheese is a delightful treat, perfect for spreading, snacking, or adding to your favorite recipes!
To begin, you'll need to gather your ingredients and equipment. The key to achieving the perfect texture lies in the careful heating and cooling of your milk and cream mixture, along with the right amount of rennet and starter culture. Patience is crucial during the setting and draining phases, as these steps are essential for developing the rich flavor and creamy consistency that homemade curd cheese is known for.
Ingredients:
- 1,200g whole milk
- 800g double cream
- 1g citric acid
- 0.3g curd cheese starter
- 40 drops diluted liquid rennet
- 2% fine salt based on the weight of the curd cheese
Instructions:
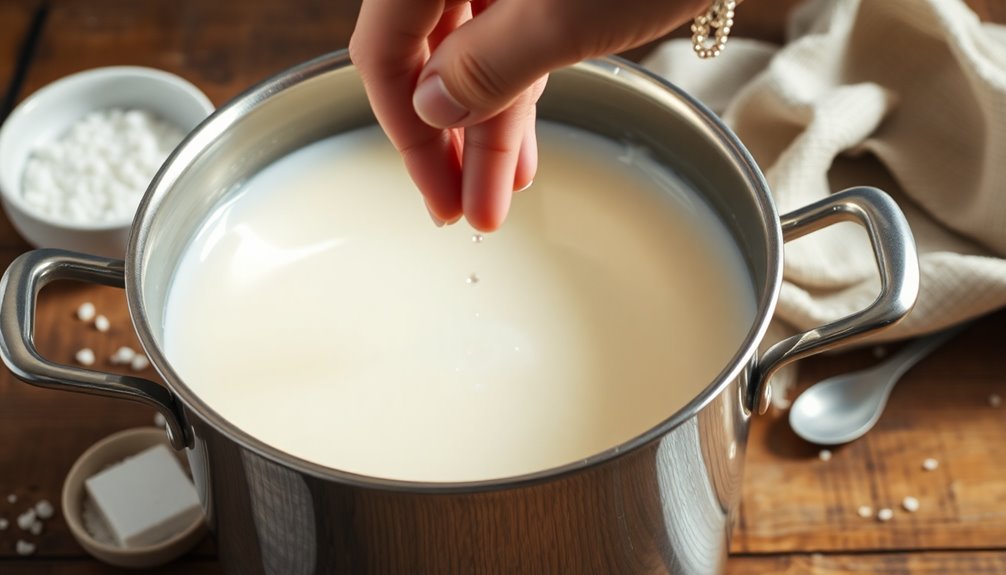
In a large pot, combine the whole milk and double cream, stirring continuously as you gently warm the mixture to 32°C.
Once at the desired temperature, dissolve the citric acid and curd cheese starter into the mixture, then set it aside for one hour to allow the curds to form.
After the hour, reheat the mixture again to 32°C, then add the diluted liquid rennet.
Cover the pot and let it sit undisturbed for 12 hours at a cool room temperature for coagulation.
Once set, suspend the curd mixture in muslin over a bowl to drain off the whey for 24 hours.
Finally, season the curd cheese with fine salt at a ratio of 2% based on its weight, and store it in the refrigerator for up to three days or freeze it for later use.
Extra Tips:
When making curd cheese, ensure that all your utensils and containers are sanitized to prevent unwanted bacteria from affecting the cheese.
The temperature of the milk and cream is crucial; using a thermometer will help you maintain the correct temperature during both heating and cooling phases.
Experiment with the salt level to suit your taste, and feel free to add herbs or spices to the curd cheese for additional flavor before storing. Additionally, consider enjoying your homemade curd cheese at one of the best hotels with water parks where it could be featured in gourmet dining experiences.
Enjoy your homemade curd cheese in various dishes or simply as a tasty snack!
Cooking Steps
To start making your curd cheese, you'll gently warm the milk to create the perfect environment for curd formation.
After that, you'll add the rennet and let the mixture set, cutting the curds into cubes once they've formed.
Finally, you'll heat the curds to 105°F and stir gently to achieve the right texture.
Step 1. Warm the Milk Gently

Gently warming the milk is crucial for achieving the best texture in your homemade curd cheese.
Start by heating the milk slowly to a temperature of 32°C (90°F), stirring constantly to ensure even heating and prevent scorching. Using a digital temperature probe is key for monitoring the milk's temperature accurately, as this helps maintain the integrity of the milk proteins.
Avoid bringing the milk to a boil, as this can negatively impact the curd's texture and lead to undesirable results.
Once you reach the desired temperature, let the milk rest for a few moments. This step is essential before adding other ingredients like citric acid or starter culture, which promotes proper curd formation.
Step 2. Add Rennet to Milk
Once the milk has reached the right temperature, it's time to add the rennet.
Start by measuring and diluting 40 drops of liquid rennet in 10g of cooled boiled water. This helps ensure even distribution when you mix it with the milk.
Gently stir the diluted rennet into the milk and cream mixture for about a minute, integrating it fully.
Next, cover the pot to maintain warmth and let it set for 12 hours at a cool room temperature. During this time, monitor the texture; a firm gel should develop, indicating that the rennet is working.
After the setting period, check for a clean break with a knife, confirming that you're on your way to making fresh cheese.
Step 3. Cut the Curds Into Cubes

After letting the curds set for about 45 minutes, check for clear whey by inserting a knife into the gelled curd and lifting it. If it looks good, it's time to cut the curds into cubes.
Use a long knife or curd cutter to slice the curd into uniform 3/4-inch cubes. This ensures even cooking and a consistent texture.
Let the cut curds rest for about 5 minutes to help firm them up. While keeping the temperature at 96°F, gently stir the curds to promote whey drainage and prevent them from sticking together.
This gentle stirring is crucial for achieving the right consistency before moving on to the next cooking step.
Step 4. Heat Curds to 105°F
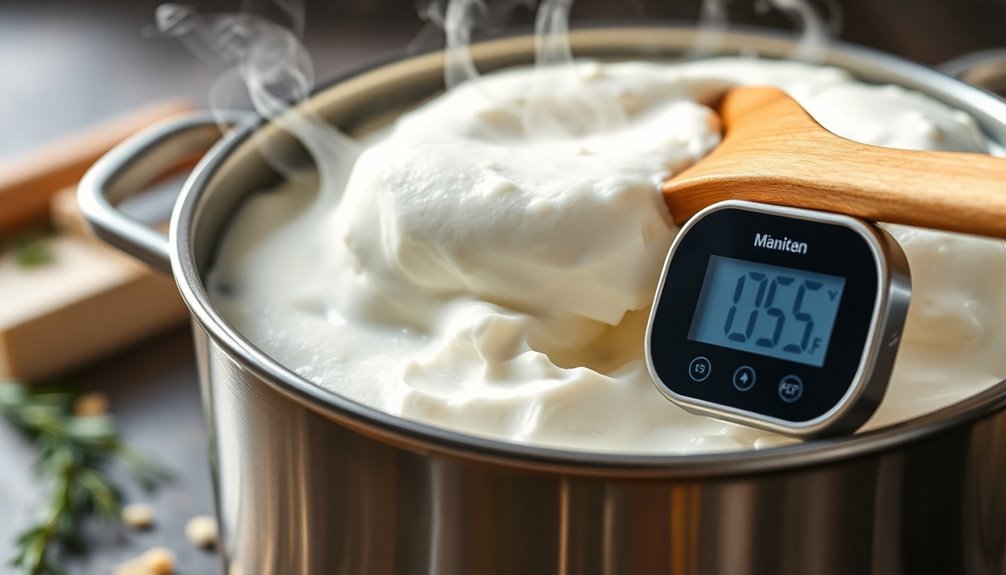
Now that you've cut the curds into uniform cubes and let them rest, it's time to heat them to 105°F (40.5°C).
Gradually heat the curds while gently stirring to ensure even cooking and prevent scorching. Keep an eye on the temperature; it's crucial to monitor the curds closely as they approach 105°F to avoid exceeding this critical point, which can ruin their texture.
Maintain this temperature for about 30 minutes, allowing the curds to shrink and expel more whey for a firmer consistency. Stir the curds every 10 minutes during this process to promote uniform heat distribution and prevent clumping.
Once you've reached the desired temperature and cooking time, you can proceed to drain the curds.
Step 5. Stir Curds Gently for Texture

Gently stirring the curds is essential for achieving the perfect texture in your homemade curd cheese. As you stir, do it slowly and carefully to prevent breaking the curds apart, which helps maintain that desirable texture.
Aim for a consistent temperature of around 96°F while you work, as this is crucial for achieving the right curd consistency. Between stirring sessions, allow the curds to rest for a few minutes; this promotes further whey release and enhances texture development.
Use a slotted spoon or ladle to stir, ensuring you retain the curds' shape while encouraging even cooking and moisture release. This gentle approach will lead to a creamy, delicious curd cheese you can enjoy!
Final Thoughts
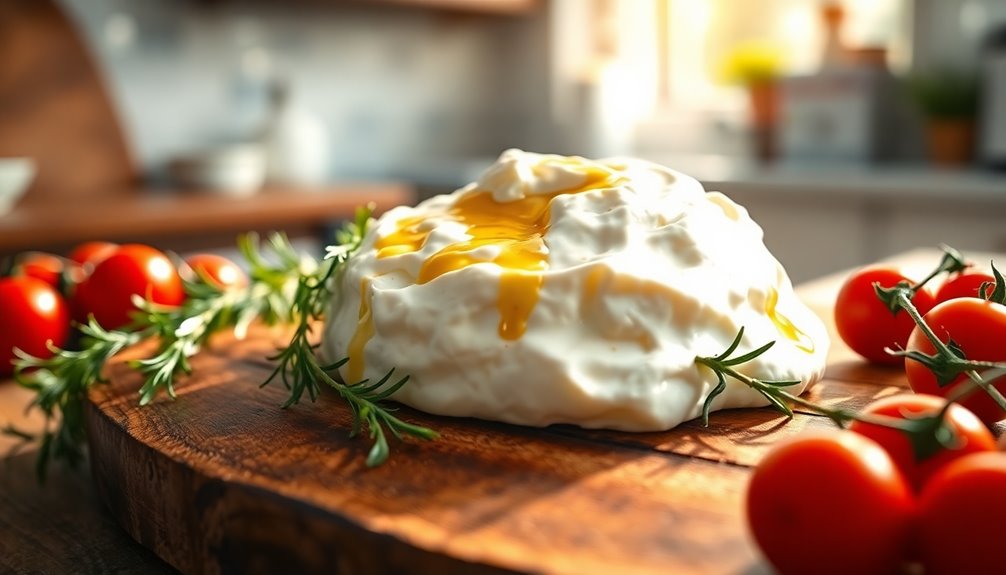
Though making homemade curd cheese may seem daunting at first, the process is surprisingly straightforward and rewarding. By following a few simple steps—warming milk and cream, adding citric acid and rennet, and letting it set—you can create a fresh cheese that's versatile and delicious.
Once you've drained the whey and seasoned your curd cheese, you'll find it enhances a variety of dishes, from savory spreads to sweet desserts.
Just remember to store it in an airtight container in the refrigerator for up to three days or freeze it for later use. Embrace this culinary adventure, and enjoy the satisfaction of creating something wholesome and tasty right in your kitchen!
Frequently Asked Questions
How Is Curd Cheese Made?
To make curd cheese, you start by warming whole milk and double cream to about 32°C, stirring continuously.
Once that temperature's reached, you add citric acid and a starter culture, letting it sit for an hour.
Then, reheat to 32°C, add diluted rennet, and cover it to set for 12 hours.
Afterward, drain the whey using muslin for 24 hours, then mix in salt before refrigerating or freezing your curd cheese.
What's the Difference Between Cheese Curds and Curd Cheese?
Imagine biting into a fresh, squeaky cheese curd, like a delightful pop of flavor in your mouth.
That's cheese curds, which are firm, fresh pieces from curdled milk.
On the other hand, curd cheese is softer and creamier, made from a blend of milk and cream.
While cheese curds are often enjoyed as snacks or in dishes, curd cheese is versatile, perfect for spreads and baking.
Each has its unique charm!
Is Curd Cheese the Same as Cottage Cheese?
No, curd cheese isn't the same as cottage cheese.
While both are dairy products, their textures and production methods differ. Curd cheese is creamier and smoother, made from a blend of whole milk and cream, while cottage cheese has larger curds and a more granular texture.
You'll find that curd cheese is often used in spreads or dishes, whereas cottage cheese is usually enjoyed as a snack or breakfast item.
Are Cheese Curds Just Mozzarella Sticks?
Think of cheese curds and mozzarella sticks as two distinct stars in the dairy galaxy.
No, cheese curds aren't just mozzarella sticks. Cheese curds are fresh, squeaky delights from curdled milk, while mozzarella sticks are breaded, fried, and transformed into a crispy snack.
Each has its unique charm and purpose, lighting up different culinary realms. Enjoy them both, but remember: they're not interchangeable; they represent different traditions and flavors in cheese-making.