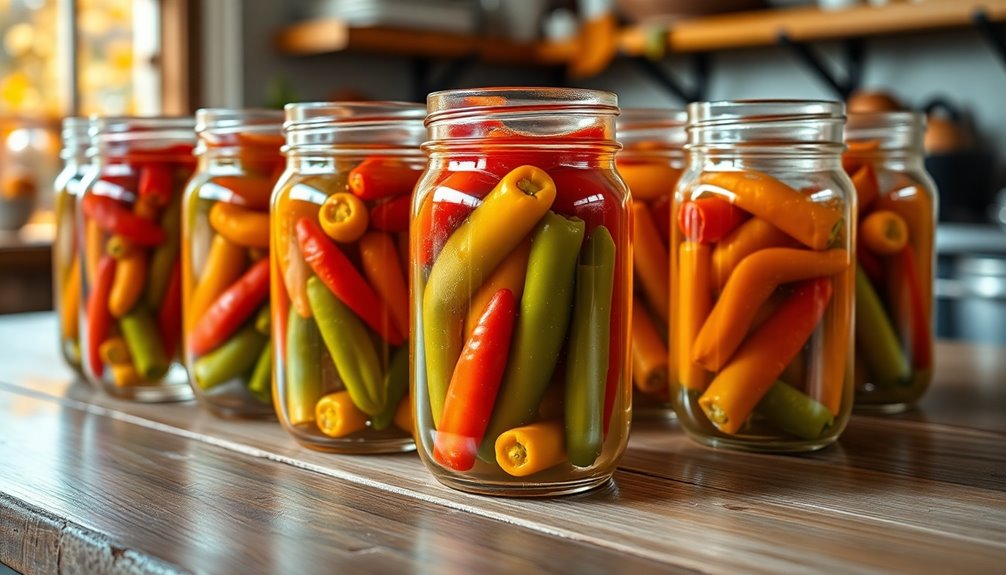
Pickling peppers is an incredibly simple way to enjoy bright, tangy flavors all winter long. Start by sanitizing your jars, then slice your favorite peppers and pack them tightly. Create a brine with equal parts vinegar and water, adding salt and sugar for flavor. Pour the hot brine over the peppers before sealing the jars. Let them cure for a day or two to enhance the taste. You'll love adding these peppers to your meals—there's more to explore!
History
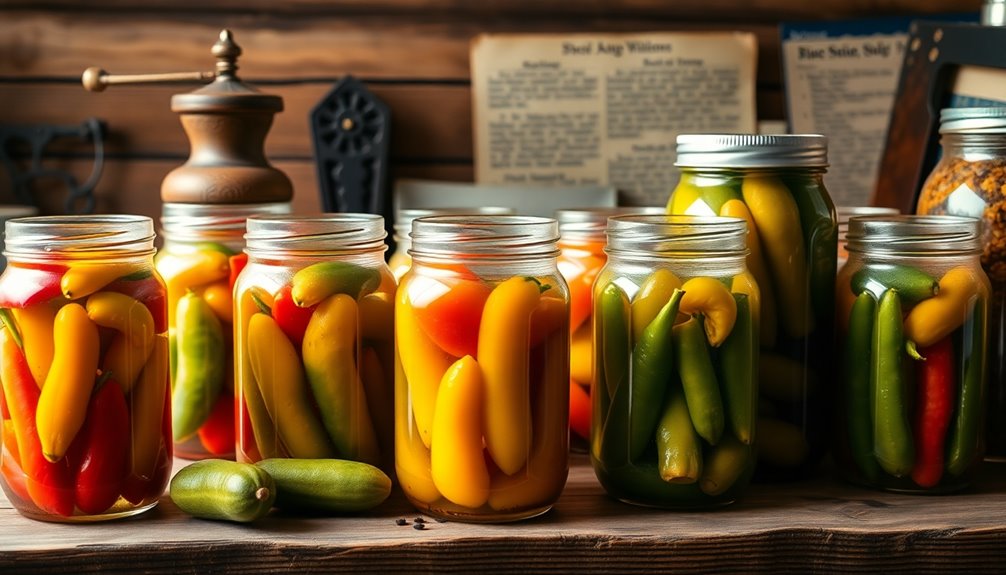
When you delve into the history of pickled peppers, you'll discover a practice that dates back thousands of years to ancient civilizations like the Mesopotamians, who mastered the art of preserving vegetables to extend their shelf life.
Before refrigeration, pickling was crucial for food preservation, allowing people to store seasonal produce like peppers for winter.
Pickling was essential for preserving seasonal peppers, ensuring a flavorful winter supply long before refrigeration existed.
Various cultures embraced pickled peppers, incorporating them into their culinary practices to enhance dishes with vibrant flavors and colors.
Over time, regional variations emerged, leading to distinct flavor profiles that reflect local ingredients and tastes.
In the United States, pickled peppers gained popularity in the 19th century, especially in Southern and Southwest cuisines, showcasing their versatility and importance in meals.
Recipe
The process is straightforward and can be tailored to suit your taste preferences. By adjusting the sweetness or spice level in the brine, you can create pickled peppers that perfectly match your culinary needs.
Once you've mastered this technique, you'll find yourself experimenting with different pepper varieties and spices, making each batch unique. Let's get started on creating these delicious pickled peppers!
Ingredients:
- 2 cups assorted peppers (bell, banana, jalapeño), sliced
- 1 cup red onion, sliced
- 4 cloves garlic, peeled and smashed
- 1 cup white vinegar
- 1 cup water
- 1/4 cup sugar
- 2 tablespoons salt
- 1 tablespoon mixed spices (such as peppercorns, mustard seeds, or dill)
Instructions:
In a large bowl, combine the sliced peppers, red onion, and garlic.
In a saucepan, bring the white vinegar, water, sugar, and salt to a boil, stirring until the sugar and salt dissolve.
Once boiling, remove from heat and add your chosen spices.
Carefully pour the hot brine over the pepper mixture in sterilized mason jars, making sure the peppers are fully submerged.
Seal the jars and process them in a hot water bath for ten minutes for long-term storage, or refrigerate for a quick pickling method.
Extra Tips:
When selecting your peppers, look for fresh, firm specimens for the best results.
If you want to add more heat to your pickled peppers, include a few sliced hot peppers in the mix.
Always ensure your jars are properly sterilized to prevent spoilage, and store them in a cool, dark place if you're not refrigerating them.
After opening a jar, consume the pickled peppers within a month for optimal flavor and quality.
Happy pickling!
Cooking Steps
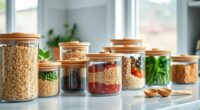
Before you start, make sure to sanitize your glass jars to keep everything fresh.
Next, slice your peppers, remove the seeds, and combine them with your favorite spices and vinegar for a flavorful brine.
With everything prepped, you'll be ready to fill those jars tightly with your pepper mix and pour the hot brine over them.
Step 1. Sanitize Glass Jars First
Sanitizing glass jars is a crucial step in preserving your pickled peppers for winter. Start by washing the jars with hot, soapy water to remove any dirt or residue.
Then, you can sanitize them by submerging the jars in boiling water for at least 10 minutes, ensuring they're properly sterilized and free of harmful bacteria. Alternatively, place the jars in a preheated oven at 225°F (107°C) for 15-20 minutes.
Don't forget to sanitize the lids—boil them or run them through a dishwasher on a hot cycle.
Once done, allow the jars to cool completely before filling them with your homemade pickled peppers. This helps maintain their integrity and prevents cracking during the canning process.
Step 2. Combine Vinegar and Spices
Once you've sanitized your jars, it's time to prepare the pickling brine.
Start by combining equal parts vinegar and water, about one cup each, adjusting for your desired acidity. Next, add one tablespoon of salt and sugar per cup of liquid to enhance the flavor.
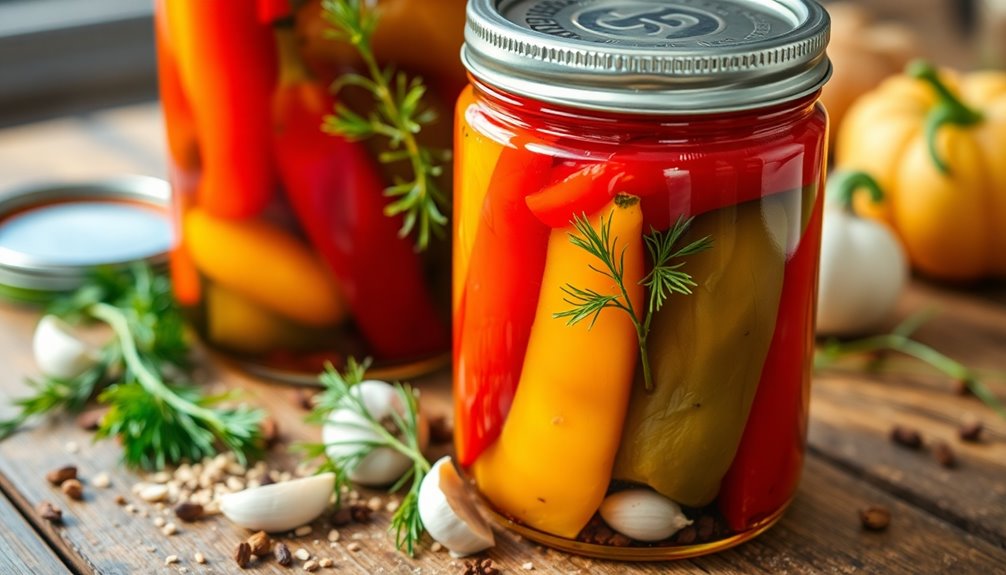
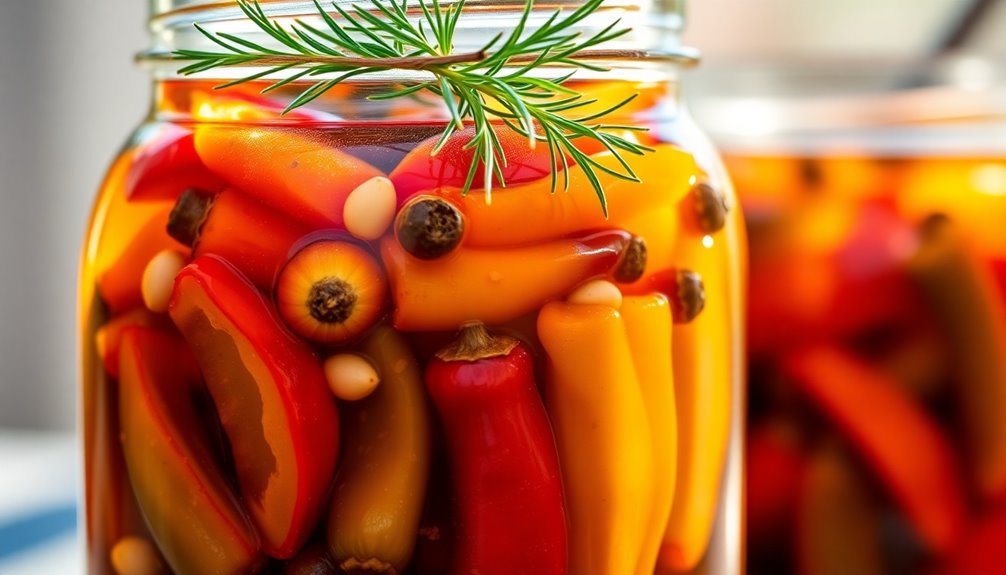
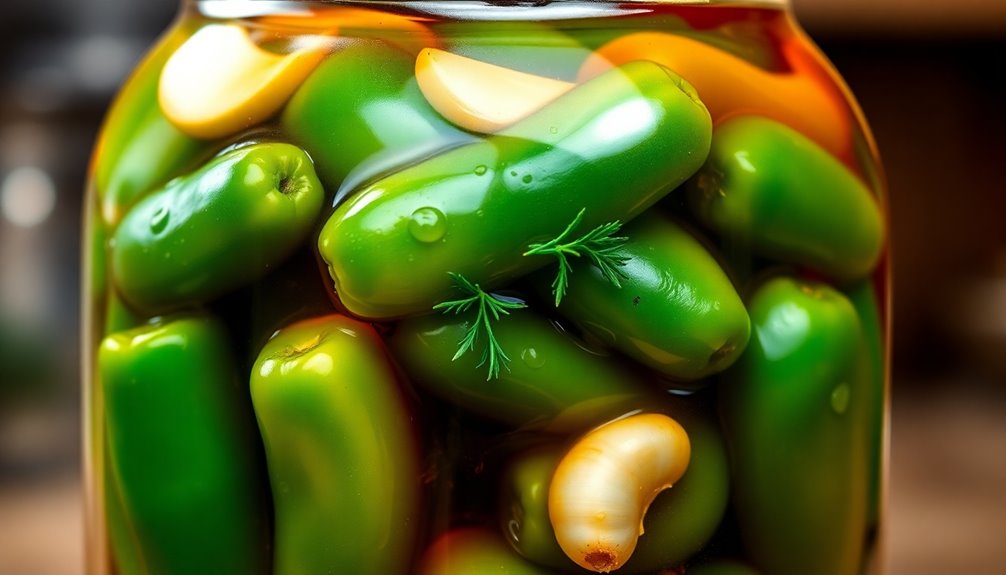
Spice things up by incorporating a dozen peppercorns and 2-3 garlic cloves for every quart jar, along with fresh herbs like dill or oregano.
Bring this mixture to a boil, then simmer for about five minutes to meld the flavors. If you're feeling adventurous, toss in optional ingredients like celery seeds or hot pepper flakes for extra zing.
Once ready, pour the hot brine over your packed pickled peppers and store them in the refrigerator.
Step 3. Slice and Remove Seeds

With the pickling brine ready, you can now prepare the peppers for their flavorful transformation.
Start by thoroughly washing the hot peppers to remove any dirt. Using a sharp knife, cut off the tops, and carefully remove the seeds and white ribs, which can add bitterness to your pepper recipe.
Slice the peppers into uniform strips or rings, about 1/4 to 1/2 inch thick, ensuring even pickling and consistent texture. If you're handling particularly spicy varieties, consider wearing gloves to avoid skin irritation.
Properly sliced and seeded peppers will absorb the brine better, enhancing their flavor and crispness.
Now you're set to make this recipe for delicious Refrigerator Pickled Peppers!
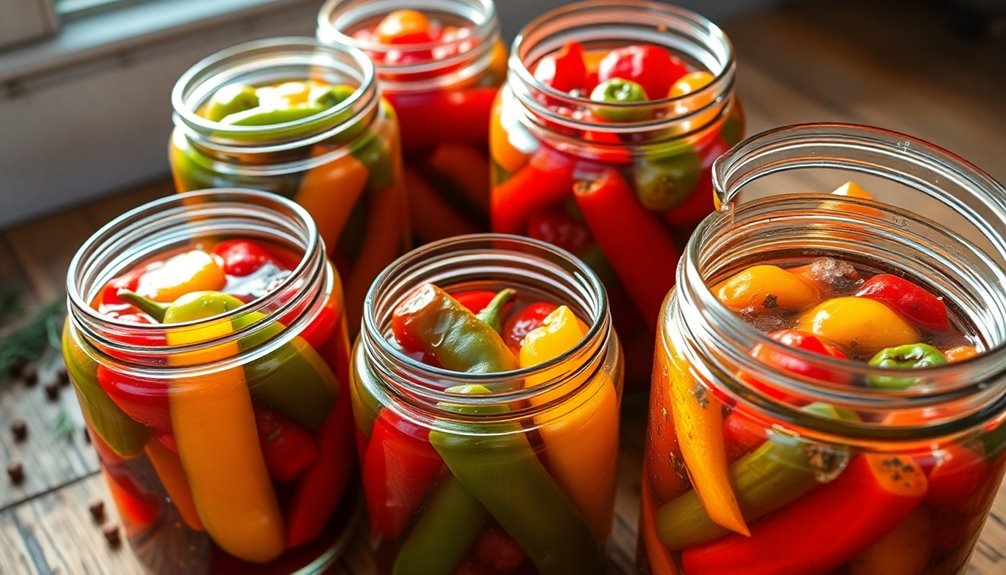
Step 4. Fill Jars Tightly With Peppers
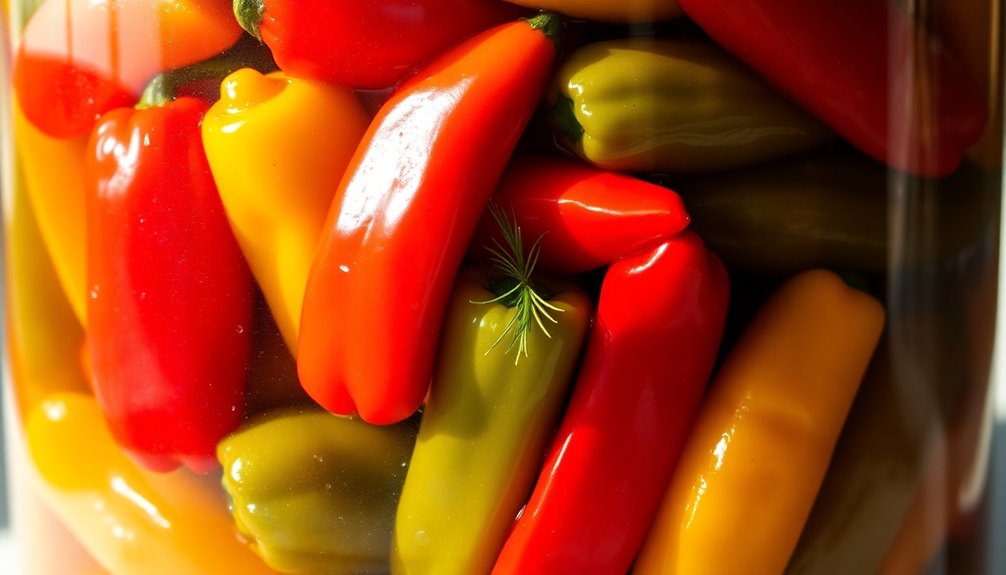
As you prepare to fill the jars, make sure to pack the peppers tightly to minimize any floating and ensure maximum flavor absorption from the brine. Whole peppers work best here, as they maintain their shape and add an appealing crunch.
To enhance the pickling process, poke holes in the whole peppers before packing them in the jar. Use a clean utensil to press down gently, ensuring the peppers are fully submerged in the brine.
Don't forget to leave about half an inch of headspace at the top of the jar to allow for expansion during processing or refrigerating. This careful packing will create irresistibly pickled bell peppers that you can enjoy throughout the winter!
Step 5. Pour Brine Over Peppers
To create the perfect pickled peppers, start by preparing your brine, which is the key to infusing flavor into your jars. In a saucepan, combine equal parts white vinegar and water, along with sugar and salt.
Bring the mixture to a boil for about five minutes, allowing the flavors to meld. Once it cools slightly, it's time to add the brine.
Carefully pour the brine over the tightly packed peppers in the quart jar, ensuring they're fully submerged. Leave about a half-inch headspace at the top for expansion.
Seal the jars with airtight lids and keep in the refrigerator for at least 24 hours before enjoying. This pickled peppers recipe will yield delicious results for your winter meals!
Final Thoughts

Although winter may bring chilly temperatures, pickled peppers can add a vibrant touch to your meals, keeping your taste buds excited.
With a simple recipe, you can preserve various peppers, from bell to jalapeno, using a water bath method in mason jars. These pickled peppers not only last up to a year when sealed but also enhance your seasonal recipes.
When you let them cure for at least 24 hours, their flavor deepens, making them even more delightful. Whether you're topping sandwiches or adding them to salads, they're perfect for sharing with family and friends. Additionally, incorporating pickled peppers into your meals can support your overall health due to their antioxidant properties, making them a delicious and nutritious addition to your winter diet.
Frequently Asked Questions
How Do You Preserve Peppers for the Winter?
To preserve peppers for the winter, start by slicing them and packing them tightly into sterilized jars.
Create a brine with equal parts vinegar and water, adding salt and sugar for flavor. Boil the brine, then pour it over the peppers, ensuring they're fully submerged.
Seal the jars and process them in a boiling water bath for 10 minutes to create a vacuum seal. This way, they can last up to a year when unopened.
What Is the Meaning of Peter Piper Picking a Peck of Pickled Peppers?
Think of "Peter Piper" as a playful dance in a garden of words.
The phrase illustrates a whimsical scene where Peter picks a peck of peppers, showcasing both the joy of harvesting and the abundance of produce.
It emphasizes the act of gathering, with "peck" representing a specific measurement that highlights the richness of peppers.
How to Pickle Peppers for Long Term Storage?
To pickle peppers for long-term storage, start by preparing a brine with a vinegar-to-water ratio of 3:1.
Sterilize your mason jars and pack them with whole or sliced peppers, adding spices like dill or garlic for extra flavor.
Pour the hot brine over the peppers, then process the jars in a boiling water bath for 10 minutes.
Store them in a cool, dark place, and they'll last up to a year unopened.
Is Eating Pickled Peppers Good for You?
Imagine biting into a vibrant, tangy pepper that bursts with flavor. Eating pickled peppers can be good for you!
They're low in calories and packed with vitamins A and C, boosting your immune system and skin health. The fermentation process adds probiotics, beneficial for your gut.
However, watch out for the high sodium from brining. Enjoy them in moderation to reap the health benefits while keeping your sodium intake in check.