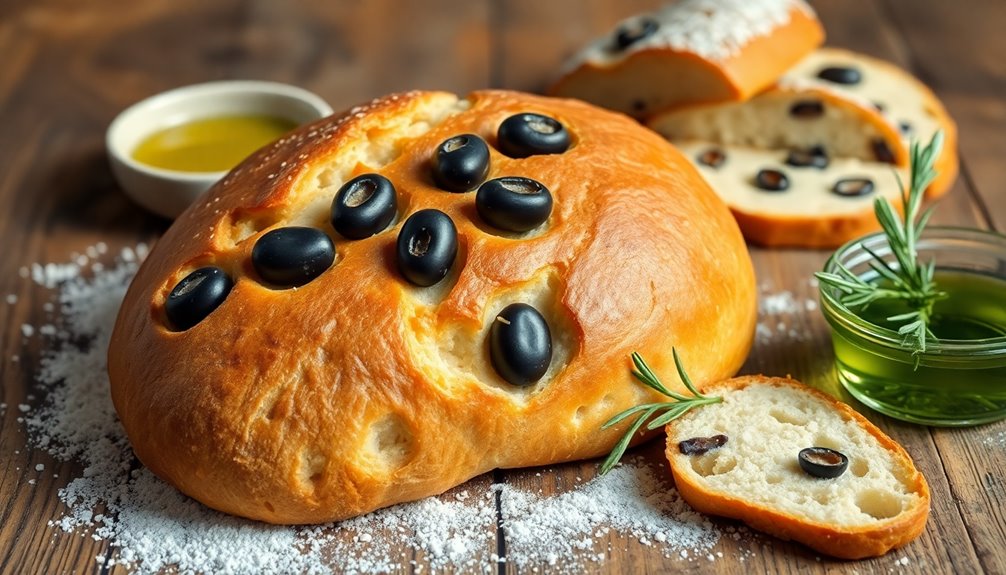
Olive bread with semolina, inspired by Richard Bertinet, combines rich flavors and textures. You'll use white bread flour, semolina, and fresh or instant yeast. Knead and proof the dough for the best results, then shape and allow it to rise. The semolina adds a unique crunch, while the olives contribute a savory touch. This delightful loaf's perfect for any meal. Explore further to discover techniques and tips to enhance your baking experience even more!
History
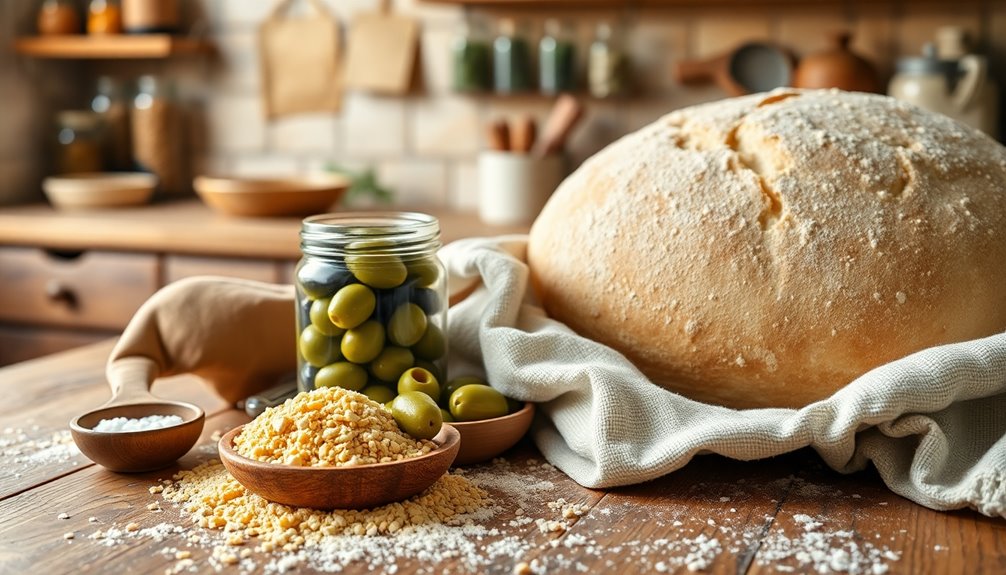
Olive bread with semolina has deep roots in Mediterranean cuisine, especially in Italy and Greece, where bread-making traditions have thrived for generations.
The use of semolina, derived from durum wheat, enhances the texture and flavor of this beloved bread. Combining olives with bread dates back to ancient times, as olives were staples in Mediterranean diets, celebrated for their health benefits and rich taste.
Semolina enriches the texture and flavor of olive bread, a timeless Mediterranean staple celebrated for its health benefits.
Richard Bertinet's approach to bread-making breathes new life into these traditional methods, stressing the importance of high-quality ingredients and hands-on techniques.
As the popularity of olive bread with semolina grows globally, bakers are creatively adapting the recipe, incorporating various herbs and spices, showcasing the versatility and enduring appeal of this classic Mediterranean bread. Additionally, the promotion of traditional healing practices within various cultures emphasizes the interconnectedness of food, health, and community.
Recipe
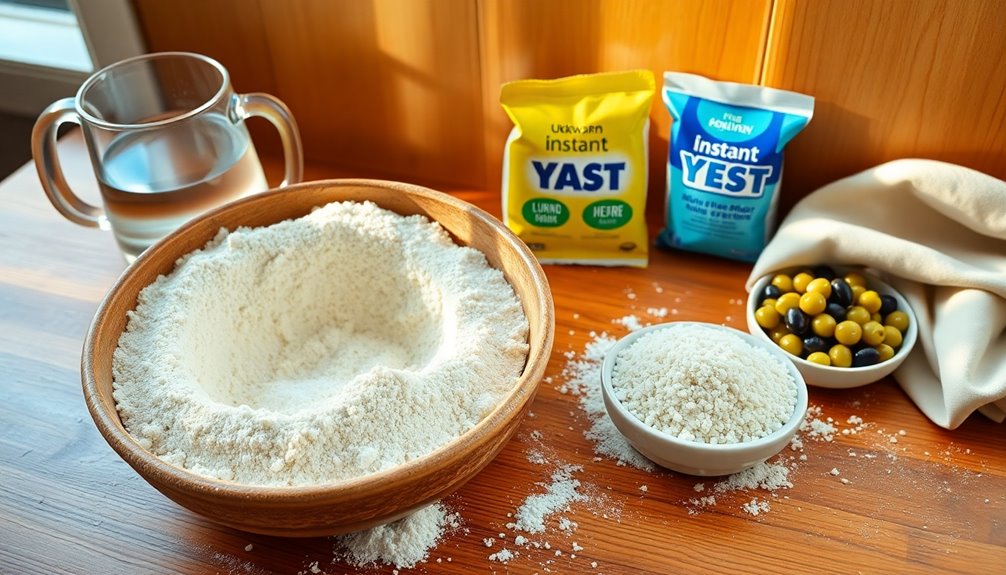
To prepare a delicious olive bread with semolina, you'll need a few simple ingredients and some time for the dough to rise and develop its flavors. This unique bread combines the nutty texture of semolina with the aromatic taste of olives, making it a delightful addition to any meal or a perfect snack on its own. With a crispy crust and a soft, flavorful interior, this bread is sure to impress your family and friends.
Begin by gathering your ingredients and ensuring you have enough time for the dough to rise properly. The combination of white bread flour and coarse semolina creates a distinctive texture, while the fresh or instant yeast helps the dough to rise beautifully. With the right technique and some patience, you'll achieve a loaf that's both visually appealing and delicious.
Ingredients:
- 625g white bread flour
- 2½ tablespoons coarse semolina
- 15g fresh yeast or 1¾ teaspoons instant yeast
- Water (as needed)
- Salt (to taste)
- Pitted olives (chopped, quantity as desired)
In a large mixing bowl, combine the white bread flour, coarse semolina, and salt. If using fresh yeast, dissolve it in a small amount of lukewarm water before adding to the flour mixture. If using instant yeast, simply mix it directly into the flour. Gradually add water until a dough forms, then incorporate the chopped olives.
Knead the dough for about 10 minutes until it becomes smooth and elastic. Cover the bowl with a damp cloth and let the dough rest in a warm place for about 1 hour, or until it has doubled in size.
Once risen, shape the dough into loaves and place them on a baking tray lined with parchment paper. Preheat your oven to 475ºF (250ºC) and bake the loaves for 10 minutes, then reduce the temperature to 425ºF (220ºC) and bake for an additional 20 minutes until golden brown.
After baking, allow the bread to cool on a rack for at least 30 minutes before slicing.
For best results, ensure your ingredients are at room temperature, as this helps with the yeast activation process. Experiment with different types of olives to find your preferred flavor profile. Additionally, color accuracy plays a role in the presentation of your bread, as a visually appealing loaf can enhance the overall experience.
Additionally, if you want to enhance the crust, you can place a small dish of water in the oven during baking to create steam, which will result in a crunchier exterior. Enjoy your homemade olive bread with semolina paired with olive oil for dipping or as a side to your favorite dishes!
Cooking Steps

To start making your olive bread, mix the semolina and flour together in a bowl.
Then, gradually add the olive oil and knead until you achieve a smooth texture.
Let the dough rest briefly before shaping it into a loaf for baking.
Adding olive oil not only enhances the flavor but also contributes to the bread's moist texture.
Step 1. Mix Semolina and Flour
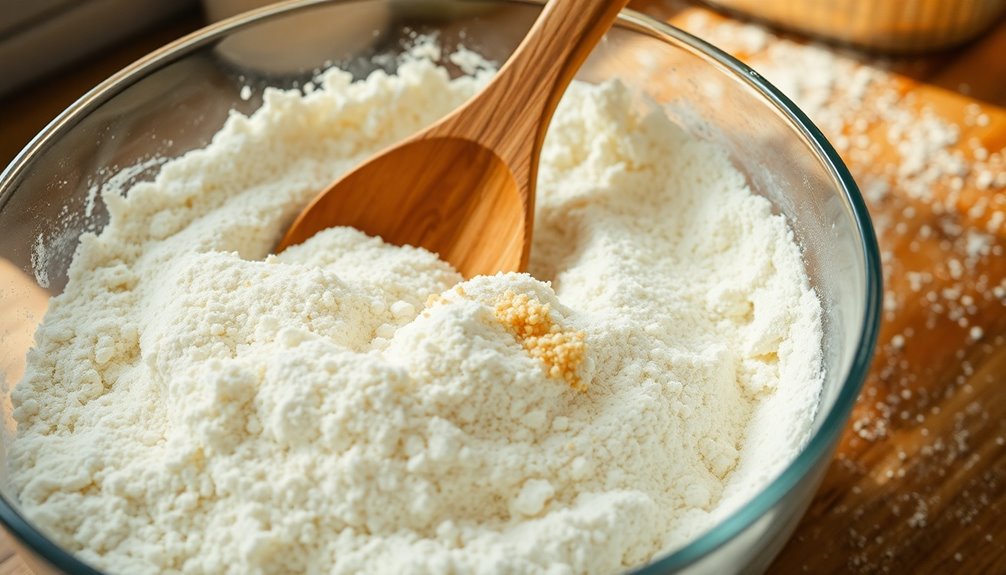
Start by measuring out 625g (22oz, about 5 cups) of white bread flour and 2½ tablespoons of coarse semolina.
In a mixing bowl, combine the flour and semolina thoroughly to create a uniform base for your dough.
Next, rub 15g of fresh yeast into the mixture, ensuring it's evenly distributed to activate its rising properties.
Remember not to add excess flour; your dough should feel thick and sticky, reflecting the right balance of hydration.
This blend of semolina and white bread flour will give your bread a unique texture and flavor.
Following Richard Bertinet's method, you'll achieve a light, airy loaf with a slightly crispy crust, perfect for your olive bread. Additionally, using semolina flour can enhance the bread's overall taste and texture, making it a delightful addition to your baking repertoire.
Step 2. Add Olive Oil Gradually

After mixing the semolina and flour, the next step involves incorporating olive oil into your dough.
Start by creating a well in the center of your dry ingredients, then pour in lukewarm water and drizzle in high-quality extra virgin olive oil gradually. This method ensures proper hydration and allows the oil to blend seamlessly into the dough.
As you mix, focus on distributing the olive oil thoroughly to enhance the dough's elasticity and prevent a greasy texture. Gradually adding the oil at the beginning of the mixing process helps with absorption, crucial for developing that desired airy structure in your final bread. Additionally, using high-quality carrier oils can greatly influence the flavor profile and moisture content of your bread.
This careful incorporation will significantly improve the overall texture and flavor of your olive bread.
Step 3. Knead Until Smooth Texture
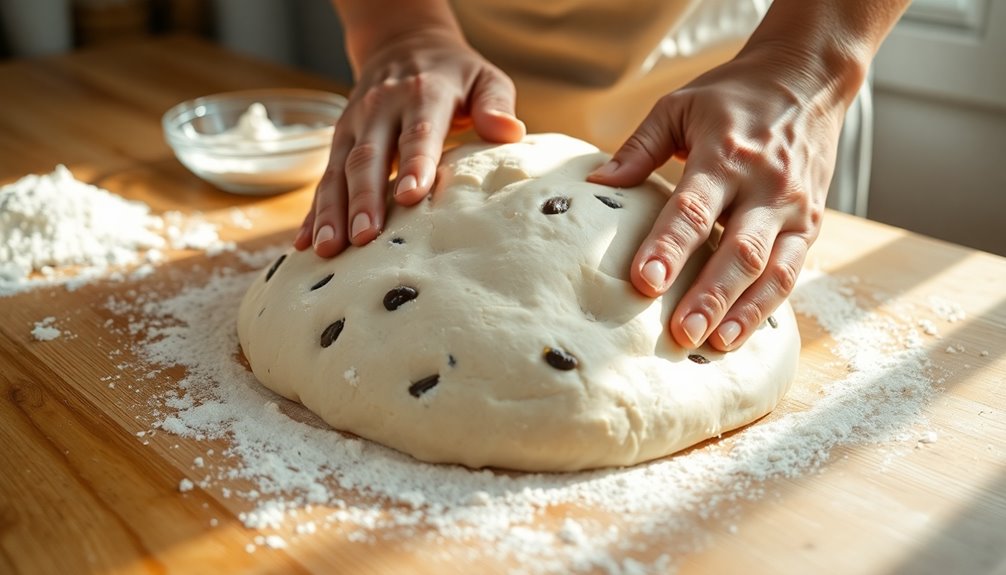
Knead the dough for 5 to 12 minutes until it transforms into a soft, light, and elastic ball.
Use the "slap and fold" method to develop gluten effectively, which promotes elasticity and ensures a smooth texture.
As you knead, avoid adding extra flour or dusting the counter; this helps maintain the dough's hydration, crucial for a lighter bread.
Your final dough should feel slightly wet but not sticky, indicating proper hydration.
Make sure it's well-combined and free from lumps before moving on to the next step.
This consistency is key for achieving a uniform texture throughout your bread, setting you up for a perfect rise during the resting phase.
Happy kneading! Additionally, being mindful of portion sizes is essential to prevent excessive calorie intake from your ingredients.
Step 4. Let Dough Rest Briefly
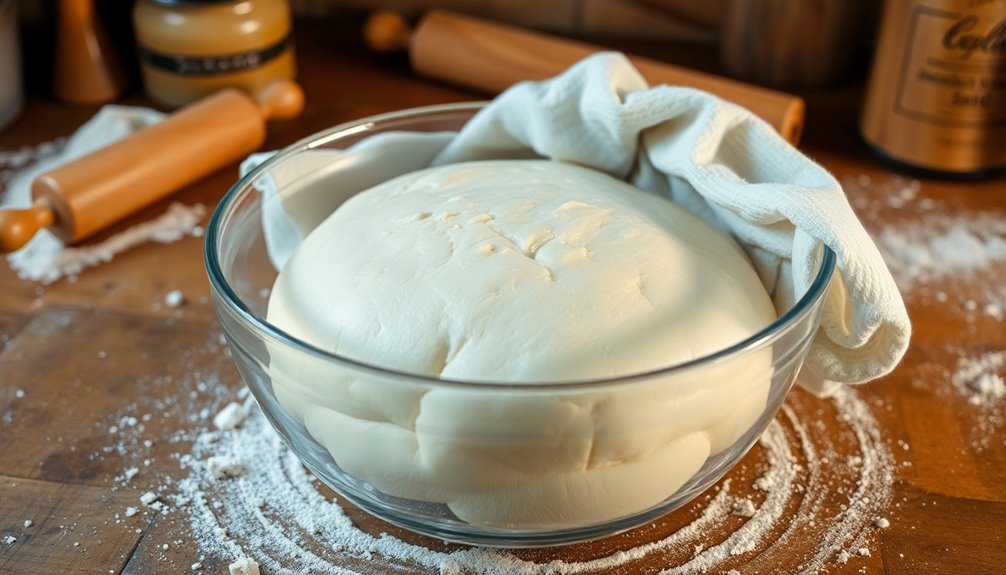
Once you've achieved that smooth texture in your dough, it's time to let it rest briefly.
Transfer your dough to a lightly oiled bowl and cover it with a lint-free towel or plastic wrap. This resting period, about one hour, allows the yeast to activate and ferment, which contributes to the bread's flavor and texture.
It's also crucial for the gluten to relax, making the dough easier to shape later. Make sure to keep the bowl in a draft-free environment to ensure consistent rising and prevent a crust from forming. Additionally, keeping the dough in a cool, dark place can help maintain its optimal conditions for rising.
If you want enhanced flavor development, you can let the dough rest a bit longer, but be careful to avoid over-proofing.
Step 5. Shape Dough Into Loaf

Now that your dough has rested and doubled in size, it's time to shape it into a loaf. Start by forming the dough into a ball and letting it rest for another 30 minutes to relax the gluten.
Next, divide the rested dough into 3 or 4 equal parts. Gently press and fold the edges of each piece towards the center to create a rectangle. Roll the rectangle from one end to the other, sealing the seam tightly for a well-structured loaf.
Place the shaped loaves seam-side down on a greased baking sheet or in loaf pans, allowing them to rise for about an hour. For added texture, make 6-7 diagonal cuts on top before baking. Engaging in this hands-on activity can also enhance fine motor skills as children learn to manipulate the dough. Enjoy your olive bread with semolina!
Final Thoughts
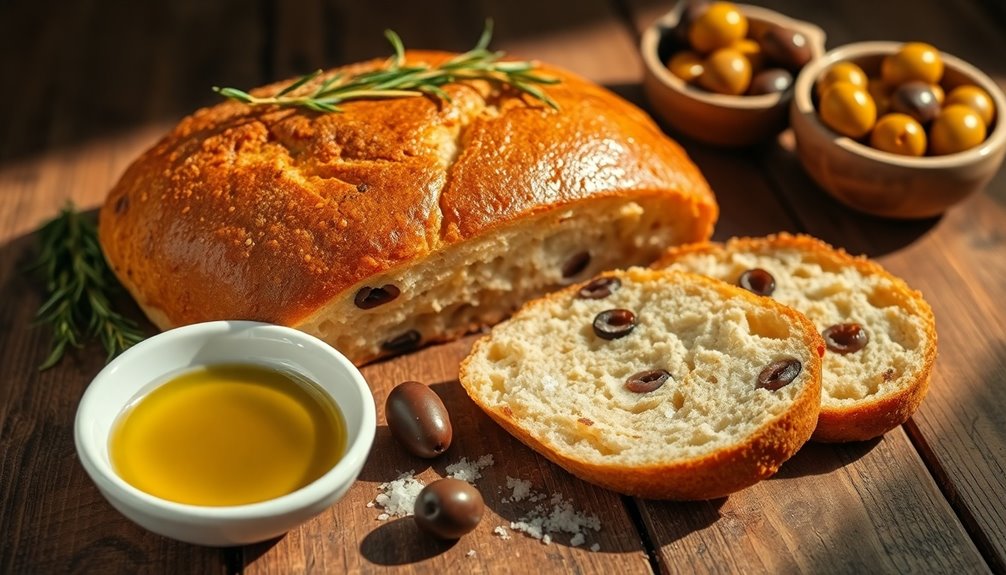
The joy of baking olive bread with semolina lies in the delightful blend of textures and flavors that come together in each loaf. By incorporating semolina and high-quality extra virgin olive oil, you achieve a distinct crunch and a soft, flavorful dough.
Remember, precise measurements are crucial; they ensure your water and flour ratios lead to consistent results. Don't rush the process—allow adequate resting time for the dough to rise and develop its flavor.
Mastering techniques like the "slap and fold" will enhance the dough's elasticity and help you trap air for that light, airy texture. Additionally, considering moisture-resistant materials can elevate the overall baking experience by ensuring your kitchen remains functional and aesthetically pleasing.
When it's time for baking, enjoy the beautiful crust that forms, revealing the delicious loaf you've crafted with care.
Frequently Asked Questions
Can I Use Gluten-Free Flour for This Recipe?
Yes, you can use gluten-free flour for this recipe, but keep in mind it'll change the texture and flavor.
Gluten-free flours absorb moisture differently, so you might need to adjust the liquid ingredients.
It's also a good idea to use a gluten-free flour blend designed for baking to get the best results.
Experimenting can lead to delicious outcomes, but be prepared for a different experience than traditional flour.
Happy baking!
How Long Does Olive Bread Stay Fresh?
Think of olive bread as a fleeting sunset; its beauty fades over time.
Typically, olive bread stays fresh for about 2 to 3 days at room temperature when stored in a paper bag.
If you want to prolong its life, keep it in an airtight container or freeze it.
When you're ready to enjoy it again, just thaw or reheat, and it'll taste almost as fresh as the day you baked it!
What Type of Olives Works Best in This Bread?
When choosing olives for your bread, consider using Kalamata or Castelvetrano olives. They pack a rich, robust flavor that complements the dough beautifully.
You might also enjoy green olives for a slightly tangy taste, or even sun-dried olives for a unique twist.
Just remember to chop them coarsely so they distribute evenly throughout the bread.
Whatever you pick, make sure they're pitted to avoid any unpleasant surprises while enjoying your creation!
Can I Freeze Olive Bread After Baking?
When it comes to freezing bread, you're in the clear!
You can definitely freeze olive bread after baking. Just make sure it's completely cooled first—no point in letting steam turn it soggy.
Wrap it tightly in plastic wrap or foil, then pop it in an airtight container.
When you're ready to enjoy it again, let it thaw at room temperature and toast it up for that fresh-baked taste!
Are There Any Common Mistakes to Avoid?
When baking bread, there are a few common mistakes you should avoid.
First, don't rush the fermentation process; letting your dough rise properly is crucial for flavor and texture.
Second, you might forget to measure your ingredients accurately, which can lead to inconsistent results.
Lastly, avoid opening the oven door too often while baking, as this can disrupt the temperature and affect the bread's crust.
Stick to these tips, and you'll improve your baking skills!
Conclusion
So, you've mastered olive bread with semolina, huh? Congratulations! While the world's busy with its mundane tasks, you're out here creating artisanal masterpieces. Just imagine the jealousy of your friends as they bite into your crusty creation and realize their store-bought loaves are nothing but sad, fluffy impostors. Keep baking, and who knows? You might just elevate yourself to culinary royalty, while the rest of us are stuck munching on our basic bread. Cheers!
