Fried lavash rolls are a delicious and versatile snack you can whip up for any occasion. Simply spread cream cheese on lavash, layer with pulled pork, cheese, and your favorite fillings, then roll them tightly. Fry until golden brown for a crispy texture, or use an air fryer for healthier cooking. They're perfect as appetizers for gatherings or a quick weeknight treat. Stick around, and you'll discover more about their history and creative filling options!
History
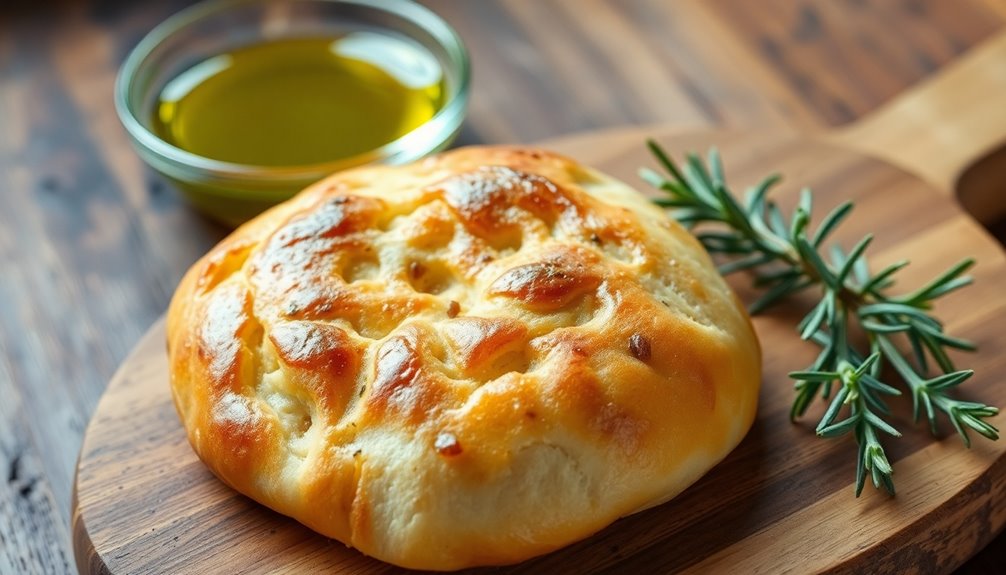
Lavash has a rich history that dates back over 2,000 years, primarily rooted in the Middle East and especially Armenia.
This traditional unleavened flatbread is made by mixing flour, water, and salt, then rolling it out and baking it in a tandoor, creating a thin, flexible bread.
You'll find lavash is more than just a staple; it's a vital part of social and culinary traditions in Armenian culture. Often, it's used to wrap foods or served alongside meals, showcasing its versatility.
The influence of lavash has spread globally, impacting culinary practices in the Caucasus, the Middle East, and parts of Central Asia.
Recipe
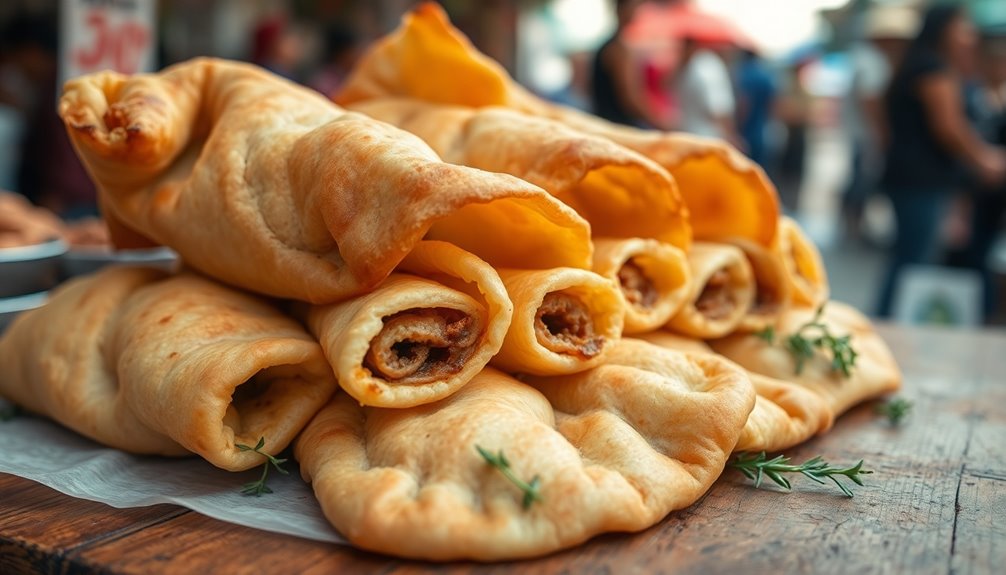
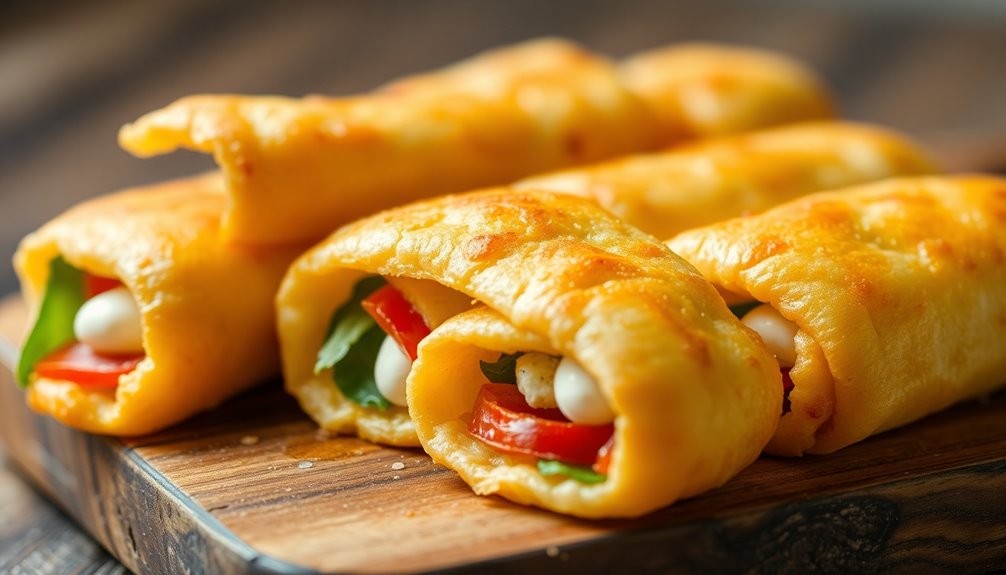
Fried Lavash Rolls are a delightful and versatile snack that can be whipped up in no time, making them perfect for busy weeknights or spontaneous gatherings. The star of the show is lavash bread, a thin and flexible flatbread that serves as the ideal wrap for an array of fillings. While pulled pork is a classic choice, feel free to get creative with other proteins, vegetables, or even cheese to suit your taste. This recipe not only promises a satisfying bite but also offers an opportunity to use up any leftover ingredients you may have lying around, thus reducing food waste.
To make these rolls even more appealing, you can experiment with different seasonings and sauces, elevating the flavor profile to match your personal preferences. Whether you're looking for a quick snack for yourself or an impressive appetizer for guests, Fried Lavash Rolls can be easily customized and served with a variety of dips or sauces, making them a hit at any gathering.
Ingredients:
- Lavash bread (2-4 sheets)
- Cooked pulled pork (1 cup)
- Shredded cheese (e.g., cheddar or mozzarella) (1 cup)
- Sliced jalapeños (optional) (1/2 cup)
- Cream cheese (2 tablespoons)
- Garlic powder (1 teaspoon)
- Onion powder (1 teaspoon)
- Salt and pepper to taste
- Oil for frying (vegetable or canola)
Cooking Instructions:
Start by laying out a sheet of lavash bread on a clean surface. Spread a thin layer of cream cheese evenly across the bread, then layer on the pulled pork, shredded cheese, and any additional fillings like jalapeños. Sprinkle with garlic powder, onion powder, salt, and pepper.
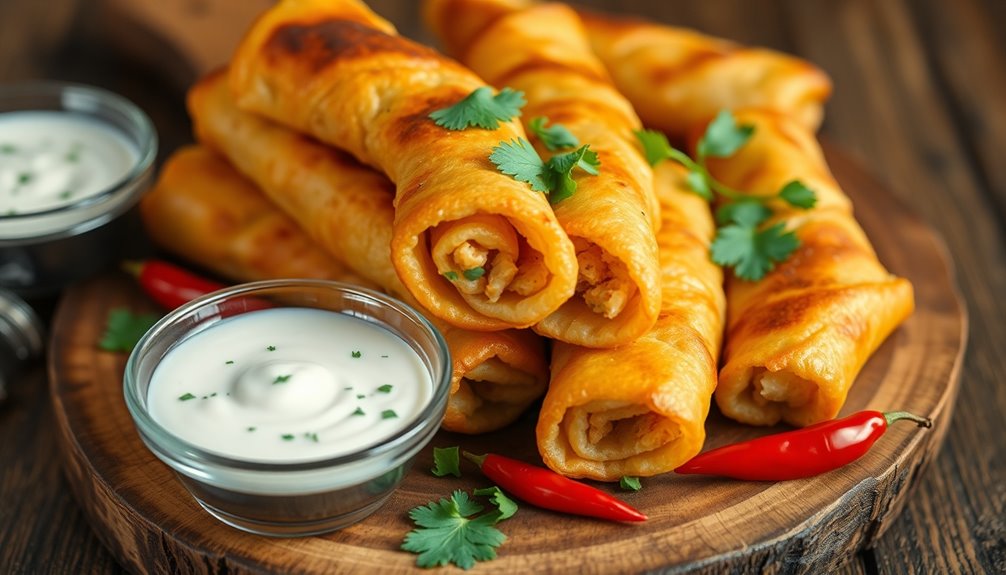
Roll the lavash tightly, folding in the sides as you go to secure the filling. Once all rolls are prepared, heat oil in a frying pan over medium heat. Carefully place the rolls seam-side down in the hot oil and fry until golden brown and crispy, about 3-4 minutes per side. Remove from the pan and let drain on paper towels before serving.
Extra Tips:
For an even crispier texture, consider brushing the outside of the lavash rolls with a bit of oil before frying. If you want to add a bit more flavor, you can mix some herbs or spices into the cream cheese.
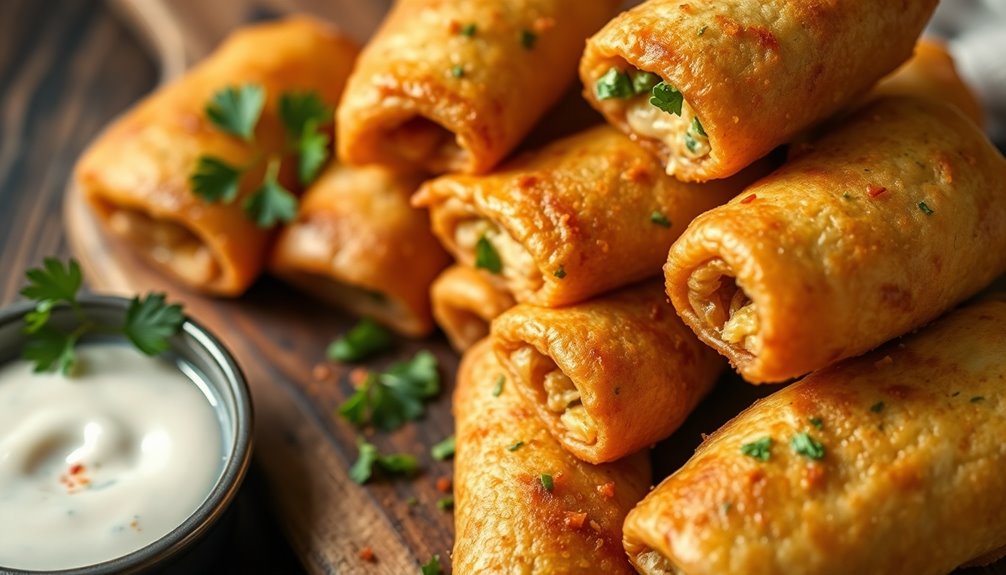
Additionally, if you don't have lavash bread on hand, tortillas or spring roll wrappers can be excellent substitutes. Serve these rolls with a variety of dips, such as barbecue sauce, ranch dressing, or a spicy aioli to enhance the snacking experience.
Cooking Steps
To get started, you'll want to preheat your air fryer to 350°F.
Once it's ready, fill your lavash with your favorite ingredients, roll them up tightly, and secure the edges.
Brush the rolls with olive oil before cooking them for 8-10 minutes until they're crispy and golden.
Step 1. Preheat Air Fryer to 350°F
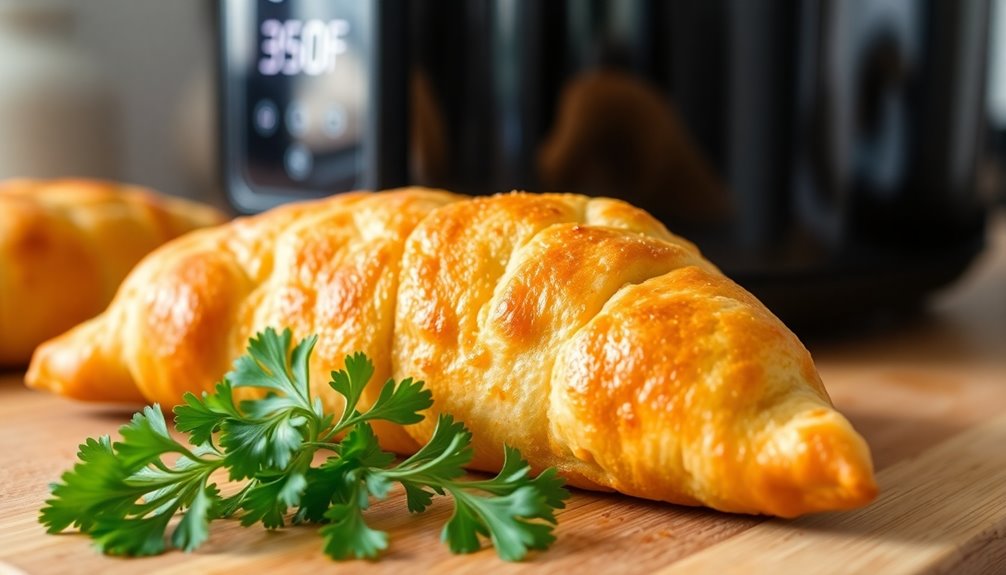
Preheating your air fryer to 350°F is essential for achieving perfectly crispy fried lavash rolls. This temperature ensures even cooking and a delightful texture that'll make your rolls irresistible.
Allow about 3 to 5 minutes for the air fryer to reach the desired temperature before placing your rolls inside. If you want to be extra sure, use a food thermometer to check that it's hit the mark.
Preheating helps prevent the lavash from becoming soggy and promotes that golden-brown finish everyone loves.
Remember to also check your air fryer's manufacturer instructions for specific preheating guidelines, as models can vary.
Taking this step seriously will set you up for success with your fried lavash rolls.
Step 2. Fill With Desired Ingredients
A smooth piece of lavash bread awaits your creative touch as you prepare to fill it with delicious ingredients.
Start by laying the lavash bread flat on a clean surface. If it feels stiff, warm it slightly to make it pliable.
Next, spread a layer of your chosen filling—like pulled pork, cream cheese, or fresh vegetables—evenly across the lavash, leaving some space at the edges. This helps prevent spillage.
Once you've added your filling, carefully roll the lavash tightly from one end to the other, ensuring everything stays tucked inside. This forms the base for your tasty fried rolls.
Now that you've filled the lavash bread, you're ready for the next step in creating your flavorful dish!
Step 3. Roll and Secure Tightly
Now that your lavash is filled and ready, it's time to roll and secure it tightly.
Start by gently rolling the lavash from the filled side, applying even pressure to keep the shape compact. Be sure to leave that 2-inch edge bare for a smoother roll.
To help seal it and prevent any unrolling during cooking, dab a bit of water or cream cheese along the edge.
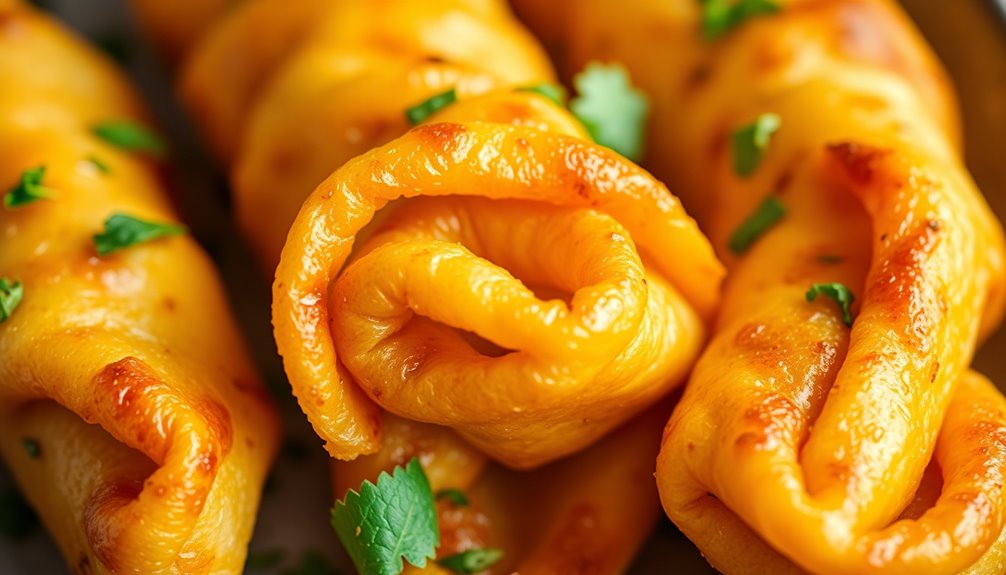
Once you've rolled the lavash, cut it into bite-sized pieces, about 1 to 1.5 inches thick, for easy serving.
If your filling's a bit loose, don't hesitate to use toothpicks to secure the rolls. This will ensure they hold their shape while frying, making for a delightful treat!
Step 4. Brush With Olive Oil
Before you begin frying your lavash rolls, brush them generously with olive oil to enhance both flavor and texture.
Using a brush or spray bottle, evenly coat the surface of the lavash, making sure the oil reaches the edges for consistent cooking. This step is crucial, as brushing with olive oil not only adds a rich taste but also helps the lavash achieve that desirable golden-brown color when fried.
If you want to elevate the flavor, consider mixing herbs or spices into the olive oil before you brush with olive oil.
For the best results, let the oil soak in for a few minutes before rolling and frying the lavash. This ensures a crispier, more delicious final product.
Step 5. Cook for 8-10 Minutes

After brushing your lavash rolls with olive oil, it's time to cook them for the perfect crispiness.
Preheat your oven to 425 degrees Fahrenheit to ensure even cooking. Line a baking sheet with parchment paper or use a nonstick spray to prevent sticking.
Place your lavash rolls on the baking sheet and bake them for 8 to 10 minutes. Remember to turn them halfway through the cooking time for that golden-brown finish.
Keep an eye on the rolls, as they can brown quickly, especially in the final minutes.
Once they're done, let the rolls cool slightly before serving. This step enhances their flavor and texture, making each bite even more delicious.
Enjoy your crispy lavash rolls!
Final Thoughts

While you might think of fried lavash rolls as just a quick snack, their versatility and ease of preparation make them a standout choice for any meal.
You can fill these crispy lavash rolls with a variety of ingredients, like pulled pork or veggies, to create a hearty dish that suits your taste. Plus, they're perfect for busy weeknights, taking less than 30 minutes from start to finish.
By utilizing ingredients that might go to waste, you also promote sustainable cooking practices. Customize your rolls with different seasonings and serve them alongside tasty dips for an enhanced experience.
Whether for an appetizer or a main course, fried lavash rolls are sure to impress at any gathering!
Frequently Asked Questions
What Is Special About Lavash Bread?
Lavash bread's special because of its unique texture and versatility. You can easily use it for wraps, rolls, or even as a base for various dishes.
It's made from simple ingredients, which keeps it light and healthy. If you're following a low-carb diet or need gluten-free options, lavash fits the bill perfectly.
Plus, its traditional baking method in a tandoor adds a distinct flavor that elevates any meal it accompanies.
What Is the Difference Between Lavash and Naan?
When you compare lavash and naan, you'll notice key differences.
Lavash is a thin, unleavened flatbread with a crisp texture, perfect for wraps.
Naan, on the other hand, is thicker, leavened, and soft, often brushed with butter or garlic.
While lavash uses just flour, water, and salt, naan incorporates yeast or yogurt, giving it a fluffy quality.
Their cooking methods also differ, with lavash cooked on a hot surface and naan baked in a tandoor.
Can Lavash Bread Be Toasted?
Imagine lavash bread as a blank canvas, waiting for your brushstrokes of flavor. Yes, you can toast lavash!
When you toast it, the heat transforms it into a crispy masterpiece, perfect for snacking. Try air frying at 400 degrees for about 100 seconds or baking it at 375 degrees for 4 to 6 minutes.
Enhance its taste with olive oil and seasonings. Enjoy your crispy creation, ideal for dips or just on its own!
How to Turn Lavash Bread Into Chips?
To turn lavash bread into chips, start by cutting it into 2-inch squares.
Lightly spray the squares with olive or avocado oil for crispiness.
You can air fry them at 400°F for about 100 seconds or bake at 375°F for 4 to 6 minutes, keeping an eye on them to prevent burning.
For extra flavor, sprinkle some dried seasonings or zaatar before cooking.
Let them cool completely before storing in a container.
Enjoy!