Salted yolks originated in ancient China and are beloved for their rich umami flavor. You can enhance soups, pasta, or even desserts with these versatile ingredients. To make them, cure fresh egg yolks in a mixture of salt and sugar for about 5 days. After rinsing and drying, they're ready to elevate your dishes. If you're curious about the curing process or creative uses, there's so much more you can explore!
History

While you might think of salted yolks as a modern culinary trend, their history actually stretches back to ancient China in the 5th century. This method of preserving eggs, particularly duck eggs, involved a meticulous curing process where yolks were covered in salt for several days. This technique allowed the yolks to lose moisture and develop a rich, umami flavor profile. Over time, salted egg yolks became a beloved ingredient in Asian cuisines, especially in desserts, where their savory notes offered a delightful contrast to sweetness. In recent years, they've gained traction beyond Asia, often dubbed "egg yolk parmesan" in the U.S. Their versatility shines through in various culinary creations, including popular salted egg snacks like chips and cookies. This trend reflects a broader appreciation for culinary techniques such as preserving ingredients that enhance flavors and textures in dishes, much like the sustainable practices that can mitigate the impacts of wood-burning on health and the environment. Additionally, the preservation of salted yolks highlights the importance of understanding energy efficiency in modern food production methods, as techniques like these can contribute to good grief by providing comfort through food during difficult times.
Recipe

Salted yolks are a delightful ingredient that can elevate the flavor of many dishes, from pasta to salads. The process of making salted yolks involves curing egg yolks in salt, which draws out moisture and concentrates their flavor. After a curing period, these yolks are dried to achieve a firm texture, making them perfect for grating or slicing. The result is a savory, umami-packed treat that adds depth to your culinary creations. Additionally, incorporating raw foods into your diet can provide numerous health benefits, including improved digestion. Moreover, using high-quality content in your cooking sources ensures you're getting the best recipes and techniques available. Engaging with educational toys can also enhance your understanding of cooking techniques and ingredients, fostering creativity in the kitchen.
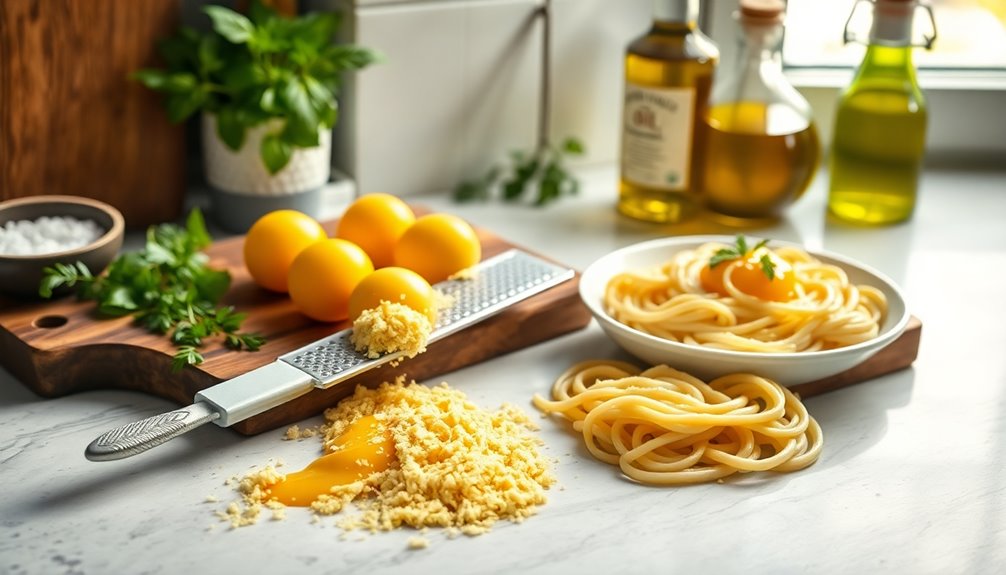
Salted yolks are a savory ingredient that enhances dishes, offering a concentrated flavor perfect for grating and elevating your meals.
To begin, gather your ingredients and materials. This recipe requires a little bit of patience, as the curing and drying process takes some time, but the end result is well worth the effort. Once you have your salted yolks ready, you can easily incorporate them into various dishes, adding richness and complexity to your meals. Additionally, using high-quality eggs is essential for achieving the best flavor and texture in your salted yolks.
Ingredients:
- 9 large eggs
- 4 cups sea salt or kosher salt
- Oil (for greasing the cooling rack)
Cooking Instructions:
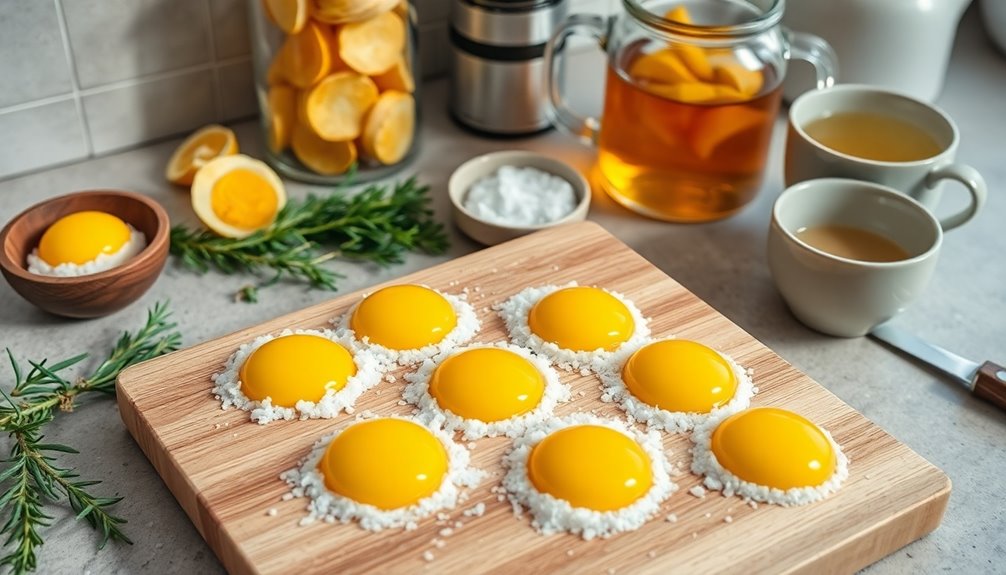
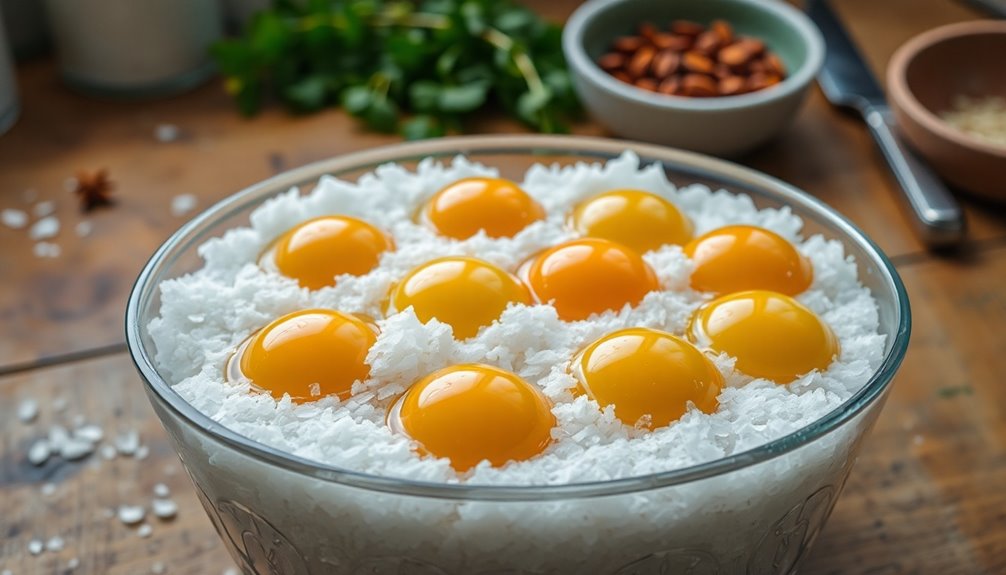
Carefully separate the yolks from the eggs and create divots in the salt spread across a container. Place the yolks into the divots and cover them completely with salt.
Allow the yolks to cure in the fridge for about 5 days, during which they'll exude moisture and firm up. After the curing period, rinse the yolks under cold water to remove the excess salt, then dry them on kitchen paper.
Preheat your oven to the lowest setting (around 60°C or 140°F) and place the yolks on an oiled cooling rack. Dry the yolks for approximately three hours until they're firm but not rock hard. Once dried, store the salted yolks in an airtight container in the fridge.
Extra Tips:
When making salted yolks, it's essential to choose high-quality eggs for the best flavor and texture.
Be sure to monitor the drying process closely, as different ovens may have varying heat distributions. If you want to experiment with flavors, consider adding herbs or spices to the salt mixture during the curing phase.
Finally, remember that salted yolks can be grated over dishes just like cheese, so get creative in how you use them in your cooking!
Cooking Steps
To start making salted yolks, gather fresh, high-quality eggs and mix together salt and sugar.
You'll then press the yolks into the curing mixture, ensuring they're well-coated.
Cover everything with plastic wrap and refrigerate for 3-4 days to let the magic happen. Additionally, using high-quality butter can enhance the flavor of dishes that incorporate salted yolks. Butter has a long history of culinary traditions that highlight its versatility in enhancing flavors.
Step 1. Gather Fresh, High-Quality Eggs
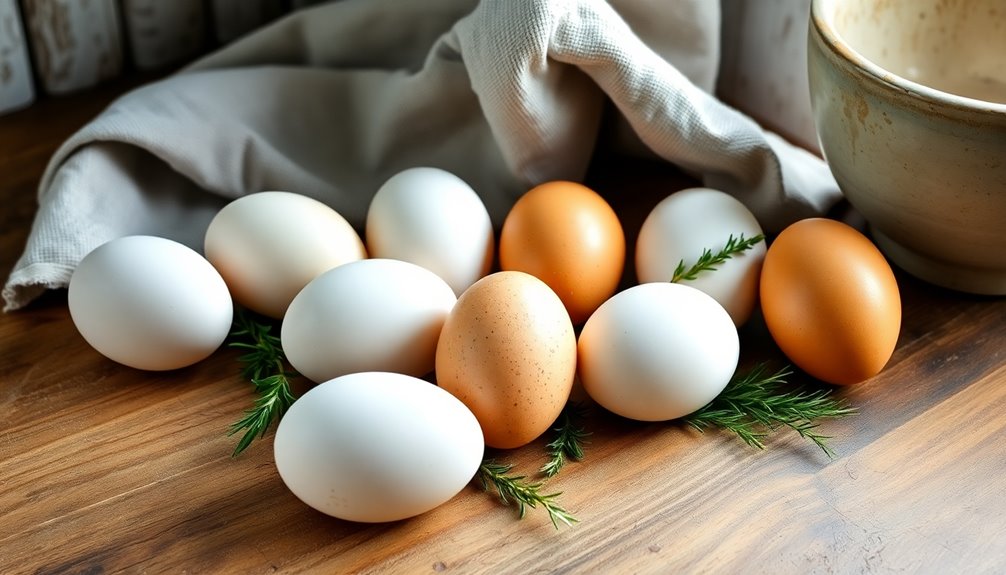
Gathering fresh, high-quality eggs is crucial for the curing process. Opt for eggs from free-range or organic sources, as they enhance the flavor and texture of your salted yolks.
Check for cracks or signs of spoilage, since damaged eggs can compromise food safety and ruin your efforts. Aim for eggs no more than a week old to ensure optimal quality.
Larger yolks, like those from duck eggs, can provide a richer taste, so consider them if available. Before using, keep the eggs refrigerated and avoid washing them to maintain their natural protective coating.
Step 2. Mix Salt and Sugar

Creating the perfect curing mixture for your salted yolks involves mixing equal parts of salt and sugar—one cup each works well.
This salt-sugar mixture not only balances flavors but also enhances your dishes. If you want, consider adding optional spices like black pepper or dried herbs for extra flavor.
Once combined, ensure your yolks are completely covered by the mixture; this is key for even curing and moisture extraction.
Depending on your taste preference, you can cure the yolks for 8 hours to 1 day for a sweeter flavor, or opt for the standard 3 to 5 days.
After curing, it's crucial to rinse the yolks under cold water to remove any excess salt and sugar before drying them for storage or further use.
Step 3. Press Yolks Into Curing Mixture
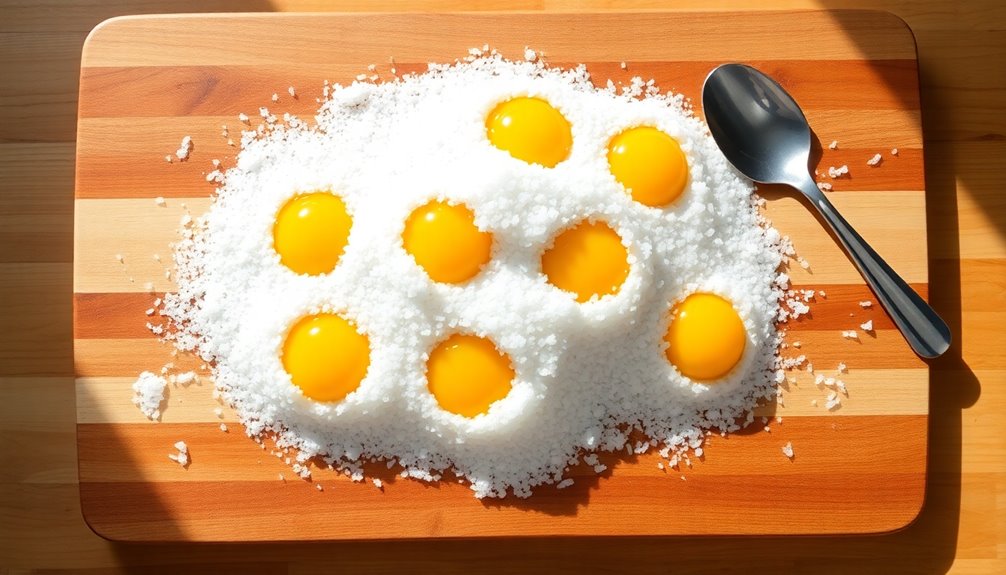
Start by preparing a non-reactive container with a 1/2 inch layer of salt, spreading it evenly across the bottom.
Carefully separate the egg yolks from the whites, ensuring no contamination, and gently place the yolks into divots created in the salt layer.
Press the yolks down lightly to nestle them well, then cover them completely with additional salt, ensuring no yolk is exposed.
Use a spoon or your fingers to gently pack the salt around the yolks, minimizing air pockets that could lead to spoilage during the curing process.
Once all yolks are pressed into the salt, cover the container and refrigerate for the designated curing time, typically around one week, to allow the salt to cure the yolks effectively.
Step 4. Cover With Plastic Wrap
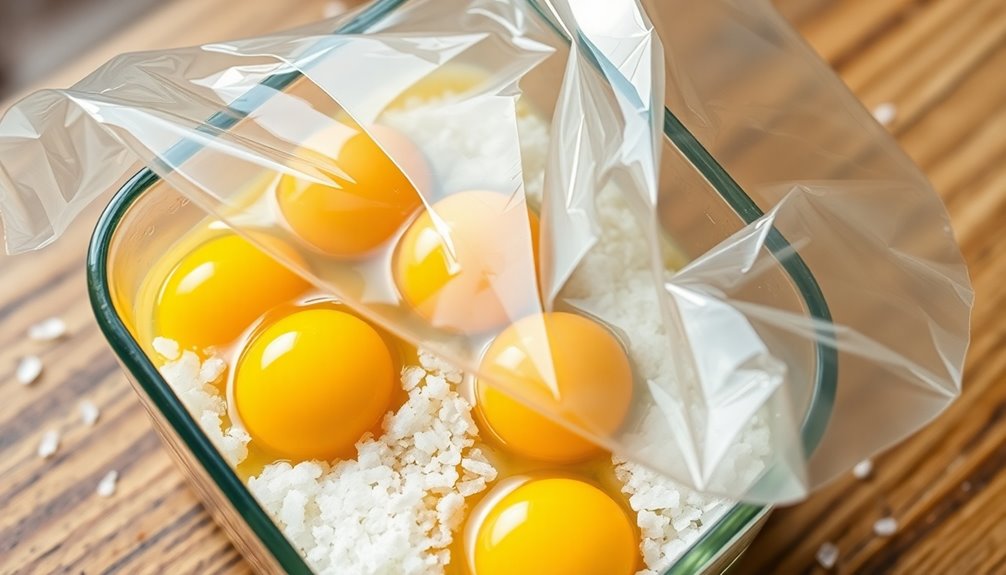
Once you've pressed the yolks into the salt, it's crucial to cover the container with plastic wrap to seal in moisture and prevent contamination.
This step is essential for the curing process, as it creates an airtight environment that inhibits air exposure. Make sure the plastic wrap is tightly secured around the container to maintain humidity levels.
While the salted egg yolks are in the fridge, check them periodically. If you notice any moisture accumulation or if the salt needs replenishing, adjust the plastic wrap accordingly.
After the curing time is complete, you'll want to remove the yolks, then rinse them under cold water to eliminate any excess salt, preparing them for the next stage.
Step 5. Refrigerate for 3-4 Days
To ensure the yolks cure properly, refrigerate them for 3 to 4 days.
Place the yolks in a nonreactive container, fully submerged and covered with salt, to kickstart the curing process.
During these days in the fridge, check daily for any moisture that may accumulate, and remove excess as needed to maintain optimal conditions.
Keeping the yolks adequately covered with salt is crucial for enhancing their flavor and texture.
If you prefer a firmer and saltier result, consider extending the curing time to 5 days.
After the curing period, rinse the yolks to remove excess salt, dry them, and air-dry or bake to complete the preservation process.
Enjoy your richly flavored cured egg yolks!
Final Thoughts
While experimenting with salted yolks can seem daunting at first, the results are well worth the effort.
These easy-to-make cured yolks offer a rich, umami flavor profile that can elevate your dishes, from pasta to salads.
When using the salt cure, remember to store your salted yolks in an airtight container in the fridge for at least three months, ensuring they're kept dry to maintain safety and prevent spoilage.
Don't forget, incorporating spices or herbs can further enhance their flavor.
Just be cautious with egg whites; discard any curing salt after use to avoid contamination.
Once you master this technique, you'll find endless ways to enjoy your delicious cured yolks!
Frequently Asked Questions
Is Salted Egg Yolk Healthy?
When you bite into a creamy dish that dances with flavor, you might wonder if it's healthy.
It's all about balance. While salted egg yolks can add a rich taste, they're high in calories and sodium, which can impact your health if you overindulge.
However, when used sparingly, they offer essential nutrients.
What Are Salted Egg Yolks Used For?
You can use salted egg yolks in a variety of delicious ways. They add a rich, savory flavor to many dishes, enhancing everything from pasta and salads to ramen.
When baking, incorporating them into cookies or cakes brings depth to your treats. You might even try them in traditional recipes like congee or Filipino delicacies.
Enjoy them directly on toast or rice for a gourmet touch that transforms simple meals into something special.
Do Salted Egg Yolks Go Bad?
You might think that food lasts indefinitely if it looks fine, but that's not the case.
Yes, salted egg yolks can go bad. If you store them improperly or leave them out too long, they can develop health risks despite appearing normal.
Always check for an off smell, discoloration, or mold before use. Proper curing, drying, and refrigeration are crucial to keeping them safe and tasty.
Don't take chances with food safety!
How Do You Eat Salted Egg Yolks?
You can enjoy salted egg yolks in various delicious ways. Grate them over pasta or salads for a savory kick, or use them as a topping on ramen to elevate the dish.
Incorporate them into cookie dough for a unique twist on your favorite treats. Slicing them onto steamed rice cakes adds a delightful contrast, while sprinkling them over plain rice or toast transforms everyday meals into something special.
Enjoy experimenting with their rich flavor!