
To fillet a herring, start by removing the head with a sharp knife behind the gills. Make a shallow incision along the belly and slice along the backbone to separate the flesh from the bones. Carefully remove the entrails and rinse the cavity. Then, skin the fillet by making a small cut at the tail and sliding the knife between the skin and flesh. With these steps, you'll soon enjoy fresh herring fillets and discover more techniques to enhance your culinary skills.
History

Herring has been a dietary staple in Europe for centuries, especially in Northern European countries where it's often enjoyed pickled or salted.
The practice of filleting herring dates back to ancient times, with archaeological evidence revealing its significance in the North Sea region.
By the 19th century, herring became vital to the fishing industry, bolstering economies in countries like the Netherlands and Norway.
Traditional methods of filleting have passed down through generations, often taught by seasoned fishermen and chefs.
While filleting techniques have evolved, the core principles remain rooted in historical practices that emphasize efficiency and quality.
Understanding this rich history adds depth to your appreciation for herring and the skill involved in preparing it.
Recipe

Pickled herring is a delightful dish that highlights the natural flavors of the fish while infusing it with tangy and aromatic notes. This preparation isn't only simple but also allows you to appreciate the fresh taste of herring fillets, enhanced by the pickling process. The combination of herring with onions and a well-balanced pickling solution creates a dish that can be enjoyed on its own or as part of a larger spread.
It's perfect for family gatherings, holiday celebrations, or a simple meal at home.
To start, ensure you have fresh herring fillets ready, either from your own filleting or purchased from a reputable source. The pickling liquid will be the key to imparting flavor, so using high-quality vinegar and fresh herbs will make a significant difference.
Once your pickled herring is ready, let it marinate for at least 24 hours in the refrigerator to allow the flavors to meld beautifully. The result will be a dish that's both satisfying and versatile, perfect for pairing with crusty bread or served atop a salad.
Ingredients:
- 2 herring fillets
- 1 large onion, thinly sliced
- 1 cup white vinegar
- 1 cup water
- 1 cup sugar
- 1 tablespoon salt
- 1 teaspoon black peppercorns
- 2 bay leaves
- Fresh dill (optional)
Cooking Instructions:
In a saucepan, combine the white vinegar, water, sugar, salt, black peppercorns, and bay leaves. Bring the mixture to a boil, stirring until the sugar and salt have dissolved.
Once boiled, remove it from the heat and let it cool to room temperature. In a clean jar, layer the herring fillets with the sliced onions, and pour the cooled pickling liquid over the top, ensuring the fish is fully submerged. Seal the jar tightly and refrigerate for at least 24 hours before serving to allow the herring to absorb the flavors.
Extra Tips:
When pickling herring, feel free to experiment with additional spices such as mustard seeds, allspice, or even a splash of lemon juice for a bright flavor.
Also, consider adjusting the sweetness and acidity of the pickling liquid to suit your taste preference. For presentation, serve the pickled herring on a platter garnished with fresh dill and thin slices of lemon. Enjoy this dish as part of a smorgasbord or as an appetizer at your next gathering!
Cooking Steps
To start cooking your herring, remove the head first for easier handling.
Make a shallow incision along the belly to access the entrails, then carefully slice along the backbone.
Once you've removed the entrails, you can skin the fillet to prepare it for your favorite recipes.
Step 1. Remove Herring Head First
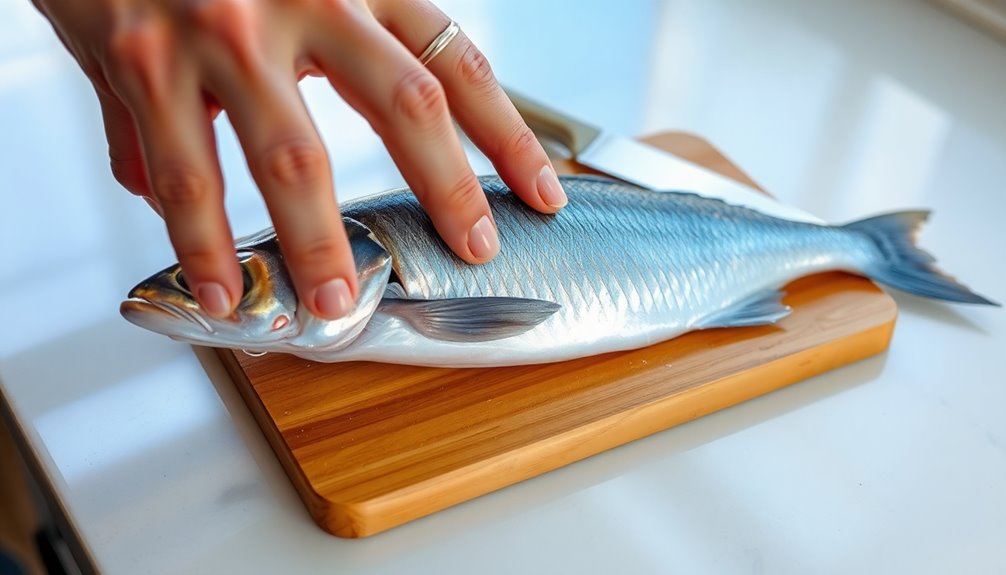
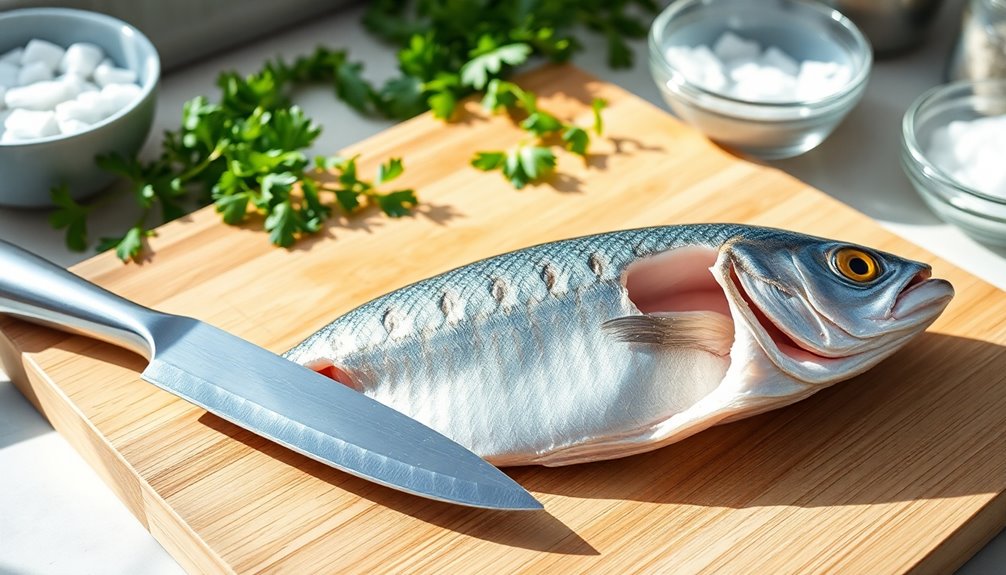
Start by laying the herring on a clean cutting board, with the head facing you for easy access. This position stabilizes the fish and allows you to focus on removing the head efficiently.
Take a sharp knife and make a clean cut just behind the gills, angling the blade slightly towards the head. Apply gentle pressure as you cut through the flesh, ensuring you don't damage the body of the fish.
Once the head is cleanly removed, discard it properly. This step is crucial, as it provides easier access to the flesh and helps minimize the risk of contamination.
Now you're ready to move on to scaling and filleting the herring, making your preparation smoother.
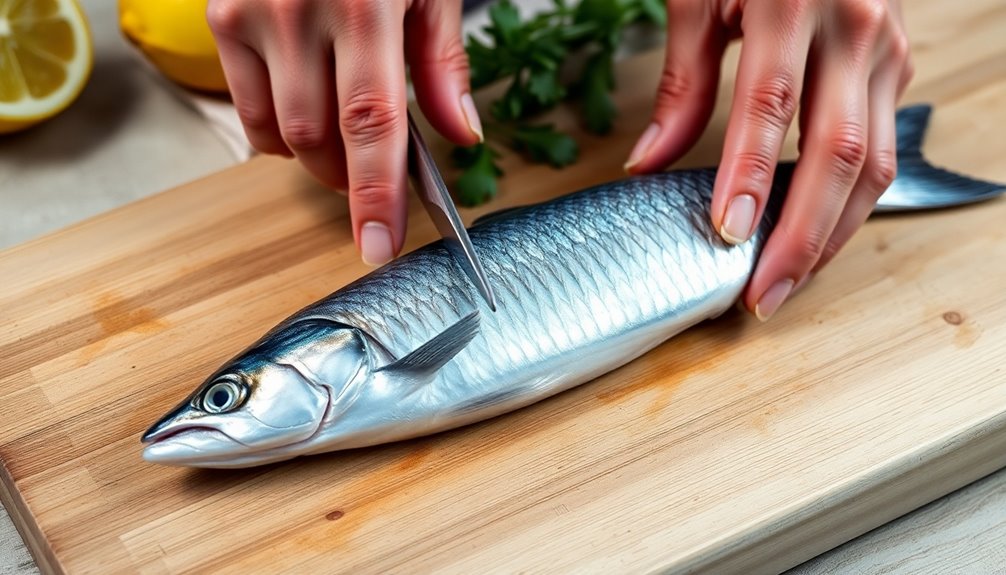
Step 2. Make a Shallow Incision
Making a shallow incision is crucial for filleting herring effectively.
Start by placing the herring on a clean cutting board, ensuring it's stable for easy handling. Grab a sharp filleting knife and make a shallow cut just behind the head, pressing down to the spine without piercing through it.
Angle the knife towards the spine, and continue your cut along the fish's length, following the contour of the bones for a precise fillet. As you reach the tail, gently lift the fillet away from the bones, making sure to leave as much flesh attached.
Repeat this process on the other side of the herring to obtain two clean fillets, ready for further preparation or cooking.
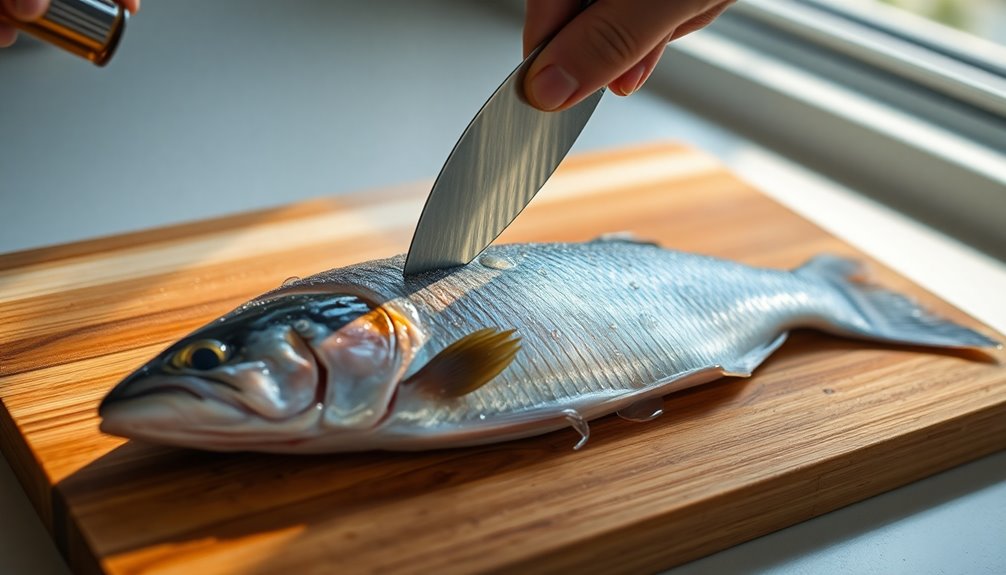
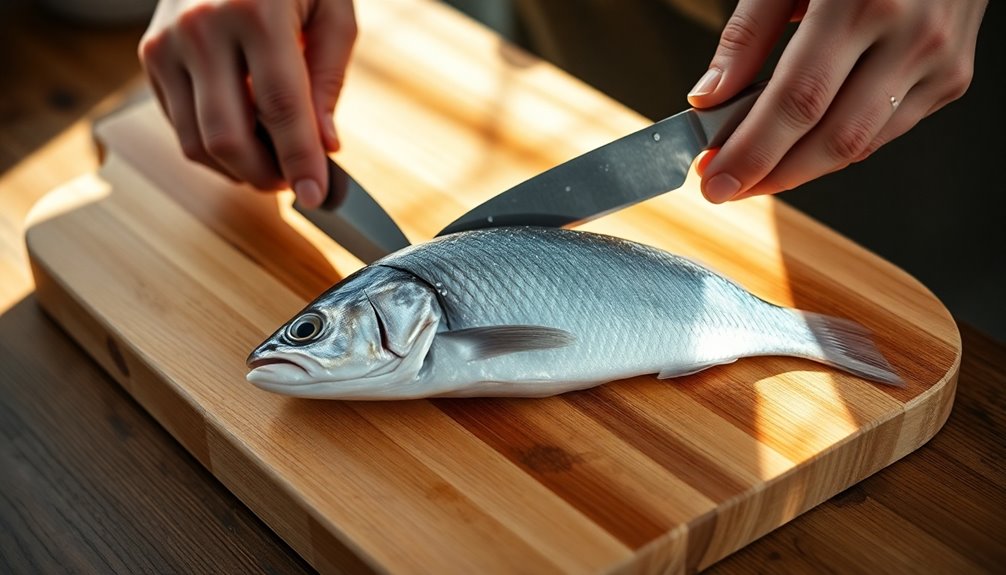
Step 3. Slice Along the Backbone
Position the herring with its belly facing you and its head pointing left if you're right-handed.
Grab a sharp filleting knife and make a clean cut just behind the gills, angling down towards the backbone to create your initial incision.
Glide the knife along the spine, applying gentle pressure to separate the flesh from the bones. Keep the knife in contact with the backbone for a clean fillet.
Continue this cut all the way to the tail, ensuring you remove the entire fillet in one piece for the best presentation.
Once you've filleted one side, repeat the process on the other side, taking care to remove any remaining scales and bones for a clean final product.
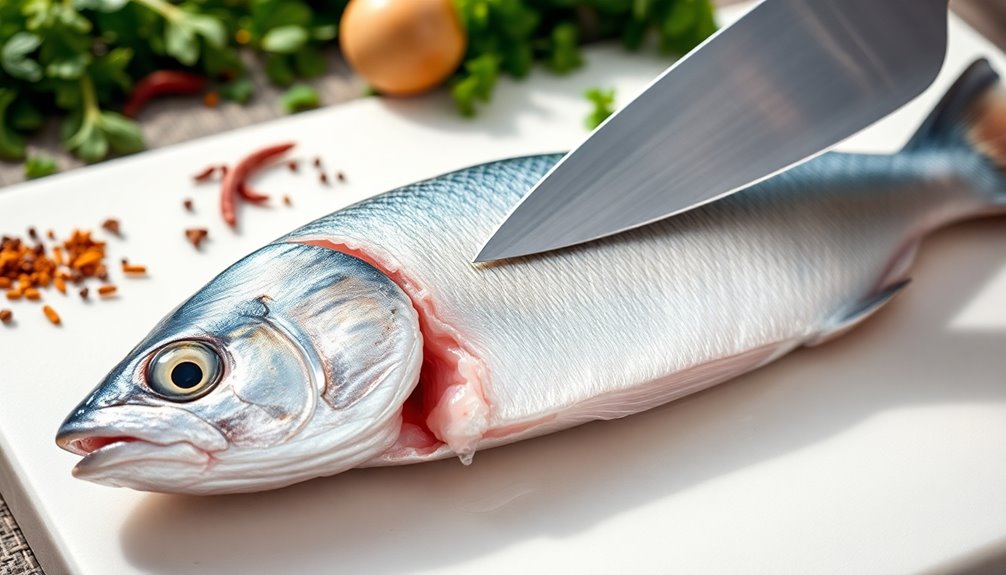
Step 4. Remove the Entrails Carefully
After you've successfully filleted the herring, it's time to remove the entrails. Start by making a shallow incision along the belly, from the vent to the head. Be careful not to puncture any internal organs.
Then, gently pull the entrails out using your fingers or a spoon, ensuring you remove all organs to avoid off-flavors in your dish. If the herring has eggs, carefully separate the roe from the entrails, as they can add a delicious touch to your recipes.
Rinse the cavity under cold running water to eliminate any remaining blood or debris, maintaining the fish's freshness.
Finally, dispose of the entrails properly to keep your workspace clean and prevent contamination during the filleting process.
Step 5. Skin the Herring Fillet
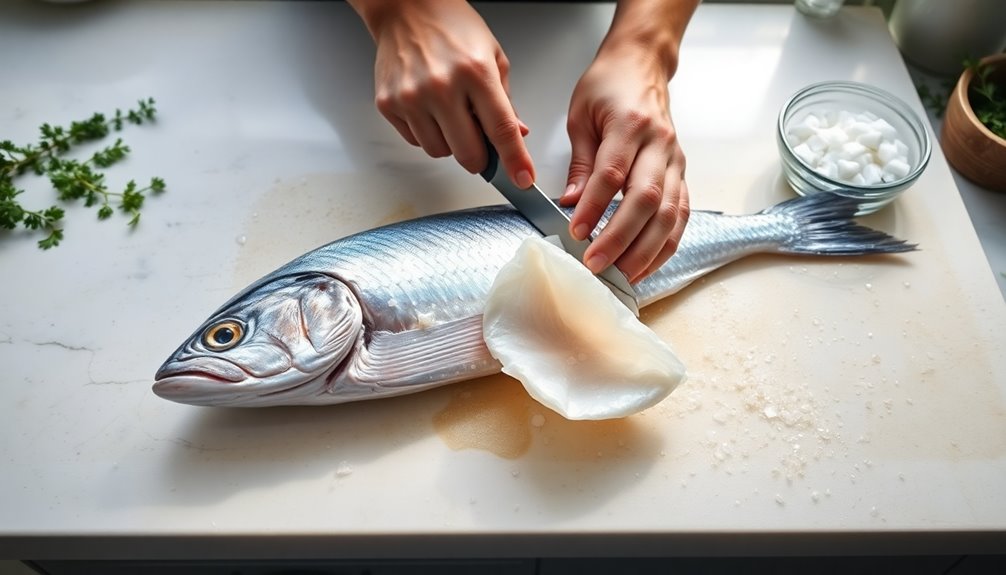
To skin the herring fillet, start by placing it skin-side down on a clean cutting surface for stability during the process.
Use a sharp knife to make a small cut at the tail end of the fillet, creating a tab that you can grip while removing the skin.
Firmly hold the skin with one hand and angle the knife at about 30 degrees, sliding it between the skin and flesh to ensure a clean separation.
Move steadily down the fillet, keeping the knife blade flat against the skin to minimize flesh loss.
Once you've skinned the fillet, inspect it to ensure all scales are removed, giving you a clean and enjoyable eating experience.
Final Thoughts
While filleting herring might seem daunting at first, mastering this skill opens up a world of culinary possibilities.
With precise cuts along the spine, you can achieve clean, intact fillets in under two minutes. Remember, removing all scales is crucial for the best taste and texture.
Achieve clean, intact herring fillets in under two minutes with precise spine cuts and thorough scale removal for optimal flavor.
If you're lucky enough to find ripe herring with roe, handle it carefully to enhance your dishes.
Once you've filleted, layer those fillets in a pickling jar with onions to allow optimal flavor infusion. This technique not only preserves the fish but elevates your meals to something special.
Frequently Asked Questions
What's the Best Way to Prepare Herring?
To prepare herring, start by removing the scales with a knife, ensuring a clean surface.
Then, cut along the spine to get those beautiful fillets. If you're lucky enough to find herring roe, save it for a tasty treat.
For an extra kick, layer the fillets with onions in a jar and pour your favorite pickling liquid over them.
You'll be amazed at how quickly you can whip up a delicious dish!
Can You Eat the Small Bones in Herring?
Yes, you can eat the small bones in herring.
They're usually soft and become less noticeable when cooked or pickled, adding a unique texture to your dish.
If you're sensitive to bones, you might want to remove the larger ones during preparation.
However, many people enjoy the traditional experience of eating herring with its small bones intact.
Ultimately, it's up to your personal preference and tolerance for texture in your meal.
How to Gut and Fillet a Herring?
Imagine you've just caught a fresh herring during a fishing trip.
To gut and fillet it, start by removing the scales with a sharp knife.
Make an incision just behind the head and cut down toward the belly to open the fish and remove the innards.
Next, slice along the spine at an angle to access the flesh.
Finally, chop the fillets in half, and you're ready for your culinary adventure!
Is Herring a Good Eating Fish?
Yes, herring's definitely a good eating fish! Its rich flavor and high omega-3 content make it a heart-healthy choice.
You'll enjoy its versatility since it can be pickled, smoked, or fried, catering to various tastes. Plus, it's sustainable and usually harvested with eco-friendly practices.
With its abundance of protein, vitamins, and minerals, herring can easily fit into your balanced diet while adding a cultural touch to your meals.