
If you own a KitchenAid Artisan Series 5 Quart Tilt Head Stand Mixer, you might sometimes notice oil leaking from the unit. While this can be concerning, most causes are straightforward to fix with proper guidance. Understanding the common causes of oil leaks and knowing how to address them can help prolong your mixer’s lifespan and ensure it performs optimally.
This guide provides practical, step-by-step solutions to diagnose and fix oil leaks safely, so you can get back to baking and mixing without worry.
Key Takeaways
| Understanding oil leaks | Oil leakage often results from worn or damaged seals or over-lubrication. |
| Safety first | Always unplug the mixer before inspecting or repairing any internal parts. |
| Identify the source | Locate where the oil is leaking from to determine the appropriate fix. |
| Regular maintenance | Routine cleaning and inspection can prevent leaks and extend the mixer’s life. |
| When to replace parts | Worn seals or gaskets are often the cause and may need replacing. |

KitchenAid Artisan Series 5 Quart Tilt Head Stand Mixer with Pouring Shield KSM150PS, Milkshake
- Durable Metal Construction: Built to last with 59 touchpoints
- 5 Quart Stainless Steel Bowl: Handles small or large batches, dishwasher safe
- Tilt-Head Design: Easy ingredient addition and access to bowl
As an affiliate, we earn on qualifying purchases.
Identify the Source of the Oil Leak
Before attempting any repairs, carefully inspect your mixer to determine where the oil is leaking from. Common areas include the gear housing, the motor head, or near the drive assembly. Wipe away excess oil and observe where fresh leaks appear after use. Noticing the leak’s location helps decide the next steps, whether cleaning, tightening, or replacing parts.
Unplug and Prepare for Inspection
- Ensure the mixer is unplugged from the power outlet to prevent any electrical hazards.
- Allow the unit to cool down if it has been in use.
- Place the mixer on a stable surface and remove attachments, bowls, and the pouring shield.
Carefully tilt the head back to access the internal components, but avoid forcing any parts to prevent damage.
Check and Inspect Seals and Gaskets
Most oil leaks are caused by worn or damaged seals and gaskets. Using a flashlight, examine the area around the gear housing and drive shaft for signs of oil seepage or cracked seals. If you notice deterioration, replacement is necessary.
Consult your mixer’s user manual or service guide for specific part numbers and replacement procedures. Replacing these seals typically involves removing the gear case cover and installing new seals, which is safest when done carefully and following manufacturer instructions.
Clean and Reassemble the Mixer
After replacing seals, thoroughly clean all components to remove excess oil and debris. Use a soft cloth or a gentle cleaning solution suitable for metal parts. Ensure all parts are dry before reassembling.
Carefully reattach the gear housing cover, tighten any screws securely, and ensure all internal parts are aligned correctly. Reassemble the tilt-head and test the mixer without any ingredients to check for leaks.
Prevent Future Leaks and Maintain Your Mixer
Regularly inspect your mixer for signs of wear or damage. Keep it clean and lubricate only as recommended by the manufacturer. Avoid over-lubricating, as excess oil can lead to leaks. Store the mixer in a dry, cool place and perform periodic checks to ensure seals remain intact.
If leaks persist despite repairs, contacting a professional or authorized service center is advisable to prevent further damage.
The Products in This Guide

KitchenAid Artisan Series 5 Quart Tilt Head Stand Mixer
- ✔ Weight: 26 pounds
- ✔ Warranty: 1 year
- ✔ Color: Multiple options

KitchenAid Stand Mixer Attachment
- ✔ Weight: 4 pounds
- ✔ Warranty: N/A
- ✔ Color: Metal
KitchenAid Artisan Series 5 Quart Tilt Head Stand Mixer
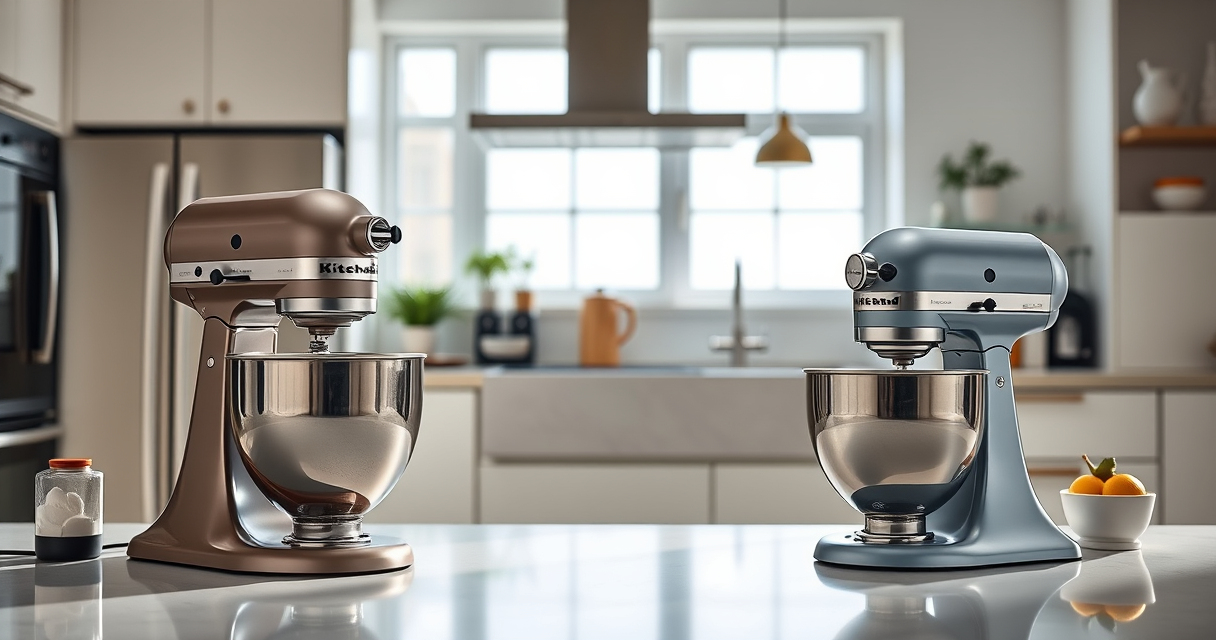
The KitchenAid Artisan Series 5 Quart Tilt Head Stand Mixer is built with durable metal construction, offering excellent performance and a variety of color options. However, like all mechanical devices, it can experience issues such as oil leaks, usually due to seals or lubrication problems. Regular maintenance and inspection can help keep it running smoothly.
Pros:
- Durable metal build
- Multiple color options
- Powerful 10-speed motor
- Large 5-quart bowl
Cons:
- Potential for oil leaks over time
- Requires careful maintenance
- Seals may need replacement
Best for: Home bakers and cooking enthusiasts needing a reliable, stylish stand mixer.
Not ideal for: Users expecting a completely maintenance-free appliance or those with limited technical skills.
Bottom line: A versatile, durable mixer that benefits from regular maintenance to prevent oil leaks.
KitchenAid Stand Mixer Attachment
Enhance your KitchenAid mixer with the Metal Food Grinder attachment. It connects easily to the power hub, allowing you to grind meats, vegetables, and more, making your kitchen more versatile. It’s a great addition for those who want to maximize their mixer’s functionality.
Pros:
- Multiple grinding plates included
- Sturdy metal construction
- Easy to use and clean
- Includes sausage stuffer tubes
Cons:
- Requires separate purchase
- Additional storage space needed
- Cleaning requires care
Best for: Home cooks looking to grind fresh ingredients at home.
Not ideal for: Users who don’t need grinding capabilities or prefer simpler tools.
Bottom line: A robust attachment that expands your mixer’s capabilities and helps create fresh, homemade foods.
Frequently Asked Questions
What causes oil to leak from my KitchenAid mixer?
Oil leaks typically result from worn or damaged seals, over-lubrication, or cracks in the gear housing. Regular inspection and maintenance can prevent most leaks.
Can I continue using my mixer with a small oil leak?
It’s best to stop using the mixer until the leak is fixed, as continued use can cause further damage and reduce the unit’s lifespan.
How do I replace seals or gaskets in my KitchenAid mixer?
Replacements involve opening the gear housing, removing damaged seals, and installing new ones. Refer to the user manual or consult a professional for detailed instructions.
Is it safe to fix the oil leak myself?
Yes, if you are comfortable with basic mechanical repairs. Always unplug the mixer first, work in a clean area, and follow safety precautions.
When should I seek professional repair?
If you’re unsure about the repair process or if the leak persists after replacement, contact an authorized service center to avoid further damage.
Keep Your KitchenAid Mixer Running Smoothly
Regular maintenance and careful inspection are key to preventing oil leaks and ensuring your KitchenAid stand mixer performs effectively for years to come. By understanding the common causes and following the step-by-step repair tips in this guide, you can troubleshoot issues confidently and keep your mixer in top shape.
Remember, safety always comes first—if in doubt, seek professional help to avoid damaging your valuable appliance.
Affiliate disclosure: As an Amazon Associate we earn from qualifying purchases. Prices and availability are accurate as of the time of publishing.