
To get perfectly crispy bread without sogginess, preheat your panini press fully before assembling your sandwich. Use hearty bread slices around 1/2 to 3/4 inch thick and lightly butter or oil them for better crisping. Avoid overstuffing and make certain fillings are not too moist; layer ingredients evenly for balanced heat. Press gently and check frequently, adjusting time if needed. For more tips on mastering the ideal crunch, continue exploring these strategies.
Key Takeaways
- Fully preheat the panini press to ensure even heat distribution before adding your sandwich.
- Use hearty bread slices about 1/2 to 3/4 inch thick with a firm crust to prevent sogginess.
- Lightly butter or oil the bread for a crispy crust and better flavor.
- Avoid overstuffing and excess moisture in fillings to prevent soggy centers.
- Check the sandwich regularly and adjust pressing time to achieve crispy bread and warm filling without burning.
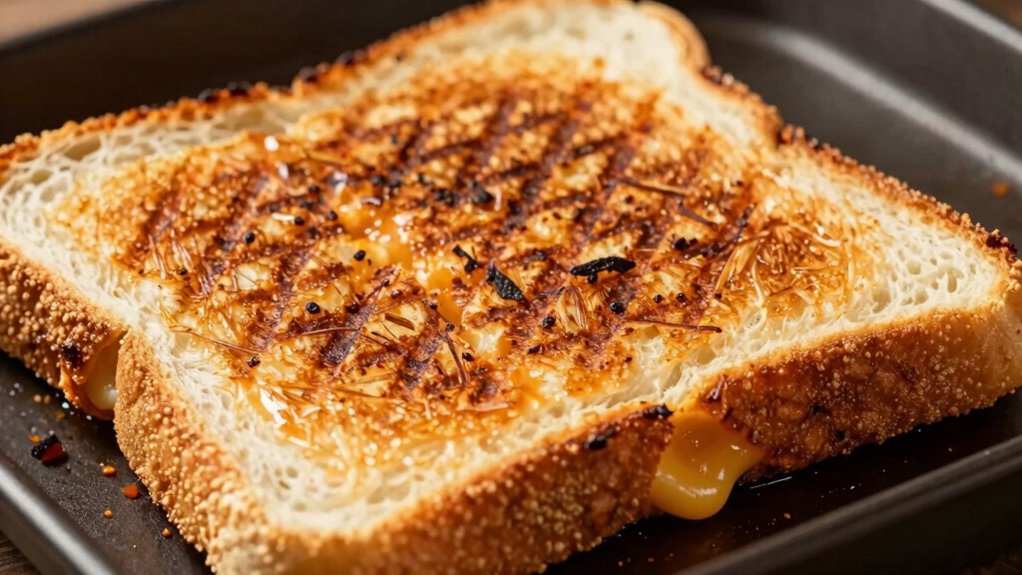
Have you ever wondered how to turn simple ingredients into a perfectly crispy, flavorful sandwich? The secret lies in mastering your panini press techniques and choosing the right bread. When you know how to operate your press correctly and select the best bread, you’ll consistently achieve that ideal crispy exterior with a warm, gooey center—no sogginess in sight.
Start by understanding your panini press. Preheating is essential. Turn it on and let it reach the perfect temperature before adding your sandwich. This ensures even heat distribution, which is key to crisping the bread without burning it. Once hot, lightly oil or butter the outside of your bread or the press itself. This small step adds flavor and promotes a golden-brown crust. Don’t press down too hard; a gentle, consistent pressure helps the heat penetrate evenly, avoiding squished sandwiches and uneven toasting.
Preheat your panini press fully for even, crispy results without burning.
Now, let’s talk about bread selection tips. The best bread for paninis should have enough structure to hold fillings without becoming soggy or falling apart. Hearty breads like ciabatta, baguette, sourdough, or multigrain work well because they can withstand the heat and moisture from fillings. When choosing bread, look for slices that are slightly thicker—about 1/2 to 3/4 inch thick—to ensure they crisp nicely while keeping the interior soft and warm. Avoid overly soft or thin bread, which can turn soggy or burn quickly. If you’re using sliced bread, opt for varieties with a firm crust and dense crumb.
Layer your ingredients carefully. Place fillings evenly, but avoid overstuffing, which can trap moisture and make the bread soggy. To prevent this, consider lightly toasting or drying out wet ingredients like tomatoes or vegetables before adding them. This reduces excess moisture that could seep into the bread during pressing.
When it’s time to cook, place your assembled sandwich on the preheated press. Close the lid gently, applying even pressure. Check after a few minutes; your bread should be golden and crispy, and the filling heated through. If the bread starts to burn before the filling is hot, lower the heat slightly or reduce the pressing time.
Frequently Asked Questions
What Types of Bread Are Best for Panini Pressing?
You should choose bread with a sturdy texture like ciabatta, baguette, or focaccia for panini pressing. These options withstand the heat and pressure, preventing sogginess and ensuring crispiness. Proper bread selection enhances texture, giving you that perfect crunch and chewy interior. Avoid overly soft breads like sandwich white bread, which tend to become soggy. Opt for crusty, artisanal loaves to maximize texture enhancement and achieve a delicious, crispy panini every time.
Can I Make Paninis Without a Traditional Panini Press?
Absolutely, you can craft perfect paninis without a traditional press. You just need a little creativity—use a toaster oven for even, crispy results or a stovetop grill for that authentic char. Press down with a heavy skillet or a weight to mimic the press, ensuring the bread crisps without becoming soggy. With these simple tools and techniques, you’ll achieve delicious, crispy paninis anytime.
How Do I Clean and Maintain My Panini Press?
To clean and maintain your panini press, follow simple cleaning tips and maintenance routines. Unplug it after use, then wipe down the plates with a damp cloth to remove crumbs and grease. For stubborn residue, use a soft brush or sponge with mild soap. Regularly check the hinges and cords for wear. Keeping your press clean and well-maintained guarantees crispy sandwiches and extends its lifespan.
What Fillings Work Best for Crispy Paninis?
For crispy paninis, choose fillings that hold up well when pressed, like hearty cheese pairings such as cheddar and Swiss, or meltable mozzarella. Add vegetable fillings like roasted peppers, spinach, or zucchini for flavor and moisture balance. Avoid overly wet ingredients, which can make the bread soggy. Layer your fillings evenly, and press until the bread is crispy and the cheese is melted for the perfect bite.
How Long Should I Press a Panini for Optimal Crispiness?
For ideal crispiness, press your panini for about 3 to 5 minutes, depending on your panini press’s heat and thickness of the bread. Keep an eye on the pressing time to achieve texture perfection—you want the bread golden and crispy without burning it. Check periodically, and adjust the time if needed. Remember, a little patience ensures your panini comes out perfectly crispy and delicious every time.
Conclusion
Now that you’ve uncovered the secrets to perfectly crispy paninis with no soggy centers, imagine what you’ll create next. Will you master the art of layering flavors or experiment with new fillings? The possibilities are endless, and each sandwich is a chance to surprise yourself. So, stay curious and keep practicing—you never know when your next masterpiece will reveal itself. Are you ready to take your panini skills to the next level? The delicious journey awaits.