
Snack cheese envelopes are a tasty, versatile treat you'll love. They combine crispy pita bread with a creamy cheese filling, perfect for any occasion. You can whip them up in just 15 minutes! Customize with veggies or different cheeses for added flavor. Bake them at 375°F for a golden finish, and serve with a variety of dipping sauces to tantalize your taste buds. Ready to discover how to make these delicious snacks?
History
Although the exact origins of snack cheese envelopes are somewhat unclear, they likely stem from Mediterranean cuisine, where pita bread is a staple for wrapping various fillings. The practice of enclosing food in bread dates back to ancient times, serving both as a utensil and a container. Cheese has played a significant role in human diets for thousands of years, with evidence of cheese-making dating back to around 5500 BC in Poland. The health benefits of tea highlight how incorporating different flavors can enhance the overall snack experience. Cacciucco is another traditional Italian dish that showcases the versatility of cheese in various forms.
In the 20th century, the popularity of cheese-filled snacks surged, aligning with the rise of convenience foods. Today, social media has revived interest in these quick recipes, promoting easy-to-prepare snacks. Chia seeds, historically used by ancient civilizations for their nutritional value, can serve as a great addition to these snacks for added health benefits. Just keep in mind that while delicious, cheese can be high in saturated fat, so enjoy in moderation!

Roman's Bakehouse Pita Bread Original, 8.8oz
- Made in Canada: Produced in Canada
As an affiliate, we earn on qualifying purchases.
As an affiliate, we earn on qualifying purchases.
Recipe
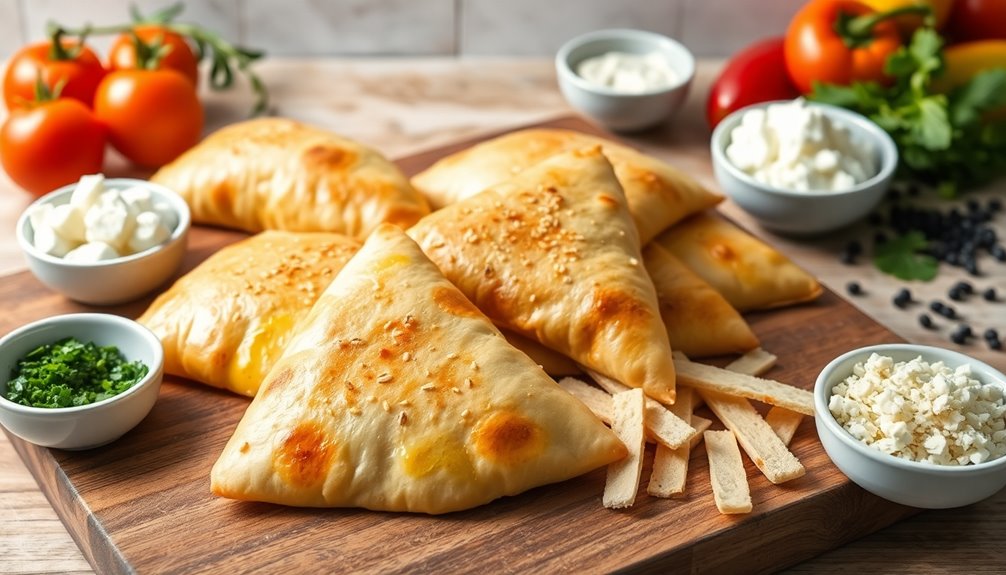
Cheese pita bread envelopes are a delightful and versatile snack that can be filled with a variety of ingredients to suit your taste. Perfect for parties or as a quick bite, these envelopes aren't only easy to prepare but also offer a wonderful combination of flavors and textures. The crispy exterior and creamy filling make them irresistible, and they can be served warm or at room temperature. Including whole foods in your snacks can enhance their nutritional value. Additionally, using essential oils in your culinary adventures can elevate your dishes with unique flavors. Herbal teas like chamomile and ginger can also promote relaxation, making them a great pairing with these savory treats.
Cheese pita bread envelopes are a tasty, quick snack that combines crispy exteriors with creamy fillings, perfect for any occasion.
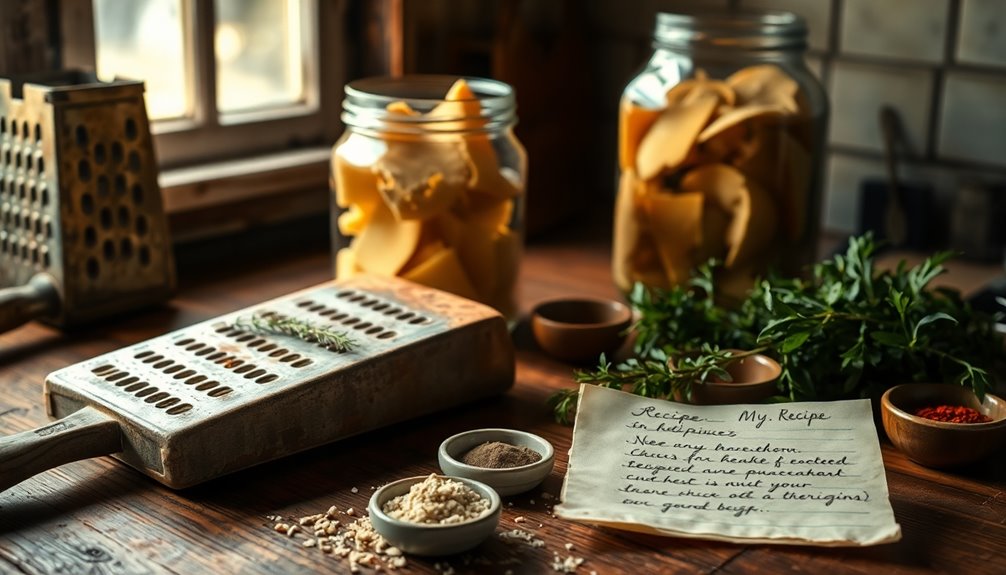
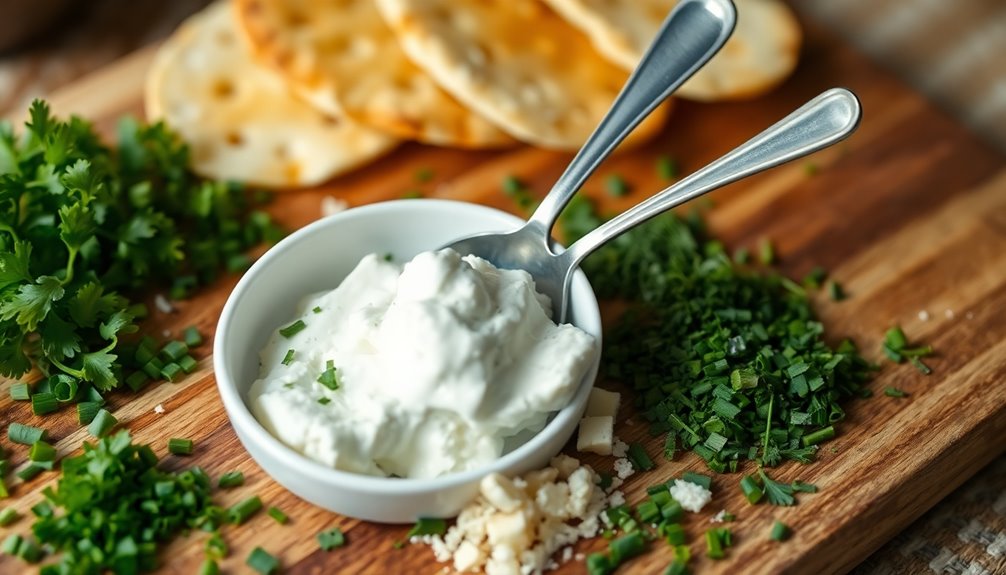
To make these tasty cheese envelopes, start by selecting your favorite cheeses and fresh herbs. The combination of cottage cheese and hard cheese provides a rich, creamy filling, while the addition of herbs enhances the overall flavor. Whether you choose to stick to the classic recipe or experiment with different fillings, these cheese envelopes are sure to impress. Additionally, serving them alongside candied yams can create a delightful contrast of flavors during holiday gatherings.
Ingredients:
- 2 sheets of pita bread
- 200g cottage cheese
- 100-150g hard cheese (grated)
- Mayonnaise or sour cream (to taste)
- Salt (to taste)
- Black pepper (to taste)
- Finely chopped herbs (to taste)
- Egg yolk (for brushing)
- Sesame seeds (for sprinkling)
To prepare the cheese envelopes, begin by preheating your oven to 180°C. Cut the pita bread into strips and set aside. In a mixing bowl, combine the cottage cheese, grated hard cheese, mayonnaise or sour cream, salt, black pepper, and finely chopped herbs, mixing until well combined.
Take a strip of pita bread, place a spoonful of the cheese mixture at one end, and roll it up tightly to form an envelope shape, ensuring the filling is secured inside. Brush the outside of the rolled envelopes with egg yolk and sprinkle sesame seeds on top. Arrange the envelopes on a baking tray and bake in the preheated oven for approximately 15 minutes or until they're golden brown, keeping an eye on them to ensure they bake evenly.
For the best results, consider experimenting with different fillings such as sautéed vegetables, spices, or even meats to customize your cheese envelopes. You can also adjust the seasoning according to your preference, adding more herbs or spices for an extra kick.
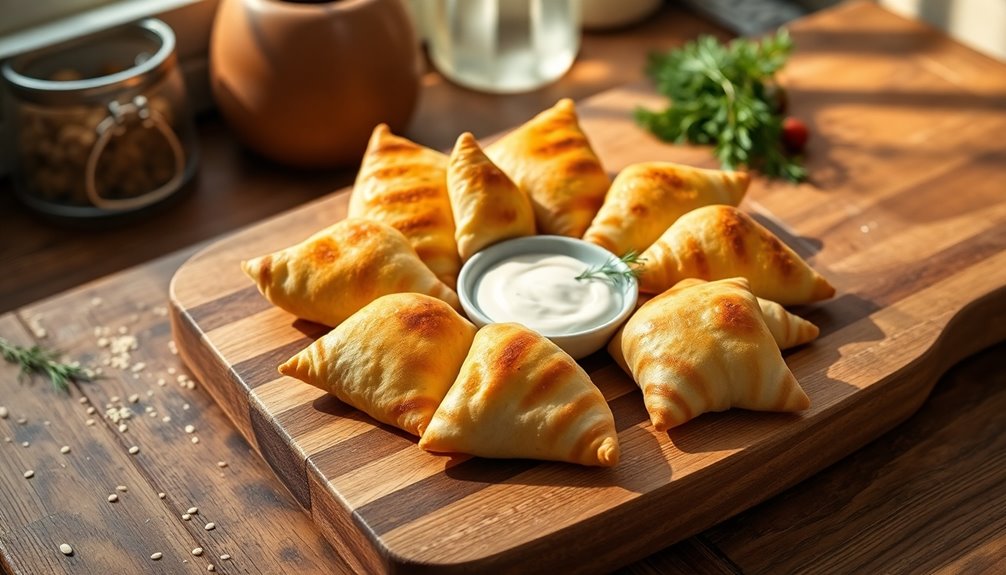
Serve the envelopes warm for a delightful snack or appetizer, and enjoy the crunchy texture paired with the creamy filling.
Cooking Steps

First, you'll want to preheat your oven to 375°F to get it ready for baking.
Next, roll your cheese filling into the pita strips, ensuring they're securely wrapped. Incorporating protein-rich ingredients can elevate the nutritional value of your snack.
Bake them for about 10 minutes for a deliciously crispy finish, and don't forget to add herbs for an extra burst of flavor. Additionally, you can enhance your dish by incorporating safe snacks for hamsters as inspiration for healthy ingredients.
Step 1. Preheat Oven to 375°F

To ensure your cheese envelopes bake perfectly, preheat your oven to 375°F (190°C). Allow enough time for the oven to fully reach this temperature before placing your envelopes inside. This step is crucial for achieving that golden brown crust you're aiming for.
If you have an oven thermometer, use it to verify your oven's accuracy, as this can significantly affect baking times and results. Typically, baking your cheese envelopes at this temperature takes about 15 minutes. However, keep a close eye on them, since ovens can vary.
For easier cleanup and to prevent sticking, consider lining your baking sheet with parchment paper. Happy baking!
Step 2. Roll Cheese Into Pita
Start by cutting two sheets of pita bread into strips, which will serve as the envelopes for your delicious cheese filling.
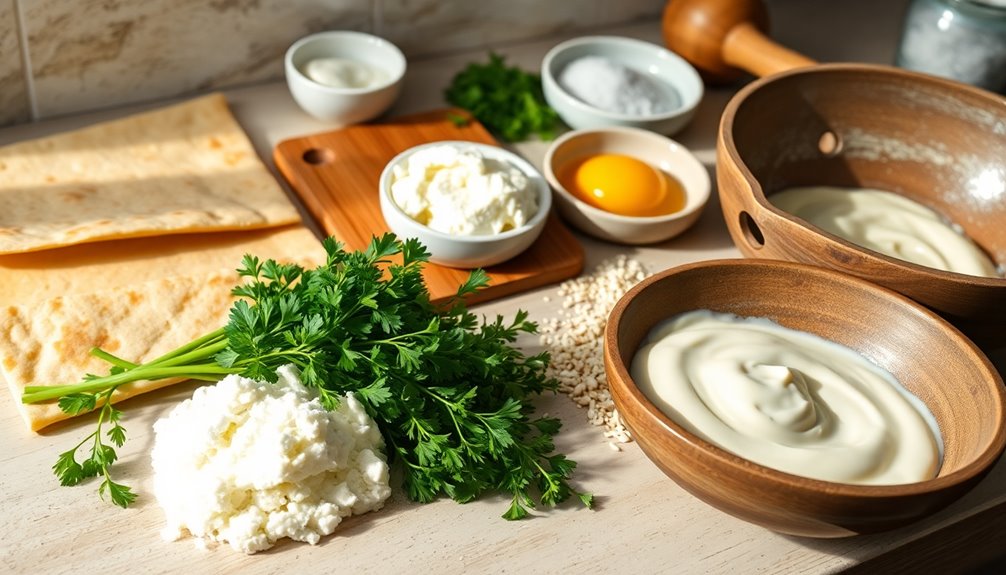
Next, prepare the filling by mixing 200 g of cottage cheese with 100-150 g of grated hard cheese and 1 tablespoon of mayonnaise or sour cream.
Don't forget to season the mixture with salt, black pepper, and finely chopped herbs to enhance the flavor.
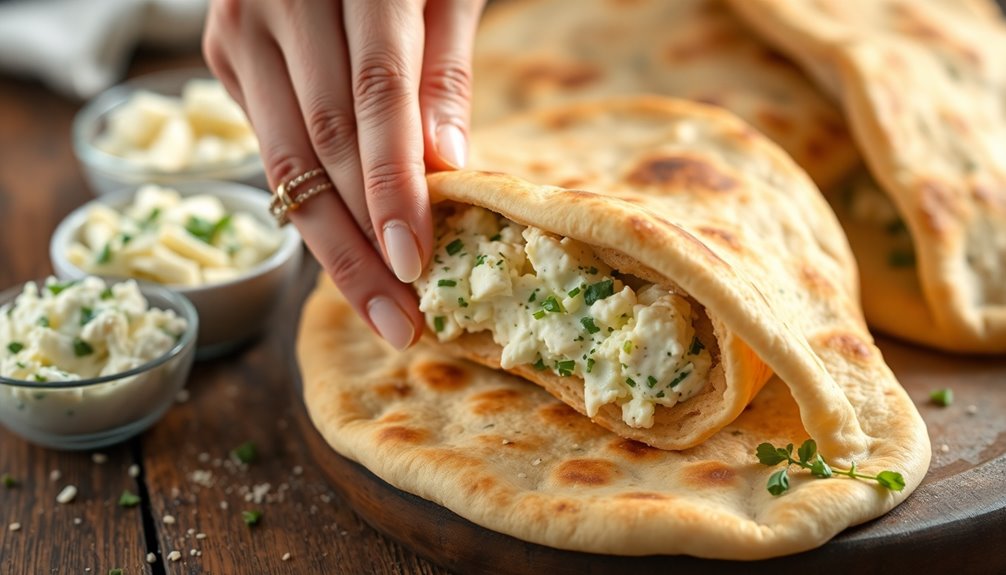
Now, take a strip of pita and roll it around the cheese filling, folding the free edge inside to secure it.
Brush the envelopes with egg yolk for a golden finish, then sprinkle sesame seeds on top.
These steps will ensure your cheese-filled pita strips are ready for baking.
Step 3. Bake for 10 Minutes
Preheat your oven to 180°C (350°F) to ensure the perfect baking environment for your cheese envelopes.
Line a baking sheet with parchment paper for easy cleanup and to prevent sticking.
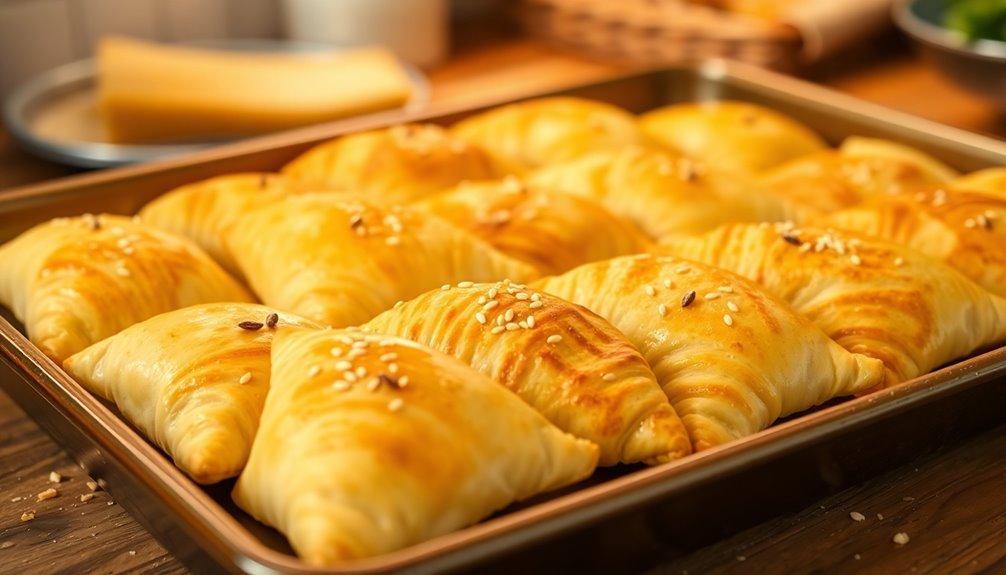
Once your oven's ready, place the cheese envelopes on the sheet, giving them enough space to expand.
Bake them for about 15 minutes, or until they turn golden brown and crispy.
Keep an eye on them, as oven performance varies and you don't want them to burn.
When they're done, remove them from the oven and allow the envelopes to cool slightly on a wire rack.
This step is crucial for achieving the best texture before serving.
Enjoy your delicious snack!
Step 4. Add Herbs for Flavor
While the cheese envelopes are cooling, you can elevate their flavor by adding finely chopped herbs to the filling. Fresh herbs like parsley, chives, or dill enhance the cheese's taste while providing nutritional benefits.
Mix your cottage cheese and hard cheese with these herbs, seasoning with salt and black pepper for a balanced flavor. Don't be afraid to experiment; using basil can give your envelopes an Italian twist, while cilantro adds a fresh, zesty kick.
Incorporating herbs allows for customization, letting you tailor the flavor to your preferences. This not only makes the cheese envelopes more enjoyable but also transforms them into a versatile snack that can suit any palate.
Enjoy the burst of flavor with every bite!
Step 5. Serve With Dipping Sauce
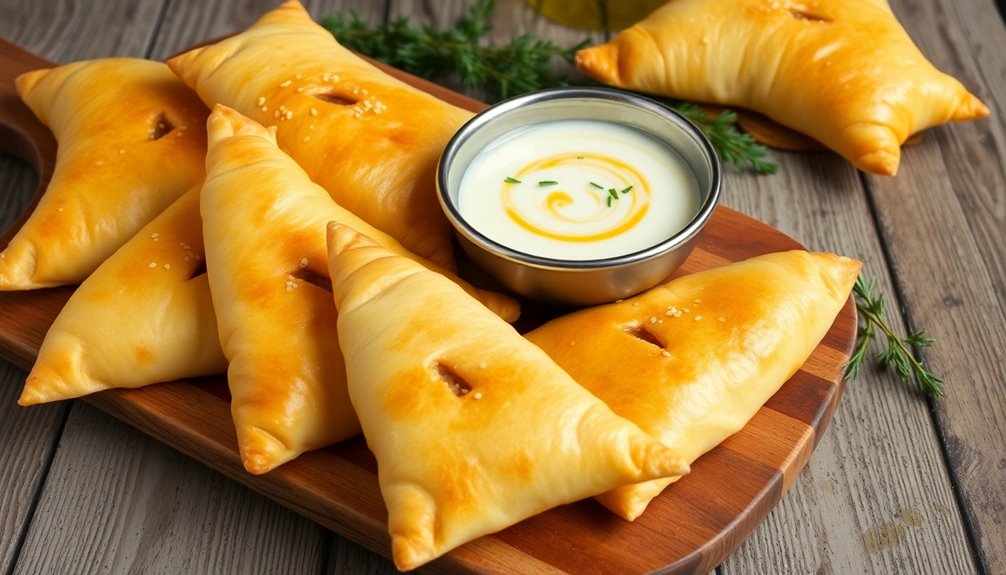
How do you turn your cheese envelopes into a truly memorable snack? Serve them warm alongside a variety of dipping sauces to elevate their flavor. Options like tzatziki, hummus, or marinara create a delightful pairing.
For a bolder taste, consider spicy mustard or savory cheese sauce, which perfectly complements the cheesy filling. If you're looking for something refreshing, a yogurt-based dip infused with herbs adds a cooling touch to the richness.
Feeling adventurous? Try sweet sauces like honey or maple syrup, especially delicious if your cheese envelopes have sweet fillings.
Make sure to present the sauces in small bowls, giving easy access for guests—perfect for parties or gatherings. Your cheese envelopes will definitely shine!
Final Thoughts
As you explore the world of snack cheese envelopes, you'll quickly appreciate their versatility and ease of preparation.
In just about 15 minutes, you can whip up a protein-rich snack that's perfect for busy days or entertaining guests. With simple ingredients like pita bread and cottage cheese, you can customize these envelopes to suit your taste by adding vegetables or different types of cheese.
Baking them at 180°C yields a crispy, golden finish that enhances their flavor. Plus, the rising trend of pita bread snacks on social media showcases a growing interest in quick, homemade options that cater to various dietary preferences.
Frequently Asked Questions
Is Snack Cheese Healthy?
You know the saying, "everything in moderation"? When it comes to health, that's key.
Snack cheese can offer protein and healthy fats, which are beneficial, but you've got to watch the sodium and calorie count. If you're mindful of your portions and opt for lower-fat versions, it can fit into a balanced diet.
Just remember, it's all about making smart choices and listening to what your body needs!
Does Snack Cheese Need to Be Refrigerated?
Yes, snack cheese does need to be refrigerated. Keeping it cold helps maintain freshness and prevents spoilage.
Unopened snack cheese can last for several months, but once you open it, you should consume it within a week.
Make sure to store it below 40°F (4°C) to stop harmful bacteria from growing.
If you notice any off smells, mold, or changes in texture, it's best to throw it out.
What Are Some Good Cheese Snacks?
When it comes to cheese snacks, you're in for a treat! Think of creamy cheese spreads paired with crunchy crackers, or gooey mozzarella sticks that stretch like a dream.
You could whip up a classic cheese platter with assorted cheeses, fruits, and nuts, or indulge in savory cheese bites stuffed with your favorite fillings.
Don't forget about cheese dips for nachos or veggies; they're always a hit at gatherings! Enjoy experimenting!
What to Have With Cheese as a Snack?
When you're snacking on cheese, think about pairing it with fresh herbs like basil or parsley for an extra flavor boost.
You can also dip it in creamy hummus or tzatziki for a delightful contrast. Add some crunchy veggies like carrots or cucumbers for a refreshing touch.
If you enjoy savory flavors, sliced cured meats work well, too. Whole grain crackers or breadsticks can provide that satisfying crunch and extra fiber you might crave.