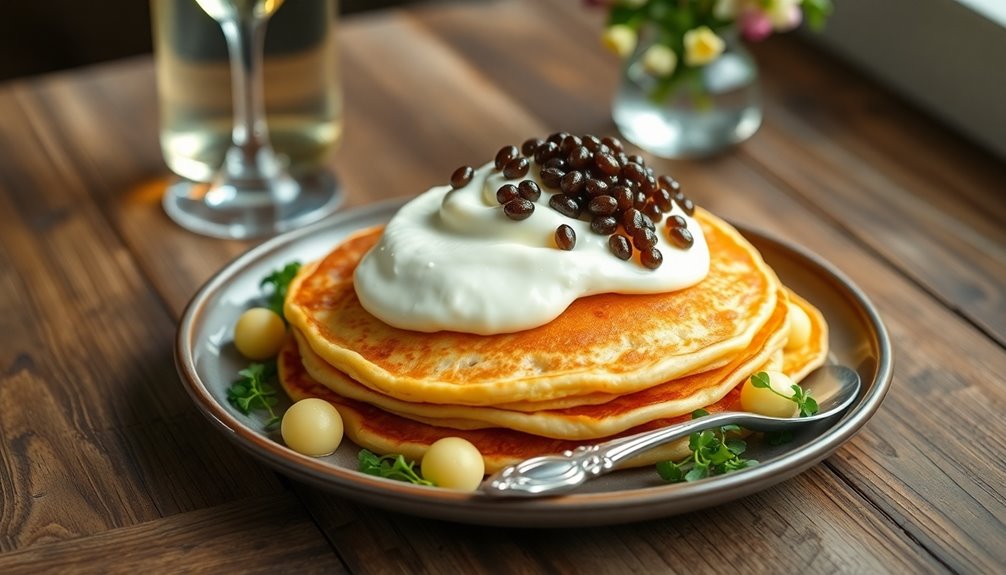

If you want to serve pancakes that complement caviar, blini are your go-to choice. These traditional Russian pancakes are made from buckwheat flour, offering a unique flavor and texture. They're easy to whip up and can be topped with luxurious accompaniments like sour cream or fresh herbs. Serve them warm for the best taste, and don't forget to pair them with chilled vodka or champagne for a truly unforgettable experience. Learn how to master the perfect blini!
History

When you dive into the history of pancakes, particularly blini, you'll discover their deep roots in Eastern European cuisine.
These delightful pancakes trace back to ancient Slavic cultures, where they symbolized the sun and played a significant role in spring festivals. Traditionally, blini are crafted from buckwheat flour, setting them apart from standard pancakes made with wheat flour.
Blini, rooted in ancient Slavic culture, symbolize the sun and are uniquely made with buckwheat flour, distinguishing them from ordinary pancakes.
During special occasions, blini became a culinary staple in Russia, especially during Maslenitsa, a festival celebrating the end of winter. They're often served with luxurious toppings like caviar and sour cream, highlighting their rich cultural significance.
Over time, blini have evolved into modern gourmet cuisine, frequently featured in upscale restaurants, paired with high-quality caviar for an exquisite dining experience. Additionally, just as risk management strategies are crucial in investment, the careful selection of toppings for blini can elevate their culinary appeal to new heights.

Baker's Friend Mini Pancakes Maker Machine, Dutch Mini Pancake Griddle, 14 Holes Electric Poffertjes Pan, Ideal for Breakfast, Snacks, Desserts & More
[THE MORE THE MERRIER]: Your beloved mini dutch pancakes now available for the entire family to enjoy. With…
As an affiliate, we earn on qualifying purchases.
As an affiliate, we earn on qualifying purchases.
Recipe

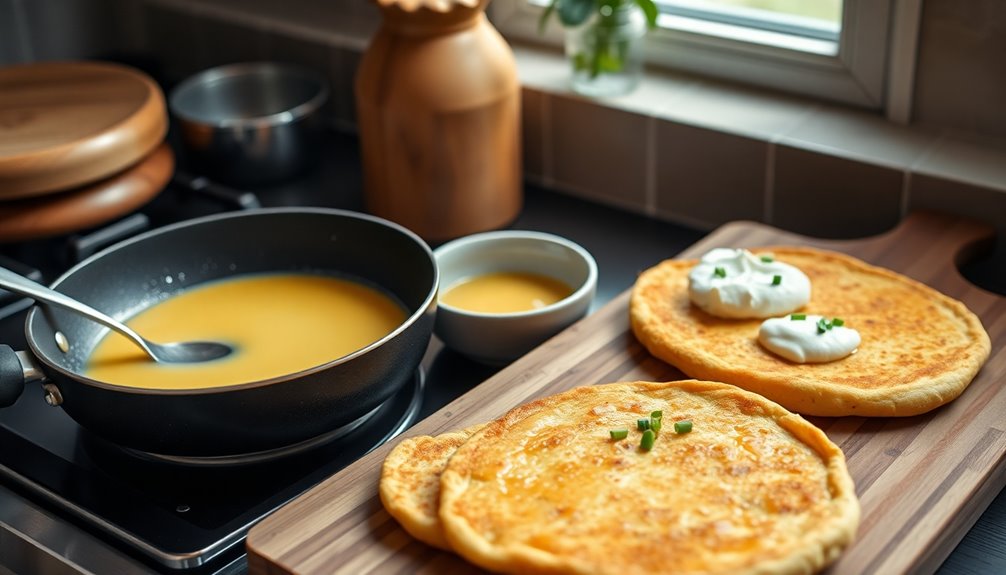
To create the perfect batch of blini, you'll need to combine both dry and wet ingredients until you achieve a smooth batter. The cooking process involves heating a griddle or skillet and carefully spooning the batter to achieve golden-brown pancakes on both sides. Not only do they make for an elegant appetizer, but they can also be frozen for later use, ensuring that you can impress your guests with minimal effort.
Ingredients:
- 1 cup potato starch
- 1 cup flour
- 1 teaspoon salt
- 1 teaspoon baking powder
- 1 teaspoon baking soda
- 1 cup buttermilk
- 1 large egg
- 2 tablespoons melted butter (plus extra for cooking)
Cooking Instructions:
In a mixing bowl, whisk together the potato starch, flour, salt, baking powder, and baking soda until well combined.
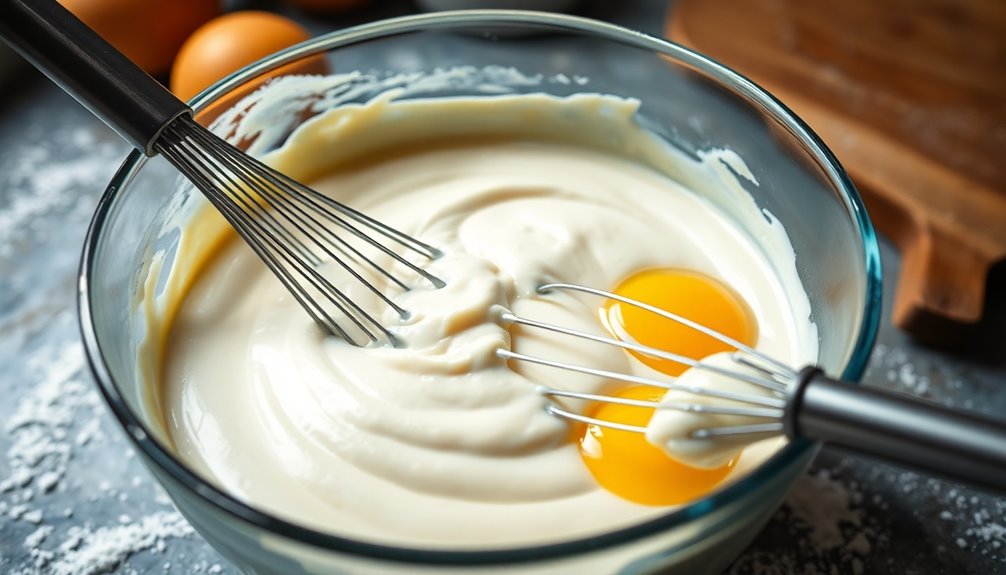
In a separate bowl, mix the buttermilk, egg, and melted butter until smooth. Gradually pour the wet ingredients into the dry ingredients, whisking until the batter is smooth and free of lumps.
Preheat a griddle or skillet over medium heat and brush it generously with melted butter. Once heated, spoon about 2 tablespoons of batter onto the skillet for each pancake, cooking until bubbles form on the surface and the edges look set, about 2-3 minutes. Flip and cook for an additional 2-3 minutes until golden brown. Repeat with the remaining batter.
Extra Tips:
For best results, ensure your griddle or skillet is evenly heated to avoid uneven cooking. If you find that the batter is too thick, you can add a splash of buttermilk to reach your desired consistency. Additionally, serving your blini on a farmhouse table can enhance the rustic charm of your meal.
To maintain the freshness of your blini, allow them to cool completely before freezing them in an airtight container. When ready to serve, simply reheat them in a skillet or microwave, and they'll be just as delicious as when they were first made.
Enjoy your blini topped with your favorite accompaniments for a truly indulgent treat!

FANQIEW Glass Caviar Serving Set with 2 Pcs Mother of Pearl Spoons Caviar Dish Chiller Server Set with Ice Holder and 3.5 Inch Caviar Spoon for Shrimp Ice Cream Sauce Dishwasher Safe
This caviar coolers server includes a round glass bowl and a conical glass bowl, with capacities of 15oz…
As an affiliate, we earn on qualifying purchases.
As an affiliate, we earn on qualifying purchases.
Cooking Steps
To start making your pancakes, you'll mix the flour and eggs together in a bowl.
Next, whisk in the milk gradually to get a smooth consistency, then fold in the melted butter for richness.
Don't forget to add a pinch of salt and pepper to enhance the flavor before you heat the skillet properly. Additionally, you might consider serving your pancakes with a side of cheesy polenta for a delightful texture contrast.
Step 1. Mix Flour and Eggs
Start by combining your dry ingredients in a mixing bowl. Measure out the flour, baking powder, and salt, then whisk together until well blended.
In a separate bowl, crack the eggs and whisk them together with the buttermilk until fully incorporated. Make sure the eggs are well-beaten to achieve a smooth batter.
Gradually add this wet mixture to your dry ingredients, stirring gently to avoid overmixing, which can lead to dense pancakes.
Next, integrate melted butter into the pancake batter for a richer flavor and a slightly crisp exterior when cooked.
Keep stirring until you reach a smooth consistency, ensuring your batter is ready for spooning onto a preheated griddle or skillet for even cooking. It's important to note that proper storage of any leftover batter should be done in a cool place to maintain freshness and quality.
Step 2. Whisk in Milk Gradually

As you whisk in the buttermilk, do it gradually to create a smooth, lump-free batter that's essential for achieving fluffy pancakes.
Begin by mixing your dry ingredients, then slowly incorporate the wet ingredients, ensuring you don't overmix. A few small lumps in the batter are perfectly fine and will help maintain the fluffiness of your pancakes.
If your batter seems too thick, don't hesitate to adjust the consistency by adding a splash more milk. This step is crucial for even cooking and soft texture.
Once you've combined everything, let the batter rest for about 10 minutes. This resting period enhances the pancakes' overall texture, setting you up for a delightful breakfast that pairs perfectly with caviar. Additionally, a well-prepared batter can significantly improve the creamy texture of your pancakes, making them a luxurious treat.
Step 3. Fold in Melted Butter
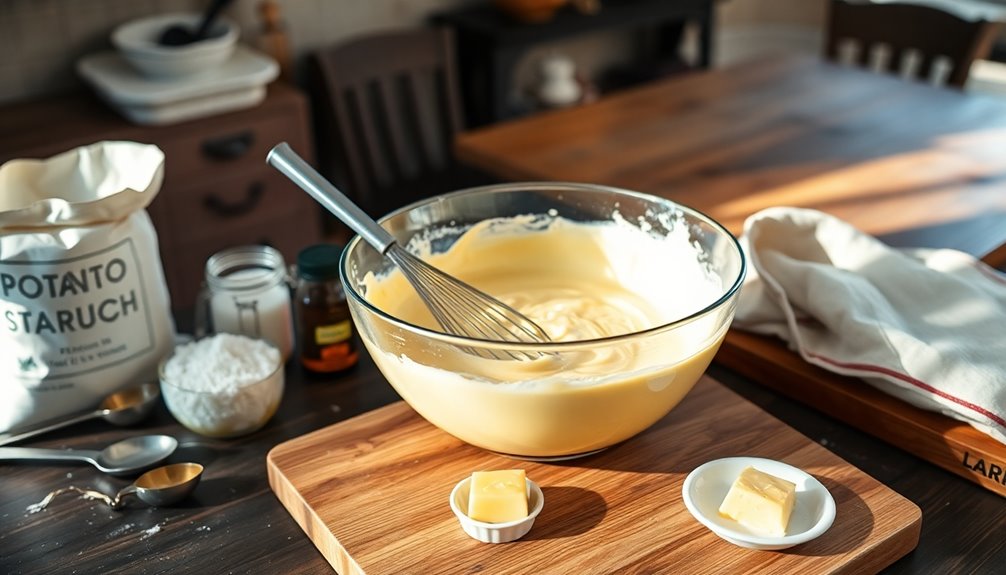
After letting the batter rest, it's time to fold in the melted butter. Take about 1 tablespoon of melted butter for every cup of batter, and let it cool slightly before adding. This helps prevent the eggs from cooking prematurely, ensuring a smooth mixture.
Gently fold in the melted butter with a spatula instead of whisking it vigorously; this keeps the batter airy, resulting in light and fluffy pancakes. The melted butter not only enhances the flavor but also contributes to a tender texture. Incorporating healthy fats into your breakfast can also support overall wellness.
When you cook the pancakes on a griddle, the incorporation of melted butter will help achieve that desirable golden-brown exterior. Enjoy these delicious pancakes, perfectly paired with caviar!
Step 4. Add Salt and Pepper
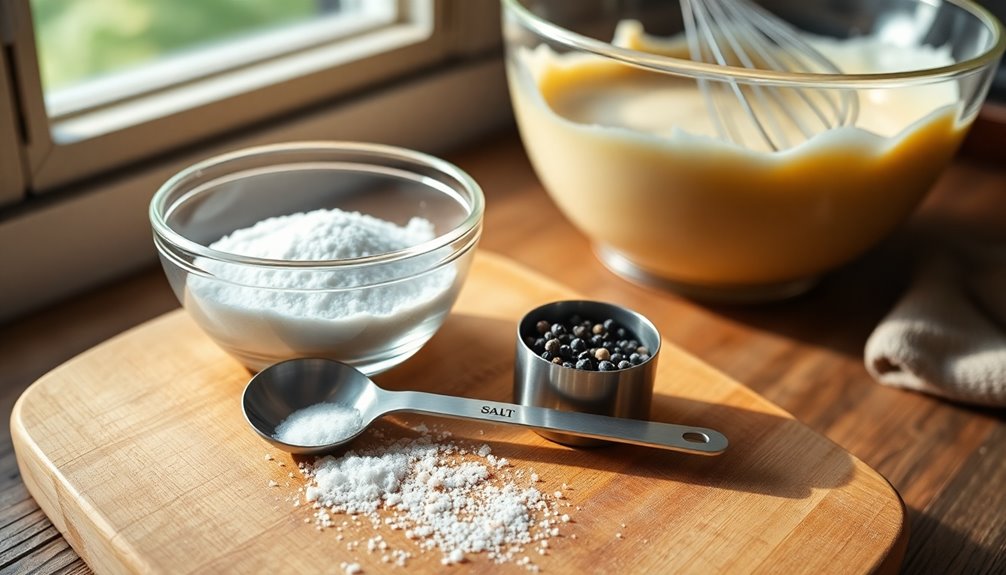
To enhance the flavor of your pancake batter, add a pinch of salt and freshly cracked black pepper.
The salt balances the richness of the caviar, while the pepper adds a subtle spice that complements your savory toppings. For a refined taste, use sea salt; it elevates the pancakes without overpowering the delicate caviar.
Adjust the amounts based on your personal preference, keeping in mind that the caviar will contribute to the overall saltiness of the dish.
Before cooking, taste the batter to ensure the seasoning suits your liking, as it will significantly impact the final flavor of your pancakes served with caviar. This step ensures your dish is perfectly seasoned and delicious. Additionally, incorporating whole foods into your pancake recipe can enhance the nutritional value, making your meal more balanced.
Step 5. Heat the Skillet Properly

With your pancake batter perfectly seasoned, it's time to ensure your skillet is ready for cooking. Preheat your skillet or griddle over medium heat for several minutes. This step is crucial for even cooking of the pancakes.
Just before adding the batter, brush the surface with melted butter to prevent sticking and enhance the flavor. To test the heat, sprinkle a few drops of water on the skillet; if they sizzle and evaporate quickly, you're good to go.
Cook the pancakes in small batches, which helps maintain a consistent temperature and makes flipping easier. Keeping your cooking space clean and organized can also contribute to a more productive environment, ensuring you focus on creating delicious pancakes. Keep an eye on the heat during cooking to avoid burning, aiming for that beautiful golden brown color on both sides.
Happy cooking!

Old Fashioned Buckwheat Pancake Mix, New Hope Mills, 2lbs (1)
Just Add Water: Simple preparation for those busy mornings.
As an affiliate, we earn on qualifying purchases.
As an affiliate, we earn on qualifying purchases.
Final Thoughts

As you explore the world of caviar blini pancakes, you'll discover that they transform any gathering into an elegant affair.
These delicious appetizers, made with a unique blend of potato starch and flour, are designed to hold luxurious toppings like caviar, sour cream, and lox without becoming soggy.
Using baking powder instead of yeast, you whip up these blini in just 15 minutes—perfect for last-minute entertaining.
You can even prepare them in advance and store them in an airtight container, ensuring freshness when it's time to serve.
Enhance your caviar blini with fresh herbs like chives or dill, and pair them with chilled vodka or champagne for an unforgettable dining experience.
Consider serving these alongside a projector that offers high refresh rates to elevate your movie night or gaming session, making it a complete sensory experience.
Enjoy the indulgence!

bella XL Electric Ceramic Titanium Griddle, Make 15 Eggs At Once, Healthy-Eco Non-stick Coating, Hassle-Free Clean Up, Large Submersible Cooking Surface, 12" x 22", Copper/Black
XL ELECTRIC GRIDDLE: This hardworking extra-large griddle features a 1500 watt heating system, cool touch handles & a…
As an affiliate, we earn on qualifying purchases.
As an affiliate, we earn on qualifying purchases.
Frequently Asked Questions
What Are the Thin Pancakes Served With Caviar?
The thin pancakes served with caviar are called blini.
You'll find they're often made from buckwheat or regular flour, resulting in a slightly thicker texture than crepes. Traditionally, they involve yeast in the batter, but you can skip that for quicker recipes.
Blini are perfect for gatherings since you can prepare them ahead of time and serve them at room temperature.
Pair them with caviar for a delightful, luxurious treat that's sure to impress!
What Are Blinis for Caviar?
Blinis are small, yeast-leavened pancakes that serve as a delightful base for toppings like caviar. Made typically with buckwheat flour, they're about two to three inches in diameter, perfect for single bites.
Their soft, slightly chewy texture complements the briny richness of caviar beautifully. You can prepare them in advance, making them ideal for gatherings where guests can easily assemble their own gourmet bites.
Enjoy the luxurious experience that blinis provide!
Are Blinis the Same as Pancakes?
Imagine a delicate dance of flavors on your plate. Blinis aren't the same as pancakes; they're more like tiny, airy clouds made with buckwheat flour.
While pancakes are often fluffy and thick, blinis are petite and light, sometimes leavened with yeast. You'll find them dressed with savory toppings, making them perfect for elegant gatherings.
What Is a Substitute for Blinis?
If you're looking for a substitute for blinis, consider using mini pancakes made from all-purpose or buckwheat flour.
Crêpes are another great option; they're thinner and can be flavored to enhance your dish.
Savory waffles made from cornmeal or chickpea flour add a unique twist.
For something heartier, potato pancakes (latkes) provide a crispy texture.
If you need a gluten-free choice, lightly cooked rice paper wraps work beautifully as well.
Conclusion
So, who would've thought that the humble pancake could elevate something as extravagant as caviar? You might expect a fancy blini to steal the show, but here you are, impressing your guests with a simple pancake twist. It's amusing how often the unassuming can outshine the opulent. Next time you whip up these pancakes, remember: sometimes, the best pairings come from the most unexpected places—and who knew they could go so well with a touch of luxury?