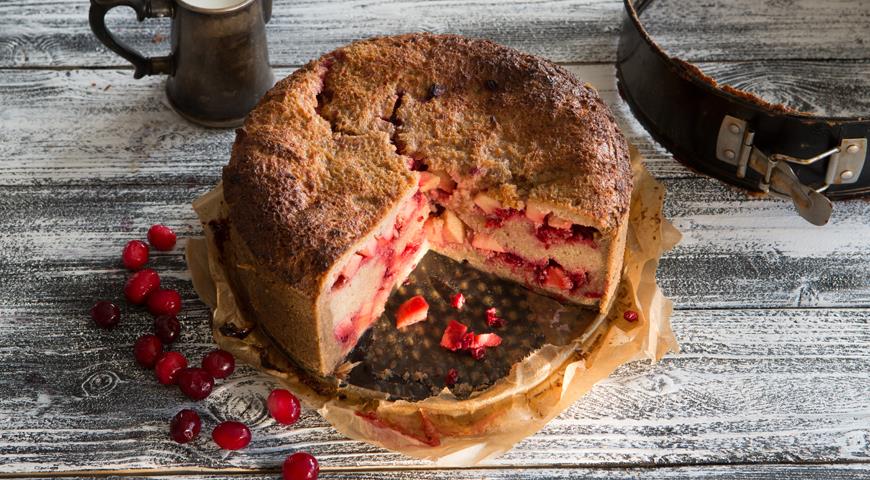
 Northern rye bread charlotte with lingonberries and apples
2020-08-13 / test@t
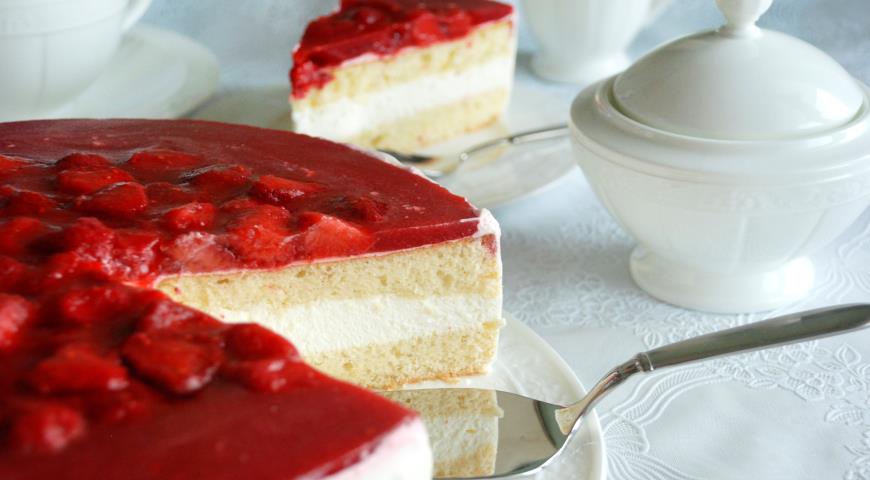
Raspberry Cloud Cake
An airy biscuit cake with a light alcohol soak from Croatian "Slivovitsa", with delicate creamy vanilla cream, fragrant raspberry jelly and fresh strawberries has long become a real decoration of my festive table. I hope he will please you too.
Ingredients
- 1. For a biscuit:
- eggs 5 large fresh (total weight about 338-340 gr.) - chilled
- white granulated sugar (preferably fine) 190 gr.
- wheat flour of the highest grade 130 gr.
- corn starch 30 gr.
- natural vanilla sugar 2 teaspoons with a medium slide (about 10 gr.)
- lemon juice 5 drops
- a small pinch of salt
- 2. For the cream:
- cream with a fat content of 33% (for whipping) 500 gr.
- granulated sugar 20 gr.
- artificial vanilla sugar 1 tsp
- instant food gelatin 10 gr.
- 3. For impregnation:
- cold (preferably filtered) water 150 ml
- white granulated sugar 15 gr.
- fruit vodka ("Slivovitsa" or another according to your taste) 50 ml
- 4. For jelly:
- frozen strawberries 300 gr.
- frozen raspberries 300 gr.
- white granulated sugar 40 gr.
- instant food gelatin 10 gr.
STEP-BY-STEP COOKING RECIPE
Step 1

Turn on the oven and heat it to 2.8-3 (165-170 ° C).
Step 2

Start making the biscuit. Prepare a round shape Ø 28 cm (mine is non-stick). To do this, cut a circle out of non-stick baking paper, first tracing the bottom of the mold on it with a pencil. Place it on the bottom of the mold, greased before this butter. Also grease the sides of the form with oil and line with parchment. Place the prepared form in the refrigerator until use.
Step 3

To make the biscuit process continuous, measure and mix in a separate bowl the entire norm for the dough of premium wheat flour, starch and natural vanilla sugar. Set aside regular granulated sugar for dough in another container.
Step 4

Beat the whites with a mixer with ordinary whisks with a small pinch of salt and 5 drops of lemon juice into a lush foam (their volume should increase 4-5 times), then in several portions, stirring each time, add ⅔ of the granulated sugar previously measured in advance. Beat the egg whites vigorously at high speed until a crisp, crisp white mass, rotating the whisk in one direction. The whipping process may take about 5 minutes. The whites are whipped correctly, when, having taken out the beaters from them, you will see persistent, well-shaped “spikes” on them. Another test - well-beaten egg whites don't fall out even from an inverted bowl. But here, be careful - just tilt the bowl for testing, and not turn it over with lightning speed, because if the whites are not beaten enough, they will slip out of the bowl very quickly.
Step 5

Beat the yolks with a mixer (you can use the same “dirty” beaters that you used to beat the whites) with the remaining sugar into a light yellow, almost white creamy fluffy mass (their volume should increase by 2-3 times).
Step 6

Put all the previously beaten whites to the yolks and mix them with a mixer at very low speed. Do not delay the process, acting quickly, but gently and be sure to interfere in one direction and from top to bottom.
Step 7

Sift evenly (over the entire surface) through a sieve on top of the egg mixture ½ of the previously measured flour mixed with starch and vanilla sugar. Gently, but rather quickly, combine the dry ingredients with the beaten eggs with a mixer, moving them in one direction at a very low speed.
Step 8

Add the remaining flour, stir. Then scrape off any unmixed flour from the edges of the bowl and mix again quickly and carefully as described above. The dough should be fluffy and uniform, with a raised surface. Pour it into the previously prepared mold that you removed from the refrigerator. Gently rock the dough pan from side to side to distribute it evenly over it. Immediately put the future biscuit in the preheated oven on the middle level.
Step 9

Bake the biscuit at 2.8-3 (165-170 ° C) for 40-45 minutes or according to the instructions in the instructions for your biscuit oven. The finished biscuit should acquire a golden hue, while if you pierce it with a match or a wooden toothpick, the latter will remain dry. It is better not to open the oven at all during the baking process, or at least for the first 30-35 minutes, otherwise the biscuit will settle (if necessary, to ensure uniform heating of the workpiece, the form with it can be turned over the other side after 30-35 minutes of baking).
Step 10

Remove the finished biscuit from the oven and leave in the mold at room temperature (not in a draft!) Until it cools completely (this may take about 2 hours). The biscuit can settle slightly, while lagging behind the walls of the form. Don't worry, this is normal. Remove the completely cooled sponge cake from the mold and put it in a clean plastic bag, without removing the parchment paper in which the cake was baked, and close it tightly. Leave on a flat surface at room temperature for 12-20 hours to stand.
Step 11

When the cake has stood, you can start assembling the cake. Take out the required amount of frozen raspberries for the jelly and leave them at room temperature in an open container. Boil and cool about 300 ml of water (you will need it for making jelly and impregnating the biscuit).
Step 12

Remove the non-stick baking parchment from the crust, then, if necessary, trim off the burnt areas (bottom and sides) of it so that there is no bitter aftertaste in the finished cake, and cut it crosswise into 2 pieces using a bread slicer (using a sawing motion). Set the biscuit aside for now.
Step 13

Boil the impregnation, for this, pour 150 ml of cold, preferably filtered water into a bowl or stewpan, add the required amount (15 g) of granulated sugar according to the recipe, put on medium heat, bring the syrup to a boil and cook, stirring with a spoon, for a couple of minutes until completely dissolving the sugar, turn off the heat and cool at room temperature. Then add fruit vodka to the syrup (I have Slivovitsa).
Step 14

While the impregnation is cooling, remove the strawberries for jelly from the freezer and leave in an open container at room temperature until consumed.
Step 15

For cream, cover a clean large bowl with a volume of about 3.5 liters for whipping cream with cling film (to prevent germs from getting in) and put it in the freezer for cooling (so that the cream is better whipped in it). Pour the amount of edible gelatin indicated in the recipe for the cream into a small container and add 100 ml of boiled water at room temperature to it, stirring constantly with a spoon. Leave for 10 minutes (or as written in the instructions on its packaging) for swelling. Then heat the gelatin in a water bath (by placing a container with it in a saucepan with water barely boiling over low heat) - with constant stirring until it is completely dissolved (without bringing it to a boil!). Then remove the gelatin solution from the heat and let it cool.
Step 16

Shake the package of cream well to mix the contents evenly. Remove the whipping bowl from the freezer (if you wish, install it additionally on flat refrigerant, if you have one, or in a larger bowl with ice), remove the polyethylene from it and pour the cream into it. Beat the cream with a mixer with regular beaters, first at low speed to avoid splattering the contents of the bowl, and then gradually increase it until a thick, thick cream forms. While whipping, when the cream thickens a little, add the amount of plain and artificial vanilla sugar indicated in the recipe for the cream. When the butter cream thickens well and embossed grooves appear on its surface, pour 4 tbsp into it one by one. tablespoons (40 ml) of chilled gelatin solution, stirring in the contents of each quickly but gently. As a result, the cream should have a relief surface and adhere well to the corollas. Set aside unused gelatin at room temperature until ready to use.
Step 17

Place the bottom half of the cut crust on a flat serving plate, use a spoon to evenly saturate it with 1/2 of the finished cooled soak. Then put the buttercream on it, not reaching the edges of the crust, about 1 cm. At the same time, leave a little cream (about ¾ a 300 ml mug) to decorate the sides and top of the cake.
Step 18

Also wet the cut of the upper half of the cake with the remaining syrup, turn it over and put it on the lower half of the cake, lightly press it over the entire surface with your palm so that the cream is evenly distributed between the layers of the biscuit, protruding slightly outward. Lubricate the top of the cake with a thin layer of the previously set aside cream (this is necessary so that it does not get wet after still covering it with liquid jelly). Then smooth out the cream from the interlayer that protruded from the sides of the workpiece with a flat knife, moving the knife along the circumference of the cake and from the bottom up. Wrap the cake blank tightly around the circumference with a special border tape for cakes (or foil folded several times), fix the latter with tape. If there are large gaps between the edges of the cake and the ribbon, it is advisable to additionally cover them with cream so that the liquid jelly does not flow there when you pour the cake on them. Cover the cake pan with a lid and refrigerate. Cover the rest of the cream with plastic wrap and also put it in the refrigerator before use.
Step 19

Make a jelly, for this, grind the thawed raspberries in a blender until puree, and then rub through a fine sieve into a metal saucepan with a thick bottom with a volume of about 1.5 liters to get rid of the seeds. In total, you should get about 250 grams. mashed potatoes. Add the amount of granulated sugar specified in the recipe for jelly into the puree, stir and set aside.
Step 20

Pour the amount of gelatin necessary for jelly into a small container and pour 150 ml of boiled water at room temperature into it, stirring constantly. Let the gelatin swell for about 10 minutes (or according to the instructions on the package), then add the rest of the gelatin not used in the cream to it (see item 17), mix and put everything in a water bath. Melt the gelatin completely as described in point 16 (without boiling!), Set aside.
Step 21

Cut the strawberries (if large) in half.
Step 22

Put a saucepan with raspberry puree and sugar over low heat and, stirring constantly with a spoon, bring its contents to a boil (the first bubbles appear). Turn off the fire and immediately pour the melted gelatin into the pan, mix everything thoroughly and put the chopped strawberries into the mixture. Stir gently, trying to keep the berries in shape, but at the same time are evenly covered with raspberry jelly. Set the pot aside and cool completely at room temperature.
Step 23

Take the cake out of the refrigerator. Spoon the strawberries from the cooled raspberry jelly onto the surface of the cake from its center to the edges, trying to get as little liquid jelly as possible into the spoon. Gently pour the remaining jelly onto the cake with a spoon in small portions over the berries, again from the center to the edges, so that as a result a uniform layer is formed (about 7-8 mm thick), but the jelly does not overflow over the edges of the border tape. Also, make sure that as little liquid as possible flows between the sides of the cake and the border tape. It's okay if in the end you don't use all the jelly: you can simply put it in a separate small dish, put it in the refrigerator, and then, when it hardens, eat it.
Step 24

Close the cake mold with a lid and refrigerate for 2-3 hours so that the jelly "grabs" well at least along the edges. Then remove the curb tape from the cake, first running a thin, sharp knife between it and the jelly layer to separate them from each other. Using a flat knife, decorate the sides of the cake with the previously set aside cream (moving it first from the bottom up, and then along the circumference, leveling the surface). Wipe off the remaining cream from the edges of the serving plate with a damp paper towel, then cover the finished cake with the lid from the cake pan and refrigerate for 8-12 hours so that it is completely saturated and the jelly hardens. Then serve the cake to the table. Enjoy your meal!
Step 25

Store the rest of the cake in the refrigerator in a sealed container for up to 1-2 days at a temperature of 0-6 ° C.
See more
 Northern rye bread charlotte with lingonberries and apples
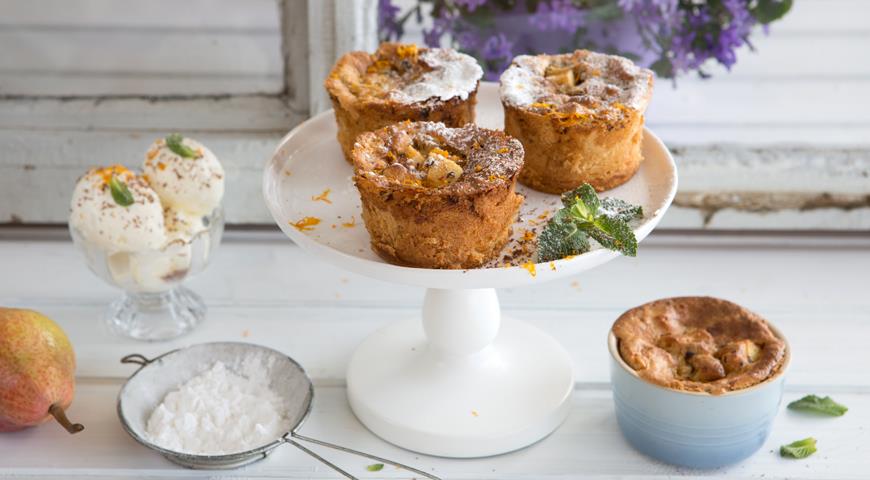 Mini white bread charlottes with pears and chocolate
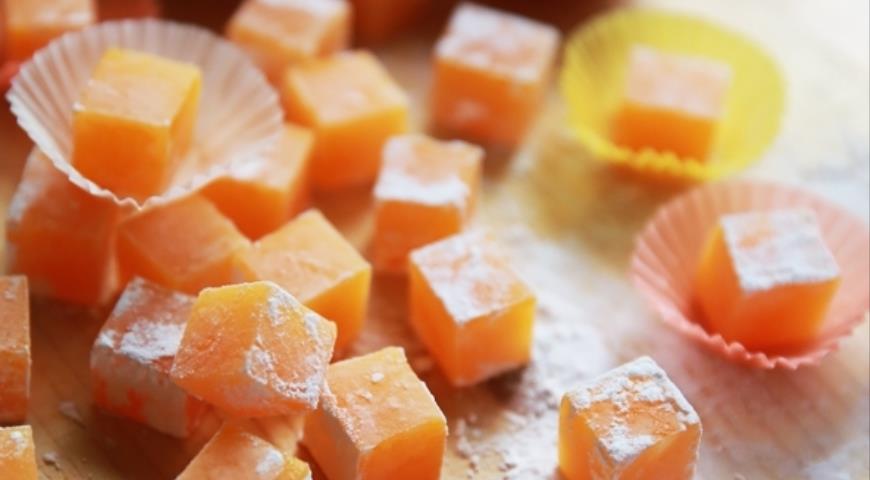 Mandarin pleasure-Lokum
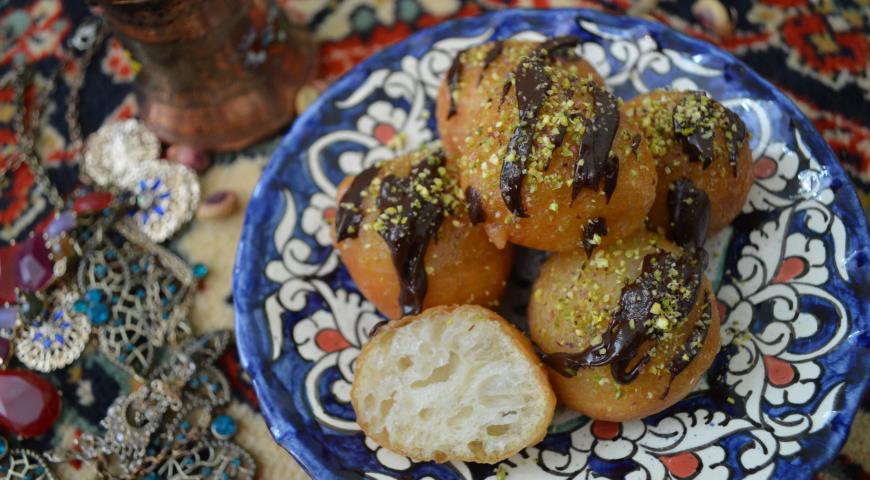 Локма / Socket
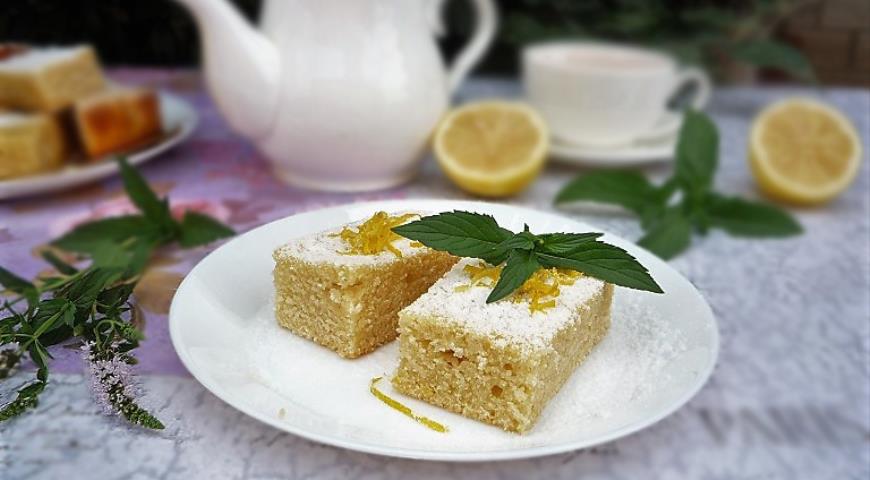 Revani - Turkish sweetness
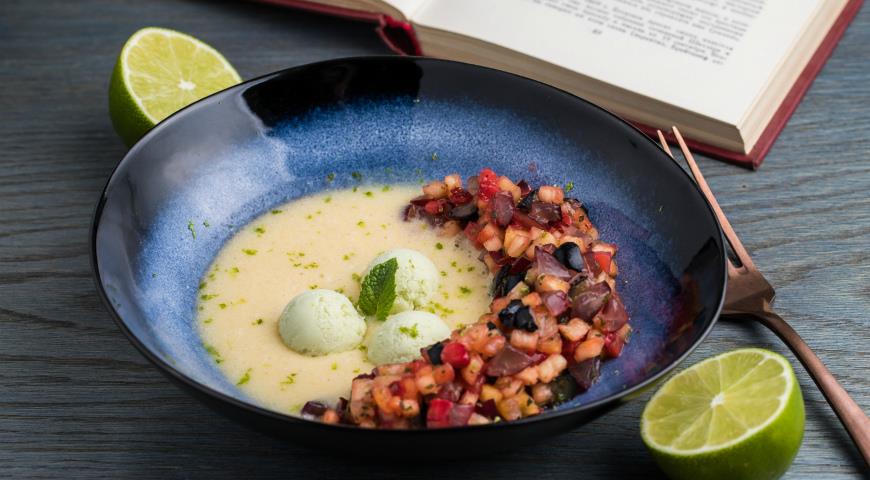 Fruit tartare with coconut mousse
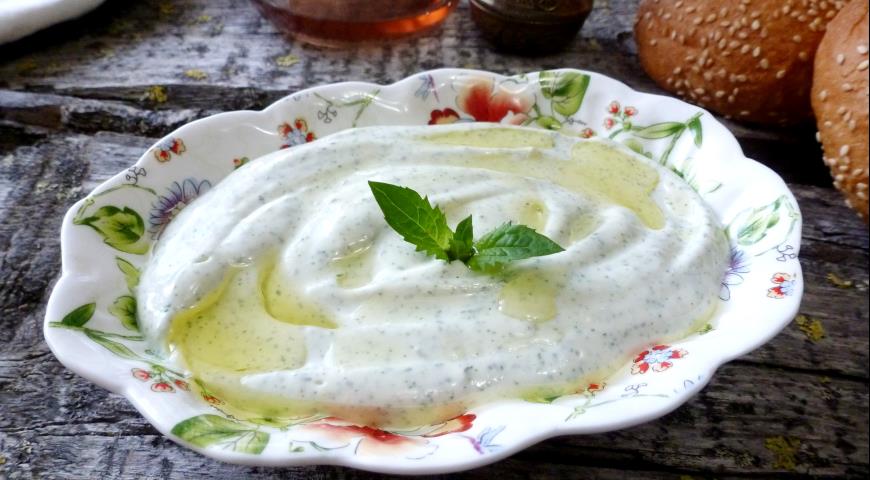 Haydari
 Muhallebi
 Hot sandwiches with fruits and berries


