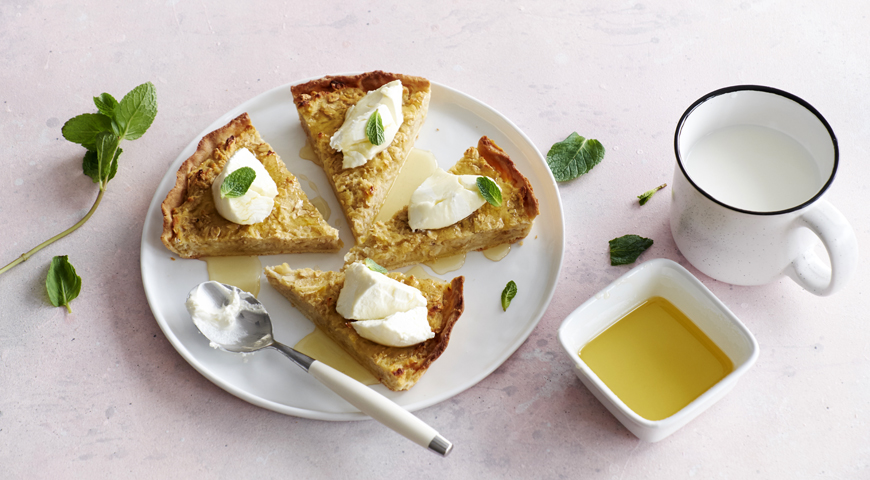
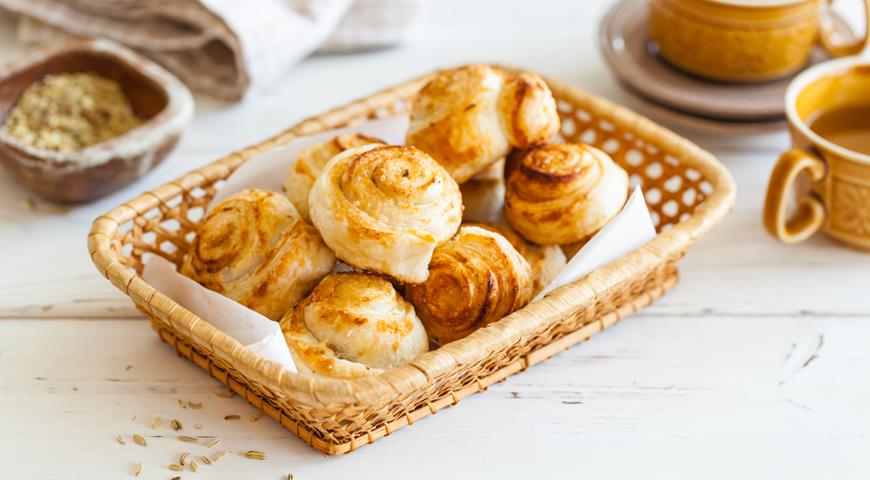
 Puff turntables with honey, anise and lemon zest
2020-08-13 / test@t
Shu pastry croquembush
Croquembouche (fr. Croquembouche) is a French dessert cake, which is a tall cone of profiteroles with filling, fastened with caramel or a special sweet sauce, and decorated with caramel threads, candied almonds, fruit, candied flowers. And I have a free interpretation: croquembush made of multi-colored shu cakes with ice cream custard. Do you want to please children and guests with a colorful edible Christmas tree cake? Then this recipe is for you! In this recipe, choux cakes are covered in a beautiful shortbread crust called craquelin. Shu with crakelin looks very festive, because this way the cakes can be painted in different colors! The ice cream custard deserves a special mention! The cream turns out to be very tasty and delicious! Perfect filling for shu and eclairs! We take the highest quality sundae for the cream. For intrigue, I divided the cream into 3 parts, added cocoa to one of the parts and got a delicious chocolate cream, and finely chopped nuts into the other.
Ingredients
- for choux cakes: water 250 g
- butter 100 g
- salt 5 g
- sugar 5 g
- chicken eggs 4 pcs.
- flour 150 g
- for craquelin: butter 80 g
- sugar 100 g
- flour 100 g
- food coloring (according to the number of colors) 5 pcs.
- for custard on an ice cream: ice cream ice cream 400 g
- butter 200 g
- egg yolks 8 pcs.
- vanilla sugar with natural vanilla 15 g
- cocoa 3 tbsp
- chopped walnuts 40 g
- for assembly: white chocolate 100 g
- caramel 40 g
- for decoration: caramel 10 pcs.
- confectionery beads 50 pcs.
STEP-BY-STEP COOKING RECIPE
Step 1

Making craquelin. Sift flour and sugar into a bowl. If you want a chocolate crust, replace 20 g of flour with cocoa.
Step 2

Put butter, cut into small cubes in a bowl, mix with flour with your hands, passing between your fingers. The resulting mass should look like plasticine.
Step 3

Add dye. I added gel food coloring after dividing the dough into several parts (I wanted a colored herringbone).
Step 4

Roll out the dough between two layers of parchment (I have cling film) to a thickness of 2-3 mm. If made thicker, the cakes may not rise or the crust may crack ugly. Put the workpiece in the freezer.
Step 5

After the dough freezes well, we take out the craquelin from the freezer and cut it into "coins" with a diameter of about 3 cm. The main thing is not to let the craquelin melt, it should always be very cold, or better - frozen. The sliced "coins" can be put back in the refrigerator.
Step 6

Making choux pastry. Crumble butter into water, add sugar and salt, melt over medium heat. By the time the water starts to boil, the oil should completely melt.
Step 7

As soon as the mass has boiled, turn off the heat and add all the flour at once. Stir quickly with a wooden spatula until smooth, so that no lumps remain. Return the dough to the stove and heat over medium heat, stirring continuously, until the dough gathers into a smooth ball and a velvety flour coating appears on the bottom of the pan. In no case should it be burnt, only white, as if the bottom were sprinkled with flour. This helps to evaporate excess water from the dough so that the steam does not tear our cakes during baking. Remove from heat and let cool for a couple of minutes. Touch the dough with your finger, it should not be very hot, otherwise the eggs will boil.
Step 8

Add eggs to the dough one at a time, each time carefully stirring the egg into the dough using a spatula. Pay close attention to the consistency of the dough. It will become more elastic, glossy and thinner.
Step 9

The finished dough should be smooth and shiny, without lumps, slowly slide off the spoon, forming a "bird's tongue", but not too liquid. If you drop it on parchment, it does not spread. We transfer the dough into a bag with a round nozzle, or simply cut off a corner of the bag.
Step 10

Preheat the oven to 200 ° C. We take out the craquelin from the freezer and cut it into "coins" with a diameter of about 3 cm. The main thing is not to let the craquelin melt, it should always be very cold, or better - frozen. Place the choux pastry on parchment in circles with a diameter of 3 cm. Leave 4-5 cm between the blanks, because cakes will double. Soak your finger in cold water and carefully smooth the “tail” on the deposited dough - if you don't, the crust will burst. Cover each future cake with a "coin" made from krakelin and send to the oven for 10-15 minutes.
Step 11

Focus on the sides of the cakes, they should brown well. If you take it out too early, the cakes will fall off, it is better to let them blush even more confidently. If it turned out that the batch was made, taken out, and they were still "blown away", open the oven the next time at the end and let them reach there for 5 minutes (most likely, your kitchen is cold, and the temperature drop spoils everything). Cool the finished cakes on a wire rack.
Step 12

Cooking custard on an ice cream. Place the sundae in a saucepan and melt over low heat.
Step 13

To separate the yolks from the whites, we only need the yolks.
Step 14

Place ice cream, yolks and vanilla sugar (I have natural vanilla) in a bowl and boil over low heat, stirring constantly.
Step 15

Cook until thickened, then cool to room temperature, covered with foil in contact.
Step 16

Beat butter at room temperature until whitened and fluffy, add one tablespoon of butter to the custard, whisking each time until shiny. Important: butter and custard must be at the same temperature.
Step 17

Divide the cream into 3 parts. We leave one part as it is, add sifted cocoa to the second, beat until smooth. Add finely chopped nuts to the third part.
Step 18

Using a pastry syringe, fill the custard cakes with cream.
Step 19

Let's start assembling. Roll up a cone from thick paper. Place the finished cone upside down in any suitable container that will hold it straight. I used a large vase.
Step 20

We take the smallest and smoothest cake and put it in a cone with a craqueline down. This will be the top of our tree. Next, lay out three pies with colored sides to the walls of the cone. Cakes can be held together with melted chocolate or caramel. I've used both. Chocolate grips better.
Step 21

We fill the cone with cakes to the very top. The last layer should be even and flat so that our structure can stand. We leave for several hours in the cold so that our Christmas tree grabs.
Step 22

Then carefully remove the hardened cone from the paper shell. We put on a dish and decorate as you wish. I made classic caramel threads, decorated with sugar beads and marzipan snowflakes.
Step 23

For caramel threads, you can boil caramel from sugar, but I make it easier. I take ready-made candies, break them with a hammer and put them in a stewpan with a thick bottom. Heat over medium heat until caramel dissolves.
Step 24

Next, we lower a fork or an open broom there, thin caramel threads will immediately be pulled behind it, with which we must wrap our Christmas tree.
Step 25

The cakes are delicious! Children and adults are happy to take them apart, and an additional intrigue is what kind of filling comes across!
Step 26

Enjoy your meal!
See more